

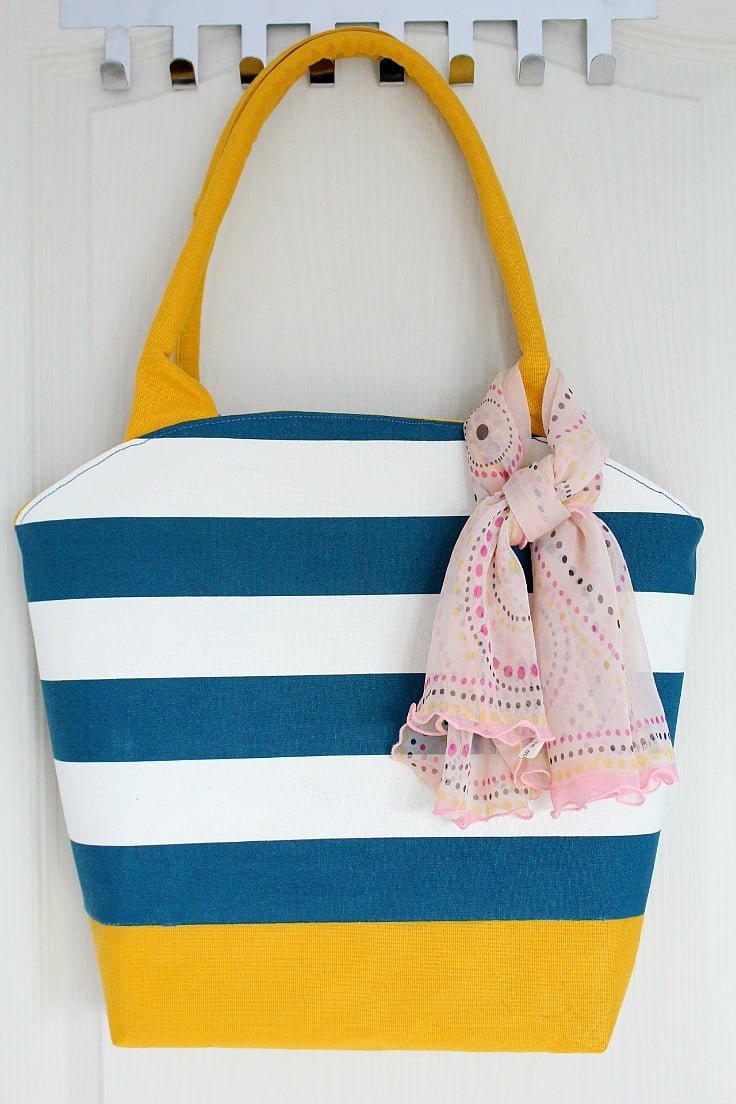
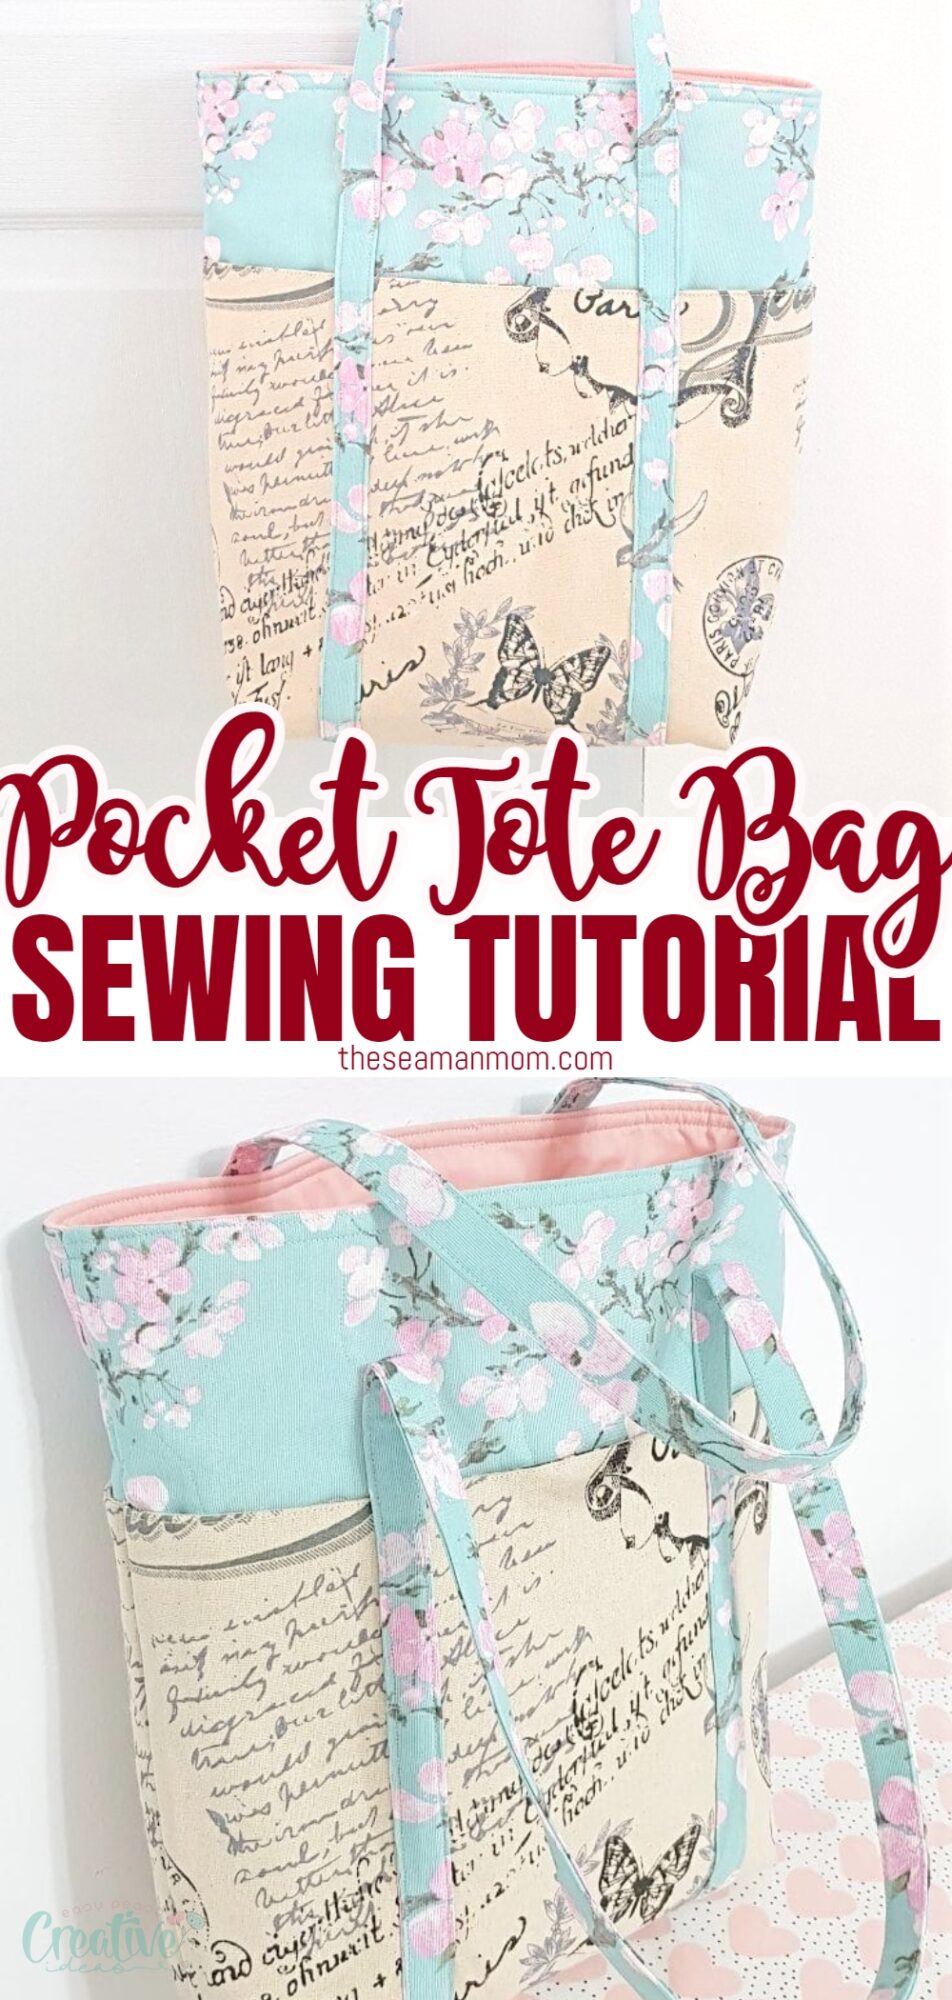
Multi pocket tote bag sewing tutorial
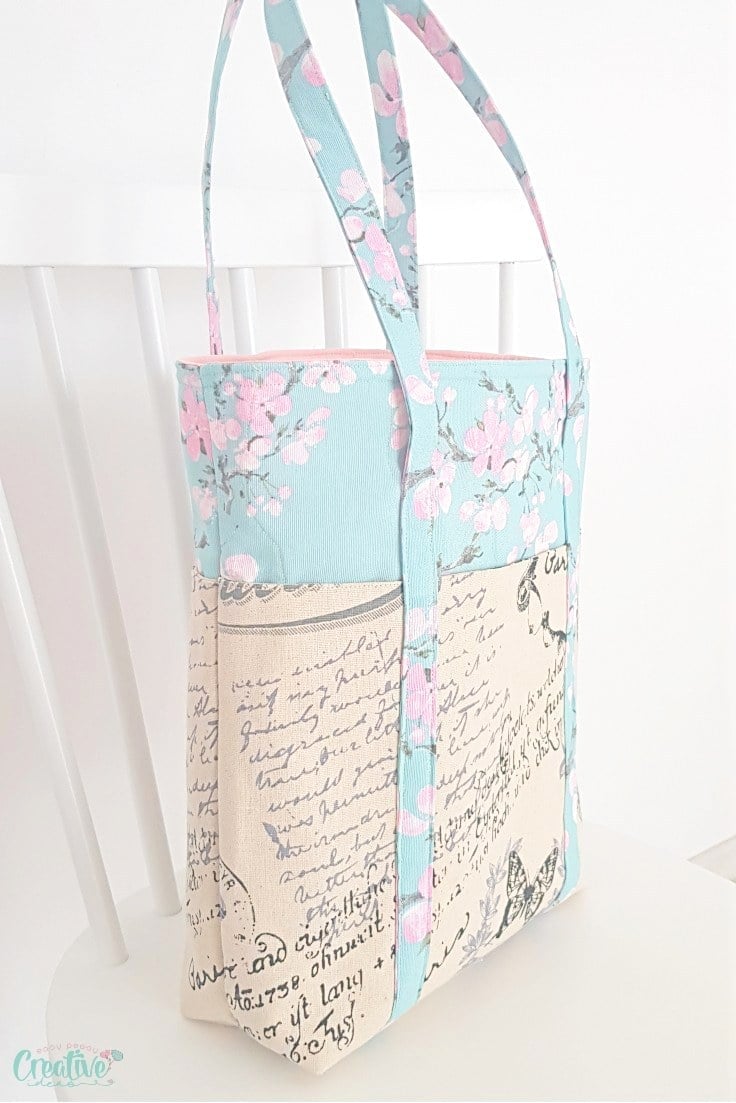
If you’re a bag enthusiast who needs a versatile option for every occasion, consider sewing this multi pocket tote bag. Featuring six pockets, it’s not only fun to create but also extremely practical. Its size is just right—neither too big nor too small—making it the perfect accessory.
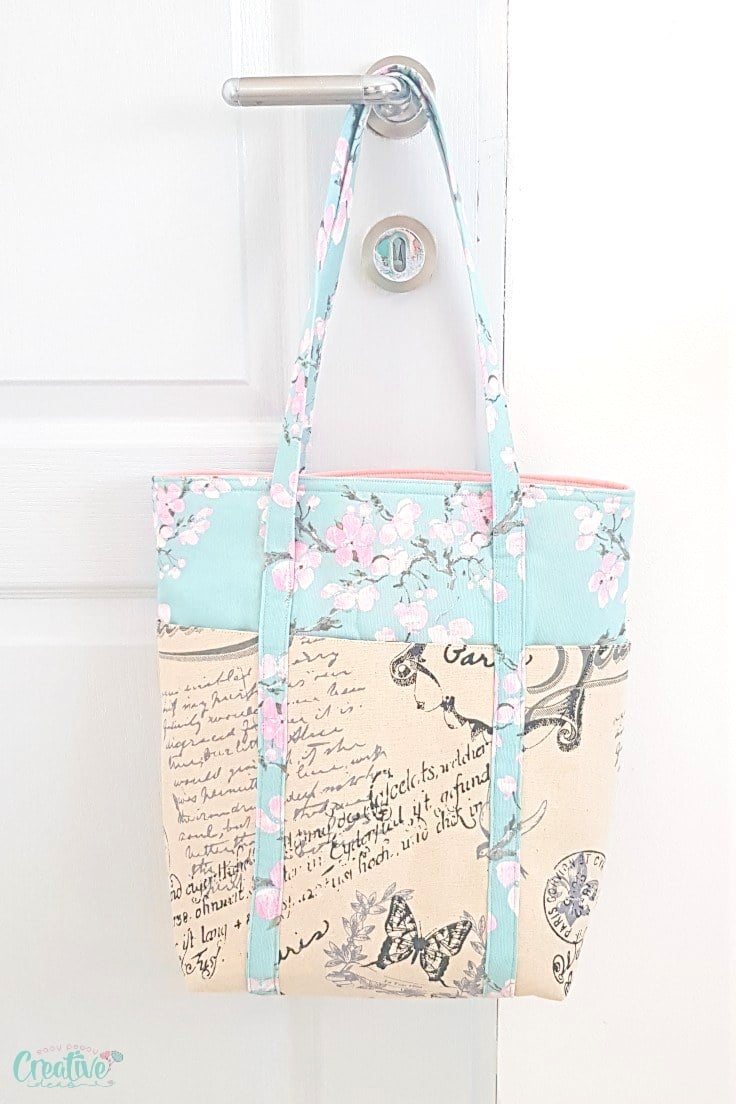
I’m excited to share this adorable multi pocket tote bag with you today! This delightful bag is a sewing project that sewists of all skill levels can tackle with ease! I’m utterly enchanted by this tote, which boasts six incredibly practical pockets. The choice of fabrics, its optimal size, and overall functionality captivate me.
Best of all, it can be completed in just a couple of hours from start to finish! Additionally, there’s the option to customize it further by adding even more pockets inside, ranging from a simple slip pocket to a more sophisticated welt zipper pocket.
I made this tote bag with a lot of pockets specifically for my daughter, Ellie, to hold all her drawing materials while we’re out and about — naturally, I’ll be the one carrying it! This tote isn’t sized for children but rather designed as a medium-sized tote bag suitable for adults. Its simple yet charming design makes it versatile enough to transport virtually anything, from sewing or knitting essentials to books, or it can simply serve as a stylish everyday tote bag.
How to sew a multi pocket tote bag
Materials:
- approx. 1 1/2 yards cotton fabric for the bag and the straps
- about 1/2 yard cotton fabric for lining
- approx. 1 yard cotton fabric for the pockets
- batting 2 x 16″ by 14 1/2″
- optional – interfacing for the pockets (if your fabric is not thick enough)
- scissors
- tape measure or yardstick
- fabric pen
- pins
- quilting clips
- seam gauge
- pressing iron
- matching thread
- sewing machine
Instructions:
Cut the fabric
- Cut the bag pieces as follows:
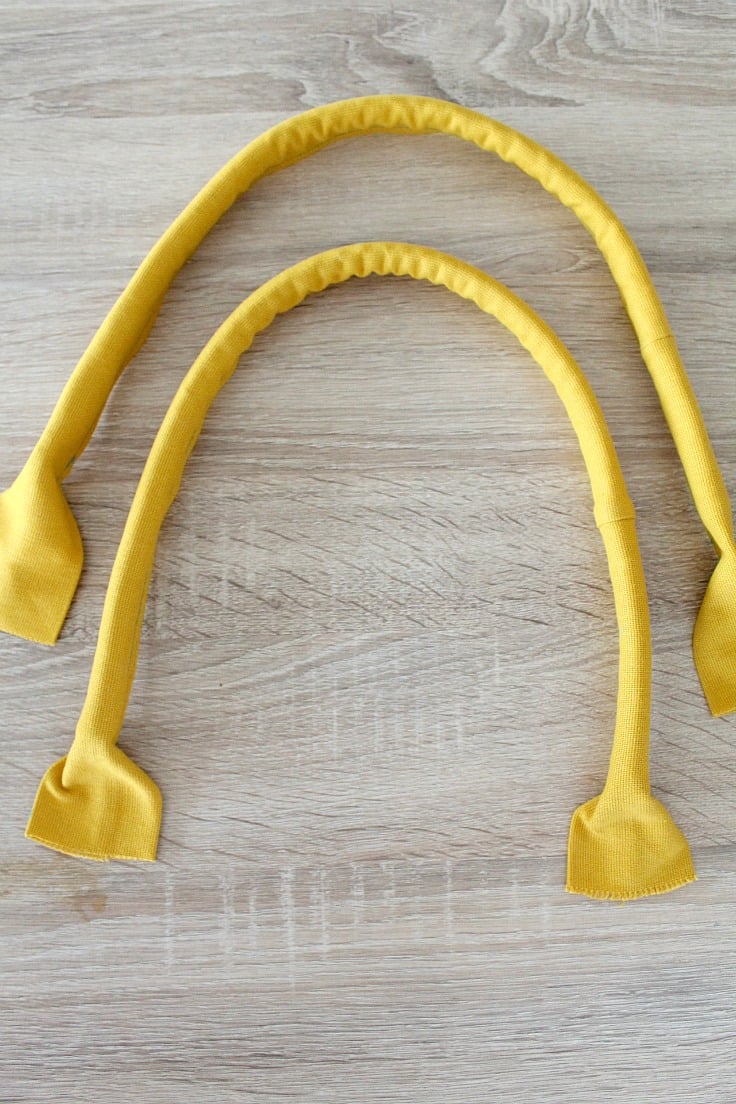
- for the straps: 2 strips of 4″ by 50″
- the bag fabrics: 2 strips of 17″ by 15 1/2″
- for the lining: 2 strips of 17″ by 15 1/2″
- for the pockets: 4 strips of 13″ by 15 1/2″
- batting: 2 strips of 17″ by 15 1/2″
Make the straps
- Fold each strap in half, lengthwise, with right side out and press with iron on steam.
- Open the straps and fold each edge towards the center and press.
- Fold back and press.
- Topstitch each edge with 1/8″ allowance.
Prepare the bag pieces
- Place one bag piece wrong side up and top with batting
- Pin and free motion quilt these two pieces together.
- Place the bag pieces right side out and top with the lining piece wrong side up.
- Pin the top and sew with 1/4″ allowance.
- Repeat for the second set of bag fabrics.
Make the pockets
- Place 2 of the pocket pieces right sides together.
- Pin the top and sew with 1/4″ allowance.
- Fold one of the pieces up then fold under.
- Top stitch with 1/8″ allowance.
- Repeat for the second set of pocket fabrics.
Sew the bag pieces together
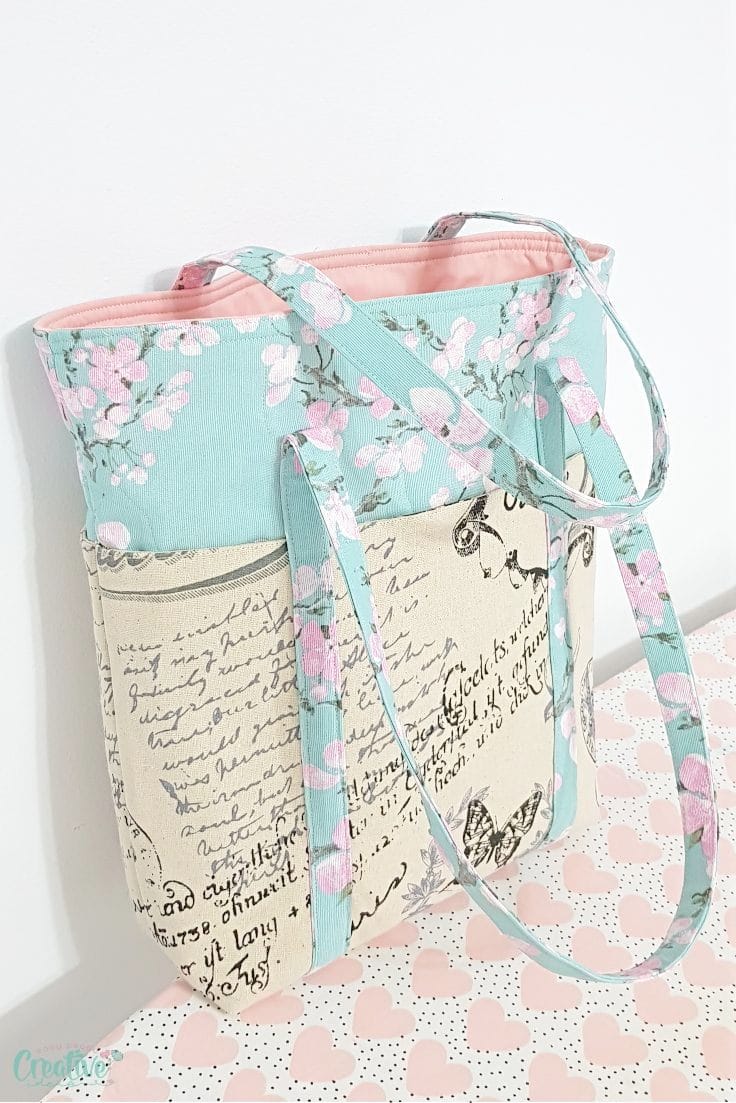
- Place one of the bag panels right side up, with the lining at the top of the bag.
- Place one pocket over the bag panel, bottoms matching.
- Measure 5″ away from both sides and place one of the straps over.
- Pin and sew the strap to the bag by topstitching the edges with 1/8″ allowance, stopping 1″ above the pocket.
- Repeat for the second bag panel, second pocket and second strap.
- Place one panel right side up and top with the second panel wrong side up. Clip all sides and sew with 1/2″ allowance, leaving a gap in the lining to turn the bag right side out.
- Box all four corners (2 in the bag and 2 in the lining).
- Turn the bag right side out through the bag then topstitch the gap or hand stitch with a ladder stitch.
- Push the lining inside the bag and top stitch the top of the bag with 1/8″ allowance. Run a second decorative stitch, 1/8″ below the first one.
- Press the bag and you’re done!
Tips for the best results
- Use high-quality cotton fabric for the best durability and longevity of the bag.
- Experiment with different pocket sizes and placements to create a customized tote that suits your needs perfectly.
- Don’t be afraid to use contrasting fabrics for a playful and unique look.
- Add extra interfacing or batting if you want a sturdier bag.
- Take your time when sewing and make sure to measure accurately for a clean and professional finish.
Frequently asked questions
Can I adjust the size of this tote bag to make it larger or smaller?
Yes, you can easily adjust the dimensions of this tote bag by simply altering the measurements of the fabric pieces. Just remember to keep all sides and corners symmetrical for a well-balanced final product.
How can I add more pockets to my multi pocket tote bag?
You can easily add more pockets to this bag. You can add inner pockets by creating slip pockets or using a tutorial, like the one mentioned above, to make a welt zipper pocket. Or make extra pockets, attached to the existing pockets featured in this tutorial. Get creative with your pocket designs to fit all of your storage needs.
Can I quilt this bag?
Absolutely! You can add some quilting techniques to the bag panels before assembling for extra texture and dimension. This is a great way to showcase your quilting skills and add a personalized touch to your tote bag.
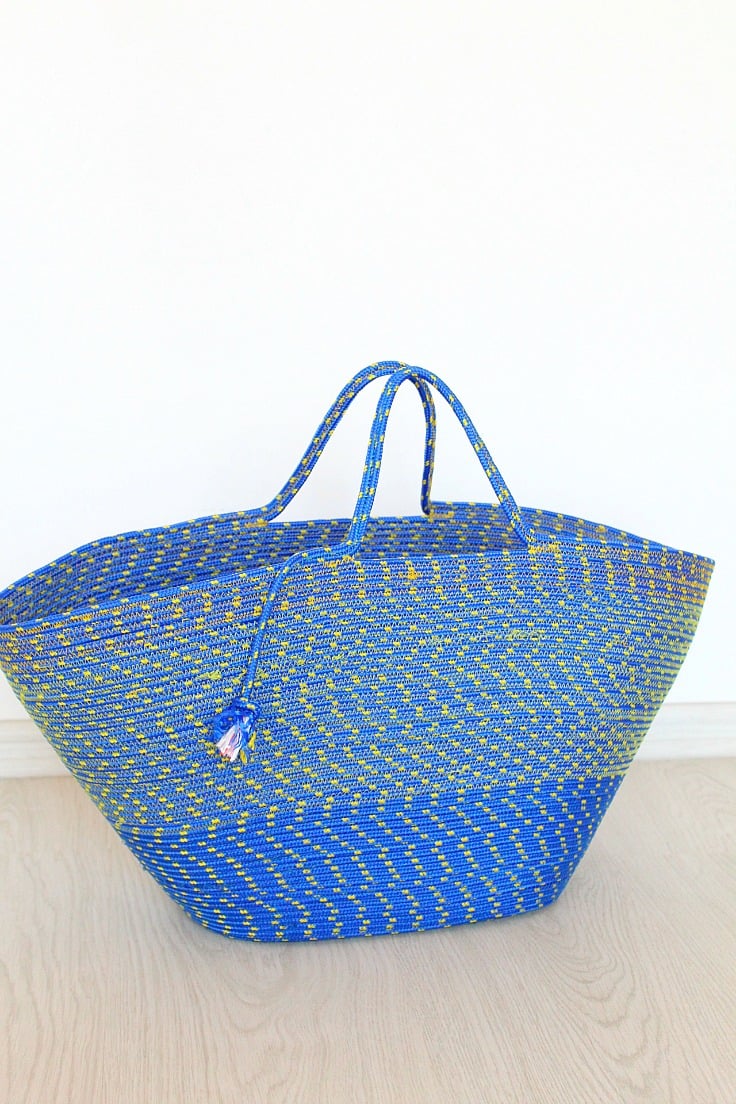
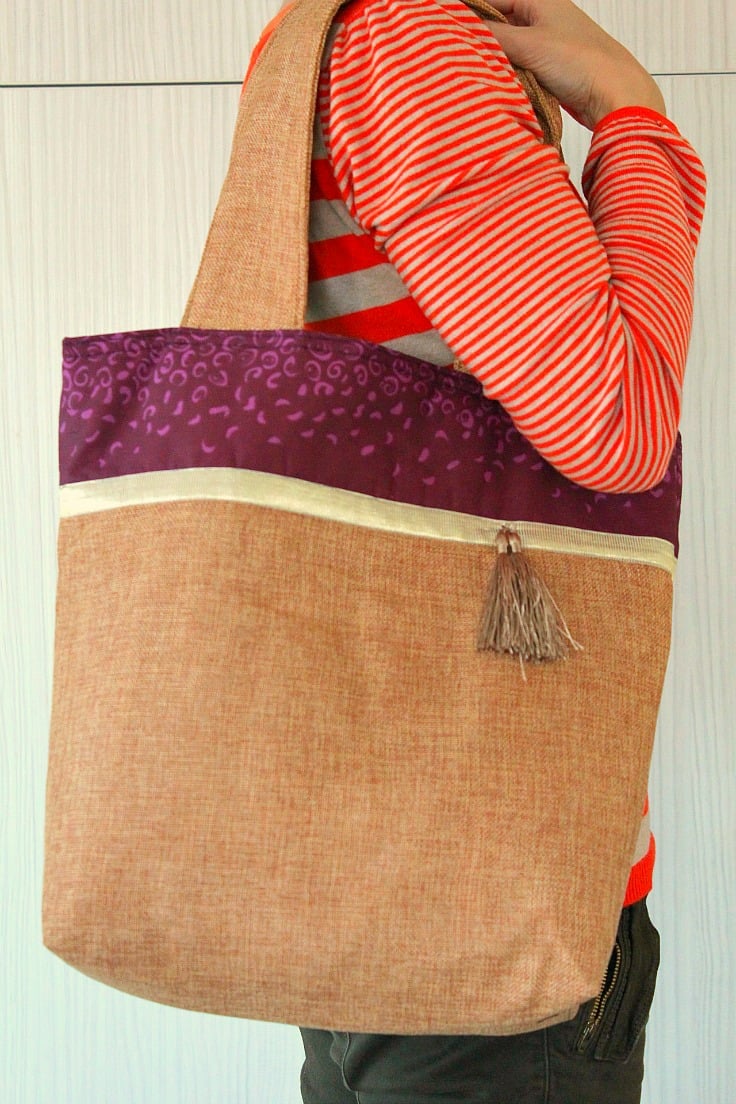
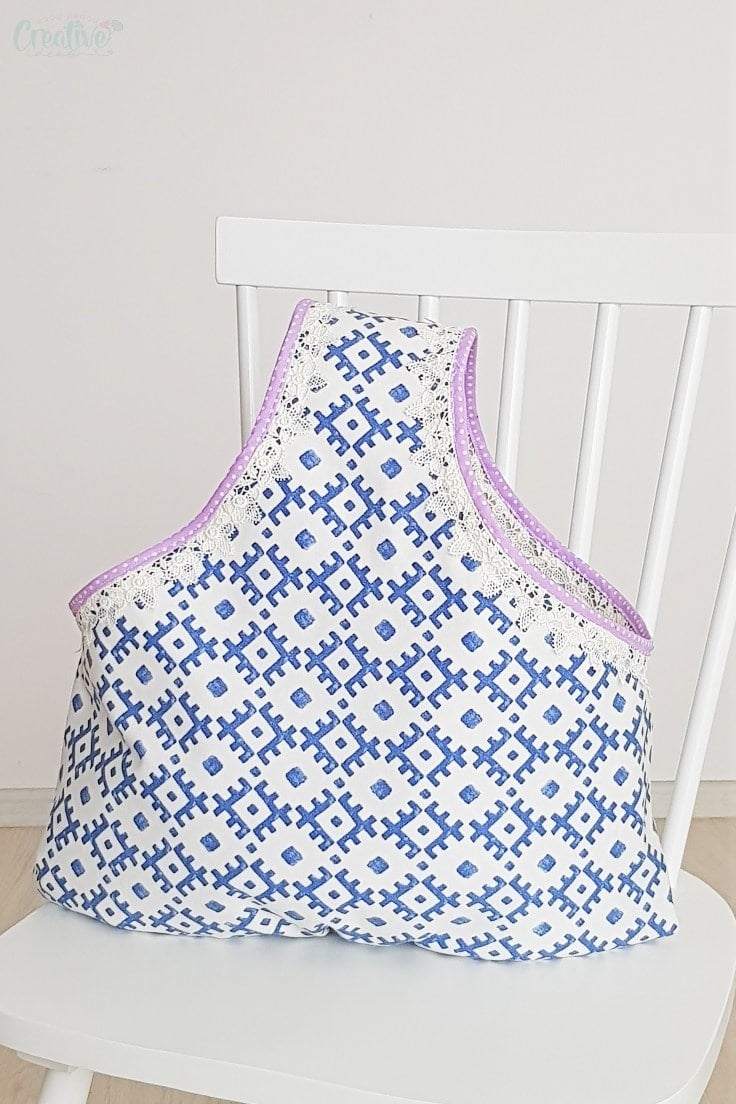
More bag ideas you will enjoy


- Deep front pocket tote bag
- Rope bag tutorial
- Reversible reusable grocery bag
- Color block tote bag
- One handle shopping bag pattern
- Reversible rope handled tote bag
- Round top canvas tote bag
Additional ideas
- Add a magnetic snap closure to keep your belongings secure.
- Use waterproof or water-resistant fabric for the exterior and lining to make it suitable for outdoor activities or beach trips.
- Personalize your bag by adding embroidery, applique, or iron-on patches.
- Use scraps of fabric to create a patchwork effect for a unique and colorful look.
- Add a zipper closure to the bag opening keep your items safe while on the go.
- Use heavier fabric, such as canvas or denim, for a sturdier and more durable tote bag.
The multi pocket tote bag is the perfect combination of style, functionality, and practicality. With its customizable design, it’s suitable for any occasion – from running errands to a day at the beach or even as a diaper bag for busy parents. So grab your sewing machine and fabric, and let’s get creating! Happy sewing!

Multi pocket tote bag sewing tutorial
Materials
- approx. 1 1/2 yards cotton fabric for the bag and the straps
- about 1/2 yard cotton fabric for lining
- approx. 1 yard cotton fabric for the pockets
- batting 2 x 16" by 14 1/2"
- matching thread
- optional - interfacing for the pockets if your fabric is not thick enough
Tools
- scissors
- tape measure or yardstick
- quilting clips
- pressing iron
Instructions
Cut the bag pieces as follows
- for the straps: 2 strips of 4" by 50"
- the bag fabrics: 2 strips of 17" by 15 1/2"
- for the lining: 2 strips of 17" by 15 1/2"
- for the pockets: 4 strips of 13" by 15 1/2"
- batting: 2 strips of 17" by 15 1/2"
Make the straps
- Fold each strap in half, lengthwise, with right side out and press with iron on steam.
- Open the straps and fold each edge towards the center and press.
- Fold back and press.
- Topstitch each edge with 1/8" allowance.
Make the bag pieces
- Place one bag piece wrong side up and top with batting
- Pin and free motion quilt these two pieces together.
- Place the bag pieces right side out and top with the lining piece wrong side up.
- Pin the top and sew with 1/4" allowance.
- Repeat for the second set of bag fabrics.
Make the pockets
- Place 2 of the pocket pieces right sides together.
- Pin the top and sew with 1/4" allowance.
- Fold one of the pieces up then fold under.
- Top stitch with 1/8" allowance.
- Repeat for the second set of pocket fabrics.
Sew the bag pieces together
- Place one of the bag panels right side up, with the lining at the top of the bag.
- Place one pocket over the bag panel, bottoms matching.
- Measure 5" away from both sides and place one of the straps over.
- Pin and sew the strap to the bag by topstitching the edges with 1/8" allowance, stopping 1" above the pocket.
- Repeat for the second bag panel, second pocket and second strap.
- Place one panel right side up and top with the second panel wrong side up. Clip all sides and sew with 1/2" allowance, leaving a gap in the lining to turn the bag right side out.
- Box all four corners (2 in the bag and 2 in the lining).
- Turn the bag right side out through the bag then topstitch the gap or hand stitch with a ladder stitch.
- Push the lining inside the bag and top stitch the top of the bag with 1/8" allowance. Run a second decorative stitch, 1/8" below the first one.
- Press the bag and you're done!
Video
Most popular sewing projects


Article may contain Amazon & affiliate links. As an Amazon Associate I earn from qualifying purchases at no additional cost to you.

Quel beau projet! Merci
Where did you get the fabric for the tote bag? It is gorgeous!
Thanks, Dee! I got it from my local store
Do you know who it was by?