Make your own cheap sewing machine needle sorting pincushion
In need for some sewing needle storage ideas? Elevate the classic pincushion to new heights with a sewing needle organizer! This sewing needle holder is super fast & easy to make and helps you keep track of your sewing needles at all times!
Sewing needle holder pincushion

Hey, guys! Today I have a very quick sewing project/tip! It’s something I’ve done in less than 10 minutes (literally, no kidding!) but is a huge help in my sewing room: a sewing needle holder sewn into a pincushion!
It’s hard to keep track of your sewing machine needles, and they always seem to go missing when you need them the most. Not only is it frustrating when you can’t find a needle when you’re in the middle of a project, but it’s also dangerous to sew with a dull needle. A sewing needle holder is the perfect solution for keeping your needles sorted and easy to find. This tutorial will show you how to make your own sewing machine needle sorting pincushion in just minutes.
In my sewing room set up I showed you the cabinet where I keep the supplies I use most often, sewing needles included. The cabinet is super handy, placed right under my sewing desk so I can easily and quickly reach my sewing needles, pins, thread spools and bobbins when I sew. My sewing needles are all stored in this cabinet, in their original cases, and I keep the cases stored in one of the rope bowls I sewed a while ago so they’re easy to identify in a pinch.
More quick sewing tips you’ll love:
- Half-square triangles pincushion
- How to hide serger tails
- Cool bobbin storage ideas
- How to make your own hem gauge
- DIY seam guide
- How to pin tulle
- How to turn a tube right side out without tube turner
- Genius bobbin storage ideas
- Pumpkin pincushion tutorial

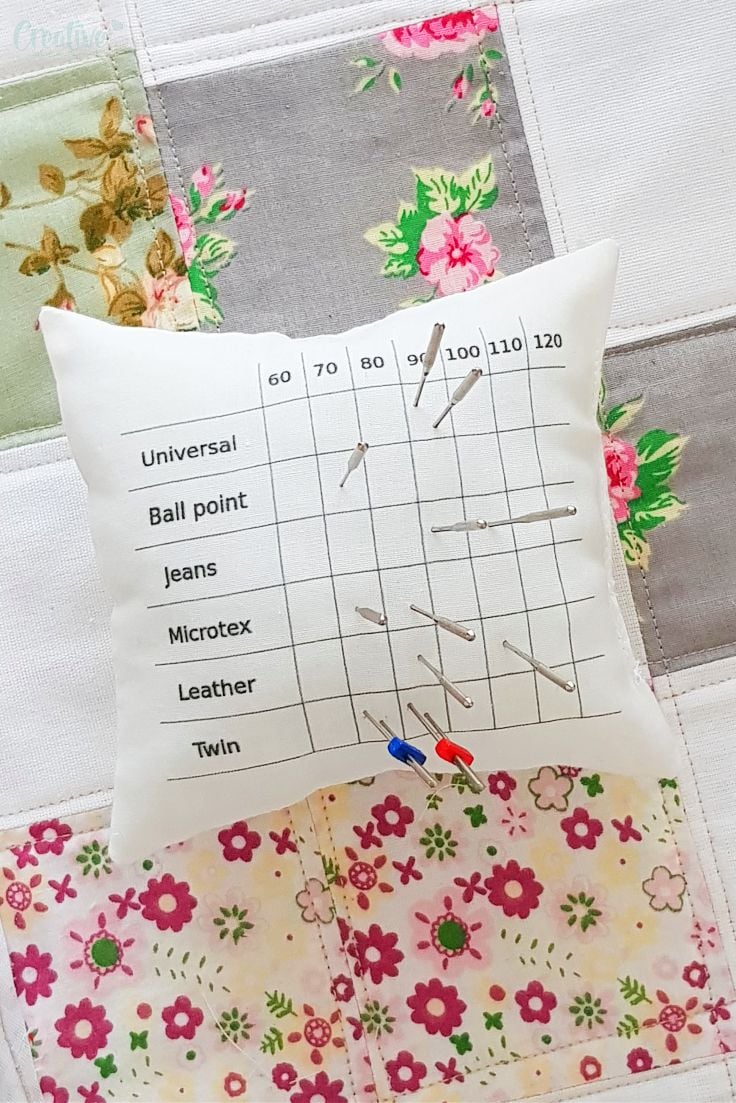
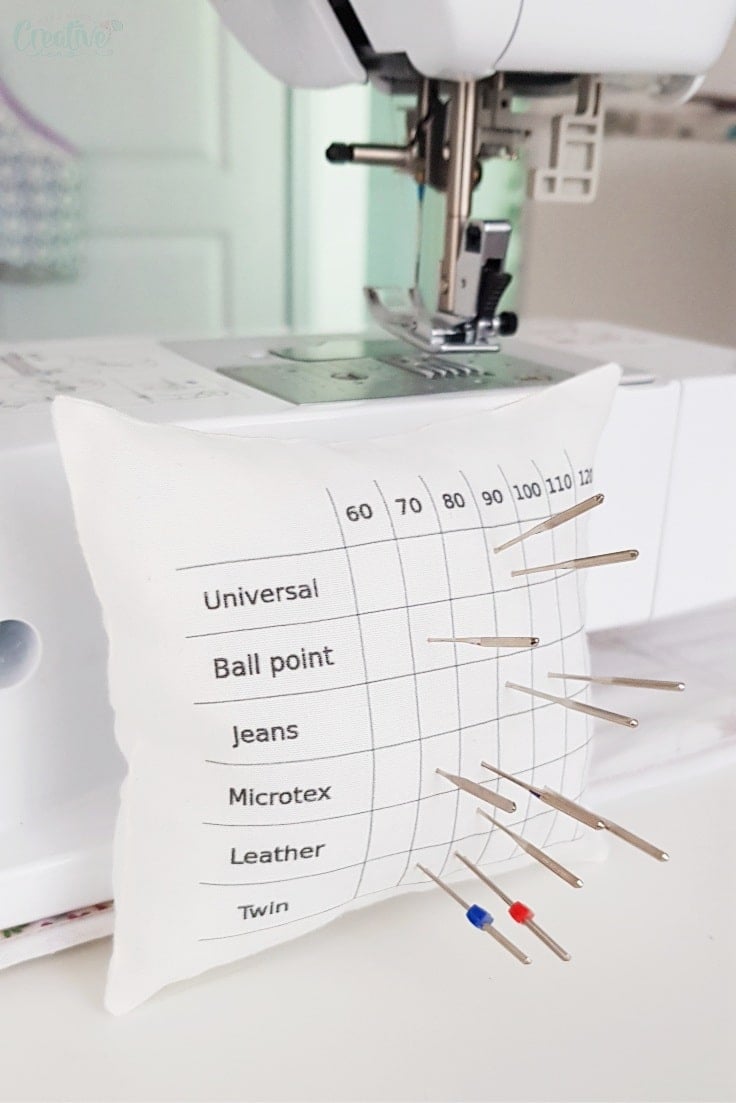
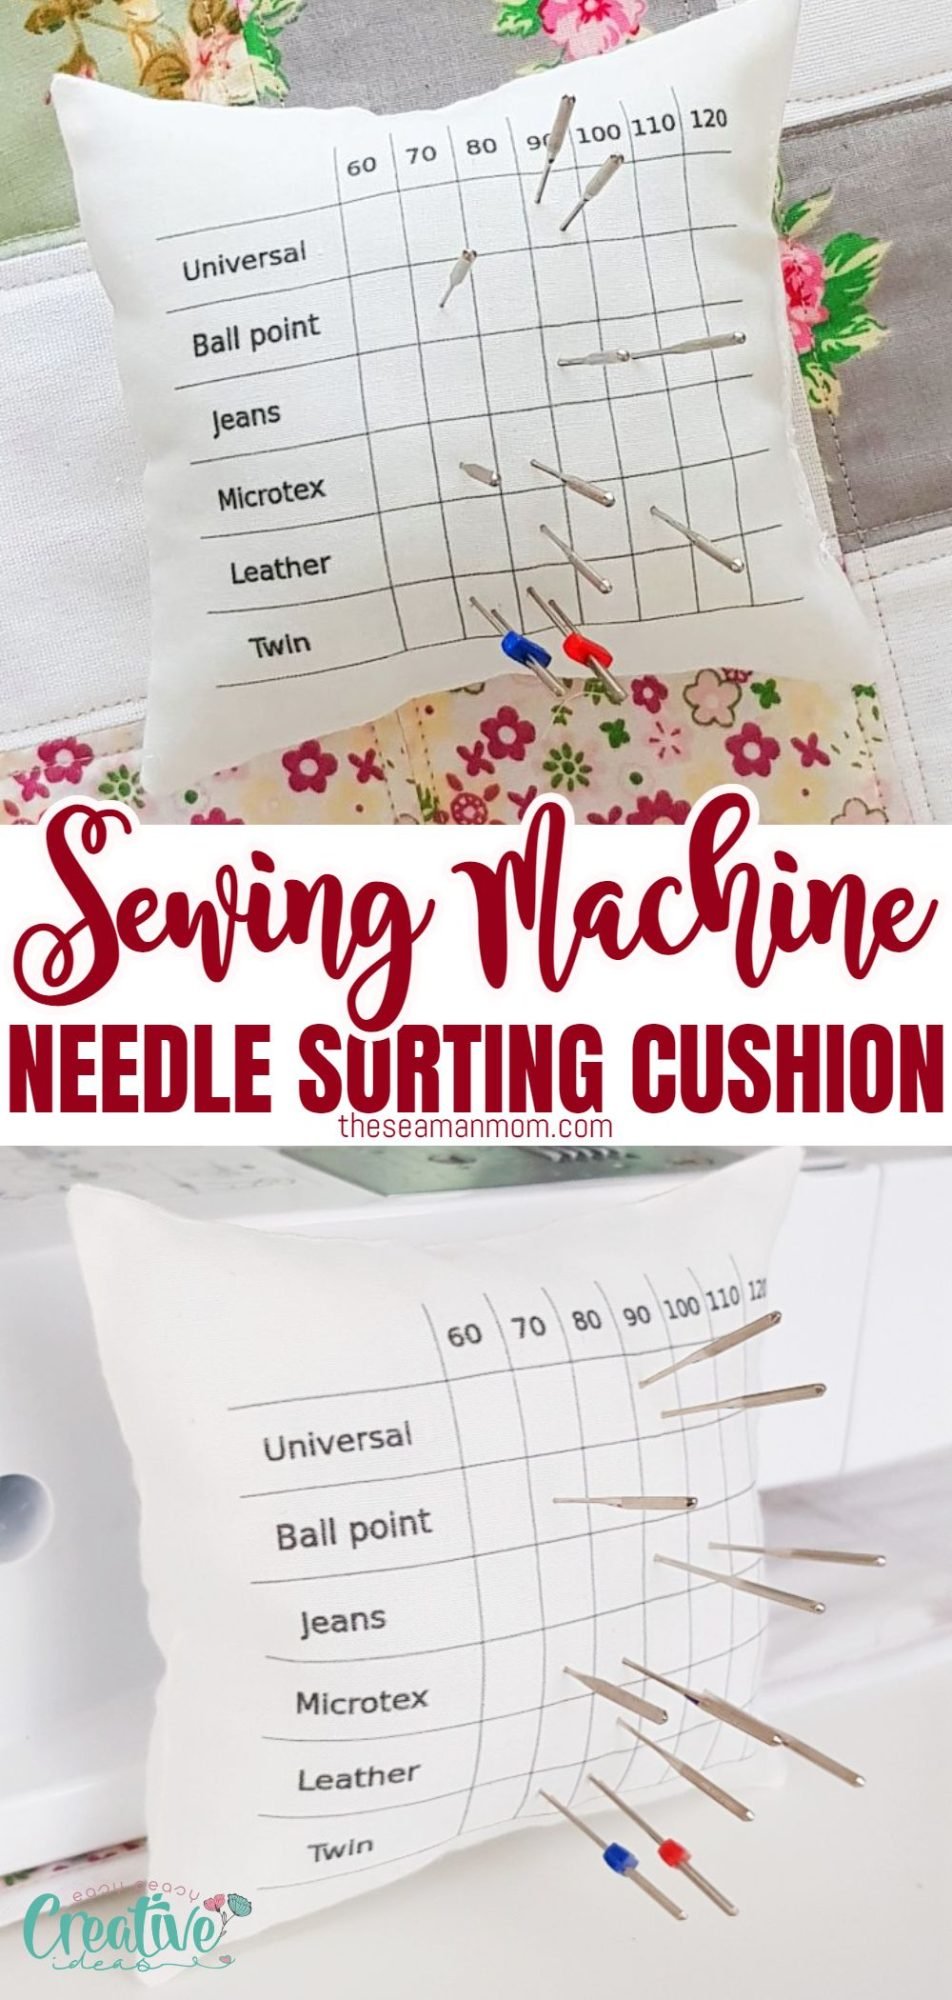
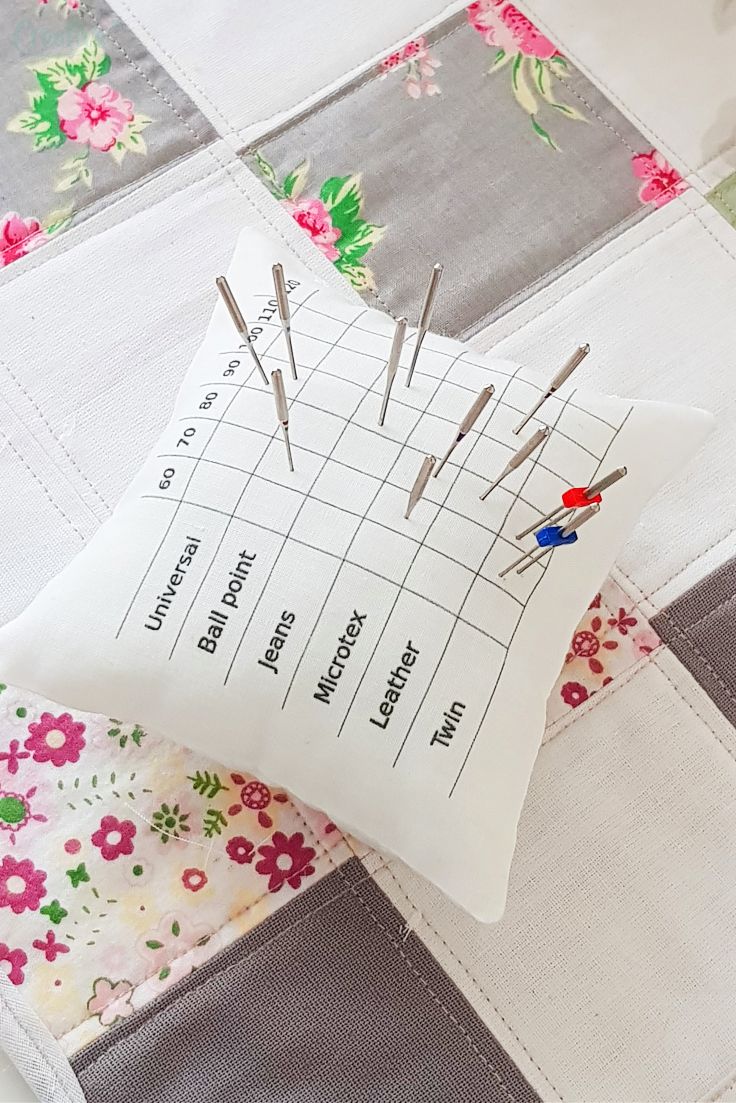
But I thought I should go one step forward and make my life even more easy and my sewing a little faster (in addition to following these tips for sewing faster!). So I decided to make a little pincushion as a sewing needle holder. This sewing needle organizer is absolutely fabulous! It has a little handy dandy chart printed on for needle types and sizes.
I keep this sewing machine needle pin cushion right on my sewing table, making swapping needles such a breeze! This kind of sewing needle pin cushion is particularly helpful on projects with mixed fabric types where I need to use different needles for each fabric type.
If you’re not a fan of keeping your needles in a needle case, this little pincushion is the right project for you.
What is a needle keeper?
A needle keeper is a handy little contraption that helps you organize and sort your needles, but without having to keep them in their original packages. Just like this pretty pincushion!
I know there are a ton of different types of sewing needle organizers or pin cushions out there. Some have cases, others have slots for inserting your needles into, some have a little drawer. My needle holder is simply a pincushion with a chart for the type and size of the needles I use most often, with little slots for each type of needle.
I decided to make this sewing machine needle organizer because it’s easy and quick to make but also because it is perfect for organizing your needles by type or size so you can find them quickly without having to rifle through all your bags and drawers looking for different sized needles. Also because it’s pretty, who doesn’t love a cute sewing needle cushion?
Is this sewing needle holder beginners friendly?
I think this is a great sewing project for beginners! It doesn’t require advance sewing skills at all, anyone able to sew an entire rectangle will make this with not much effort! The only sewing element required are straight lines, so it’s super easy to make.
What’s included in the needle chart of this pincushion?
I added a spot for all of the sewing machine needles I use most often:
- Universal,
- Ball point,
- Jeans,
- Microtex,
- Leather
- Twin needles
In my version I didn’t include a spot for embroidery needles but there’s a SVG file included, where you can modify and add all of the needles that you want/use.
You can also use the chart template and this easy project to make a pincushion for hand sewing needles if you’re more into that kind of needle work.
How to use this needle sorting pincushion?
You can attach this sewing needle holder to your machine if you like as I did with this patchwork pincushion. Or keep it on the table, in plain sight at all times. It’s really up to you! I like having mine right next to my sewing machine so I can quickly grab a new needle when needed (or change one for another).
What kind of fabric do you use to make this needle pincushion?
The best fabric to use is cotton because it’s easier to worm with and to print onto. I like to use light colors like white or pale yellow for this sewing project because it’s easier to see the markings on the fabric.
I used the same fabric for both sides of the pincushion but feel free to use different fabrics to add more interest to your project.
Do you need interfacing?
No, you don’t! I used medium weight cotton that is thick enough for this kind of sewing project. You can always use interfacing if you like though, if your cotton is not thick enough. I do recommend skipping iron on interfacing though as the glue of the interfacing might stick to your needle cushion or affect the tip in time.
What kind of filling is best for this pincushion?
I simply used poly-fill but fabric scraps or batting work too for this project. It has the perfect amount of fluffiness to make the sewing needle holder soft but not too squishy so the needles stay in place.
Also steel wool is an interesting alternative for this project, if you like to sharpen your needles often.
How long does it take to make this sewing needle holder?
It takes less than 10 minutes! Seriously, I’m not kidding! No joke here! One you gather all the materials, this needle sorting pin cushion is that easy and fast to put together!
This cushion looks so cute and makes your sewing room look pretty fancy and unique (not many people have this kind of pincushion, right?). And not to mention it takes just a few minutes to make, from cutting the fabric, printing the chart onto the fabric and sewing it into a lovely, handy dandy needle pin cushion! It’s truly that simple and quick, so why not make your own sewing needle holder right now?
I’ve made a cool chart for this equally cool needle pincushion and you can purchase it from here.
Needle sorting pin cushion
Materials:
- 2 pieces of fabric scraps (preferably cotton)
- sewing needle chart template
- inkjet or bubble jet printer with pigment ink
- pins
- matching thread
- sewing machine
- pressing iron
- poly-fill
Directions:
- Print the sewing needle chart template onto fabric as indicated in this tutorial. This is my personal method but feel free to use your own favorite way of printing on fabric.
- Cut both the front and back fabric to size, leaving about 1″ allowance on all edges.
- Place the front and back fabric right sides together and pin all sides.
- Sew the pinned area with 1/4″ allowance, leaving a small gap to turn the fabric out in one side.
- Trim all seams to half and clip the corners as indicated in this tutorial (read clipping outer corners).
- Turn fabric right side out through the gap you left in one side and use this tip to push corners out and make perfectly neat and sharp corners.
- Smooth out all seams, fold the gap inside 1/8″ then give it a good press with your pressing iron on steam.
- Fill the pincushion with poly-fill then hand stitch the gap or edge stitch with your sewing machine, pushing the poly-fill inside as much as possible to create room for sewing.
- Distribute the poly-fill evenly.
- Pin sewing needles to their respective chart on the needle cushion.
If you liked this quick sewing tip for making your own sewing needle cushion or if you have questions about this project or any other sewing subject please leave a comment below and I’ll get back to you as soon as possible! Thanks and happy sewing!
Pin to save for later

Most popular sewing projects:
- Tips for sewing a round hem
- Corded bag handles
- Flutter sleeve dress pattern
- How to laminate cotton fabric
Article may contain Amazon & affiliate links. As an Amazon Associate I earn from qualifying purchases at no additional cost to you.


I tried to go to the sewing needle chart template listed above, but the link is not working. Is there another way to get the chart template? Thanks so much.
Kathy
Hi Kathy. I checked the links & they both work for me, on desktop & mobile. Check your mobile, maybe there’s a setting that blocks apps from opening.
Am already a subscriber, where can I find this template?
Hi, Sue. It’s in the sewing library. Email me at petro@theseamanmom.com if you don’t have the credentials anymore.
Hi! I joined your newsletter and made myself a needle minder and wanted to make one for my friend and now I can’t find the file. Can I receive it again or how does this work?? Thanks!
Thanks for joining my newsletter, Michelle! The file is in the same location, the sewing library.
Great idea! However, if you replace the polyfill with emery or steel wool you would be cleaning and sharpening the needles every time you use them. Much like the little strawberry that use to come with the red tomato pin cushion.
Hi, Lynne! Thanks for your feedback! While this pincushion can be used as a needle sharpener, I wouldn’t recommend sharpening sewing machine needles at home as they might pose a threat when using them in the actual act of sewing with a sewing machine, due to improper sharpening. I always recommend replacing the needle after every project or after 10 hrs continuous sewing.
I sent a comment yesterday about the sewing needle pin cushion. Since I can’t see my question anymore I’m assuming (yeah, I know…) It was deleted and by reading reply people have left you either wont or can’t answer the question. Is the templet for this pin cushion included in the google drive?
Hi Sylvie. None of your assumptions are correct, I just didn’t happen to check the site or my emails since yesterday :) Please see my response to your other comment!
I sent a comment yesterday about the sewing needle pin cushion. Since I can’t see my question anymore I’m assuming (yeah, I know…) It was deleted and by reading reply people have left you either wont or can’t answer the question. Is the templet for this pin cushion included in the google drive?
Hi! I subscribed to the newsletter, received email with google drive. But ni needle cushion. I checked the ebooks, printables and templat. Not there. Could you possible direct me?
Thank you!
Hi, Sylvie! I see you subscribed to the crafts newsletter instead of the sewing newsletter. The needle pincushion is available for the sewing newsletter subscribers so I just added your email to that group. You can now find the template in the google folder under the sewing free pattern, right at the top.
still can’t find free download for this project
I think this is a fabulous idea! Quick and simple. I am going to make several for my sewing friends! Thank-you for a really great idea!
Hi, Jeri! Thanks so much for your lovely comment, I’m glad you liked this simple idea! xoxo
I have subscribed for your newsletter, but cannot find where to find the free print-out for the Sewing needle holder pincushion – chart template. Is it hiding in a very conspicuous place, like right under my nose?
Haha! It’s kind of under your nose :) We’ve sent you a welcome email with the link and password to the sewing library. The needle pincushion template is in one of the folders at the top of the library.
Thank-you very much! I will check this mornings emails!
And forget my last message. I’ll let you know if I don’t get it!