Quilted snap bag tutorial
This easy tutorial shows you how to make a practical and functional snap bag using a secret “ingredient”! This cute snap pouch is quilted from small pieces of scrap fabric and is super fun to make and a great gift idea!
Snap bag tutorial

Have you been looking for a cute sewing idea to use up some of those fabric scraps in your stash? Well, look no more because this adorable snap purse is exactly what you need! While lengthy, this snap purse project is super simple to make and the pouch looks so fun and attractive with all those lovely colors!
How to make a snap bag, you’re asking? Well, it’s so easy to sew and the design is pretty creative, you’ll most likely fall in love with this snap bag you’ll want to make tons of these for all your family and friends. Which is perfectly fine, especially if you have many fabric scraps! The tutorial is also useful (I’m biased, I know lol), showing you all the steps I took in making this functional and practical quilted bag.
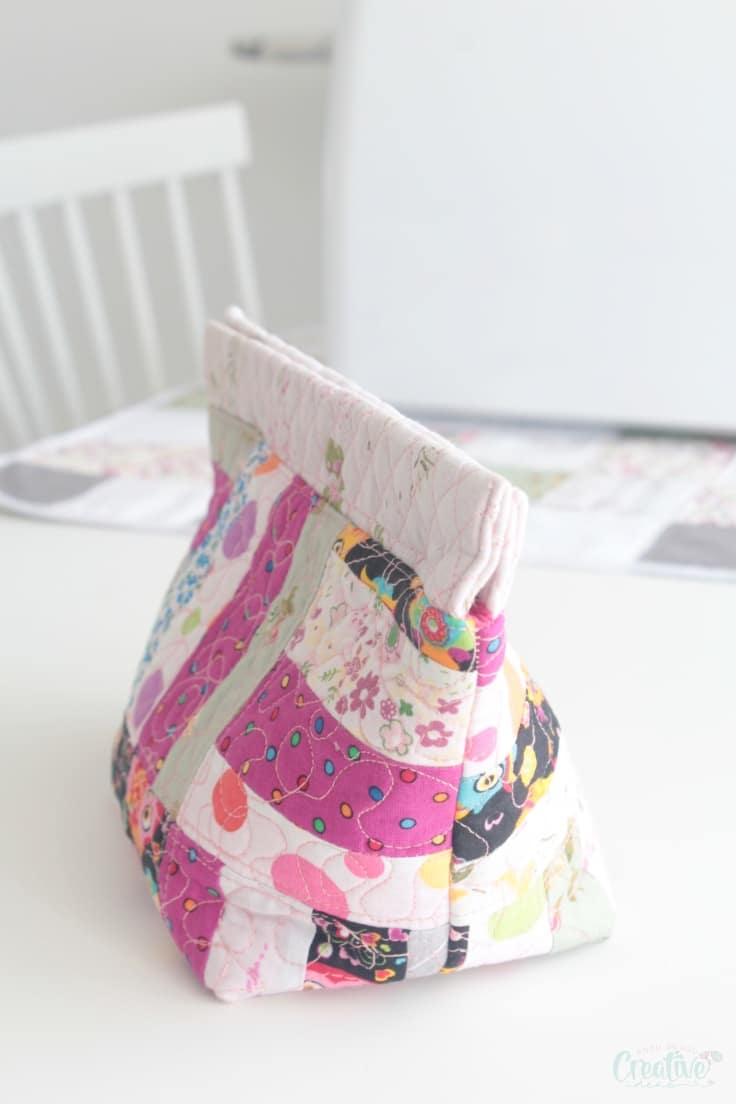
Quilting is fun but it can get overwhelming on larger projects! So if you’ve been wanting to give quilting a try, this lovely snap bag is perfect for starting out!
Want more scrap projects?
- DIY fabric twine with fabric scraps
- Cute bunny banner
- Quilted sewing mat with thread catcher
- Lined zipper pouch
- DIY lavender bags
- Pumpkin mug rug
- Quilted zipper pouch
- Placemat evening purse sewing tutorial
- Easy fabric yoyo flowers
- Quilted patchwork potholders

I made this lovely snap bag for my little one, as a lunch bag. She had some troubles with her old lunch bag which I originally created as a snack bag for her but quickly turned into her sandwich bag. So I’ve decided to create something new and fun for her lunch, a little bag that she would be able to carry and handle with ease and open in a snap. Literally! I used metal measuring tape to make the snap opening for this snap pouch. Mind blowing idea that worked like a charm!
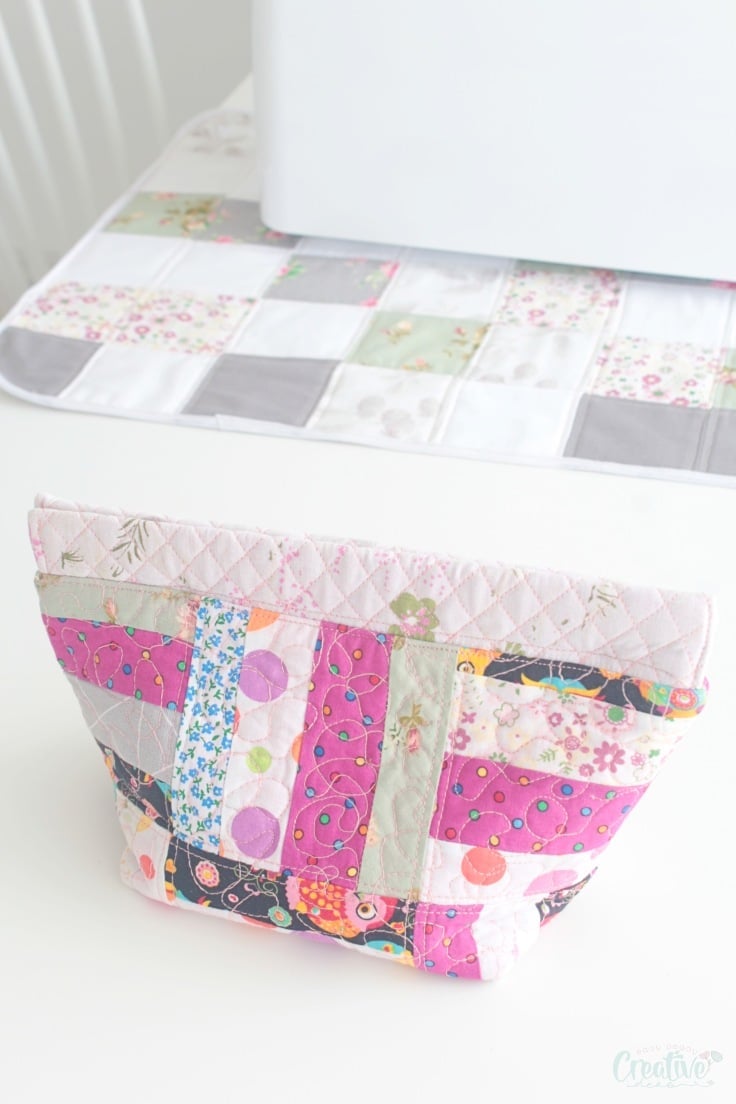
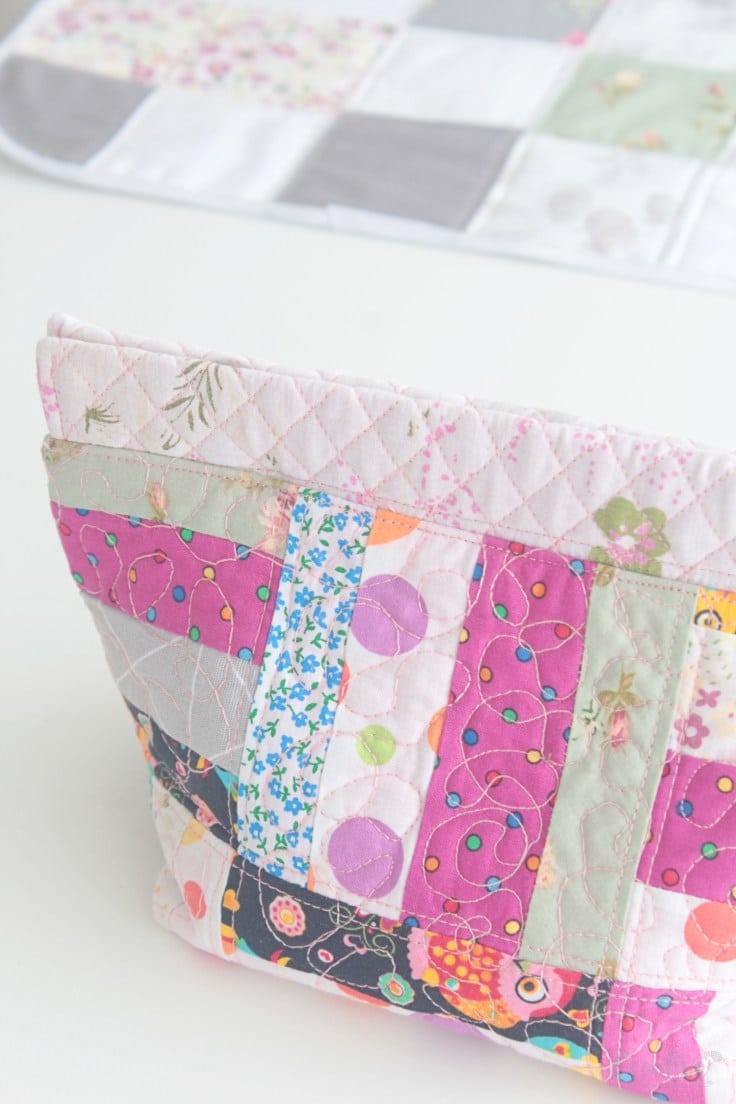
Making the quilted panels took quite a while because there were so many little pieces of fabric scraps that needed to be sewn together. I also took a long time trying my hand at free motion quilting for the first time. I’m sure I’ve done it all wrong but I’m proud of myself for finally having the courage to try something new and I kind of love the outcome! Once the panels were done, putting this snap bag together was a breeze, it literally took 5 minutes to sew all the pieces together. I’ll show you how right away!
Snap bag
Materials:
- scrap fabric for the outer bag
- fabric for the lining
- batting or fleece
- backing fabric
- quilting ruler
- rotary cutter
- cutting mat
- metal measuring tape
- electrical tape
- sewing scissors
- craft scissors
- pins
- quilting clips
- matching thread
- sewing machine
- quilting foot
- walking foot
- zipper foot
- pressing iron
Directions:
Making the blocks
- Cut strips of fabric of about 1 1/2″ by 4″ (work with whatever size you have but please remember cutting the strips too narrow will pose a challenge when sewing the strips together and the blocks won’t look that pretty).
- Gather the strips in groups of three.
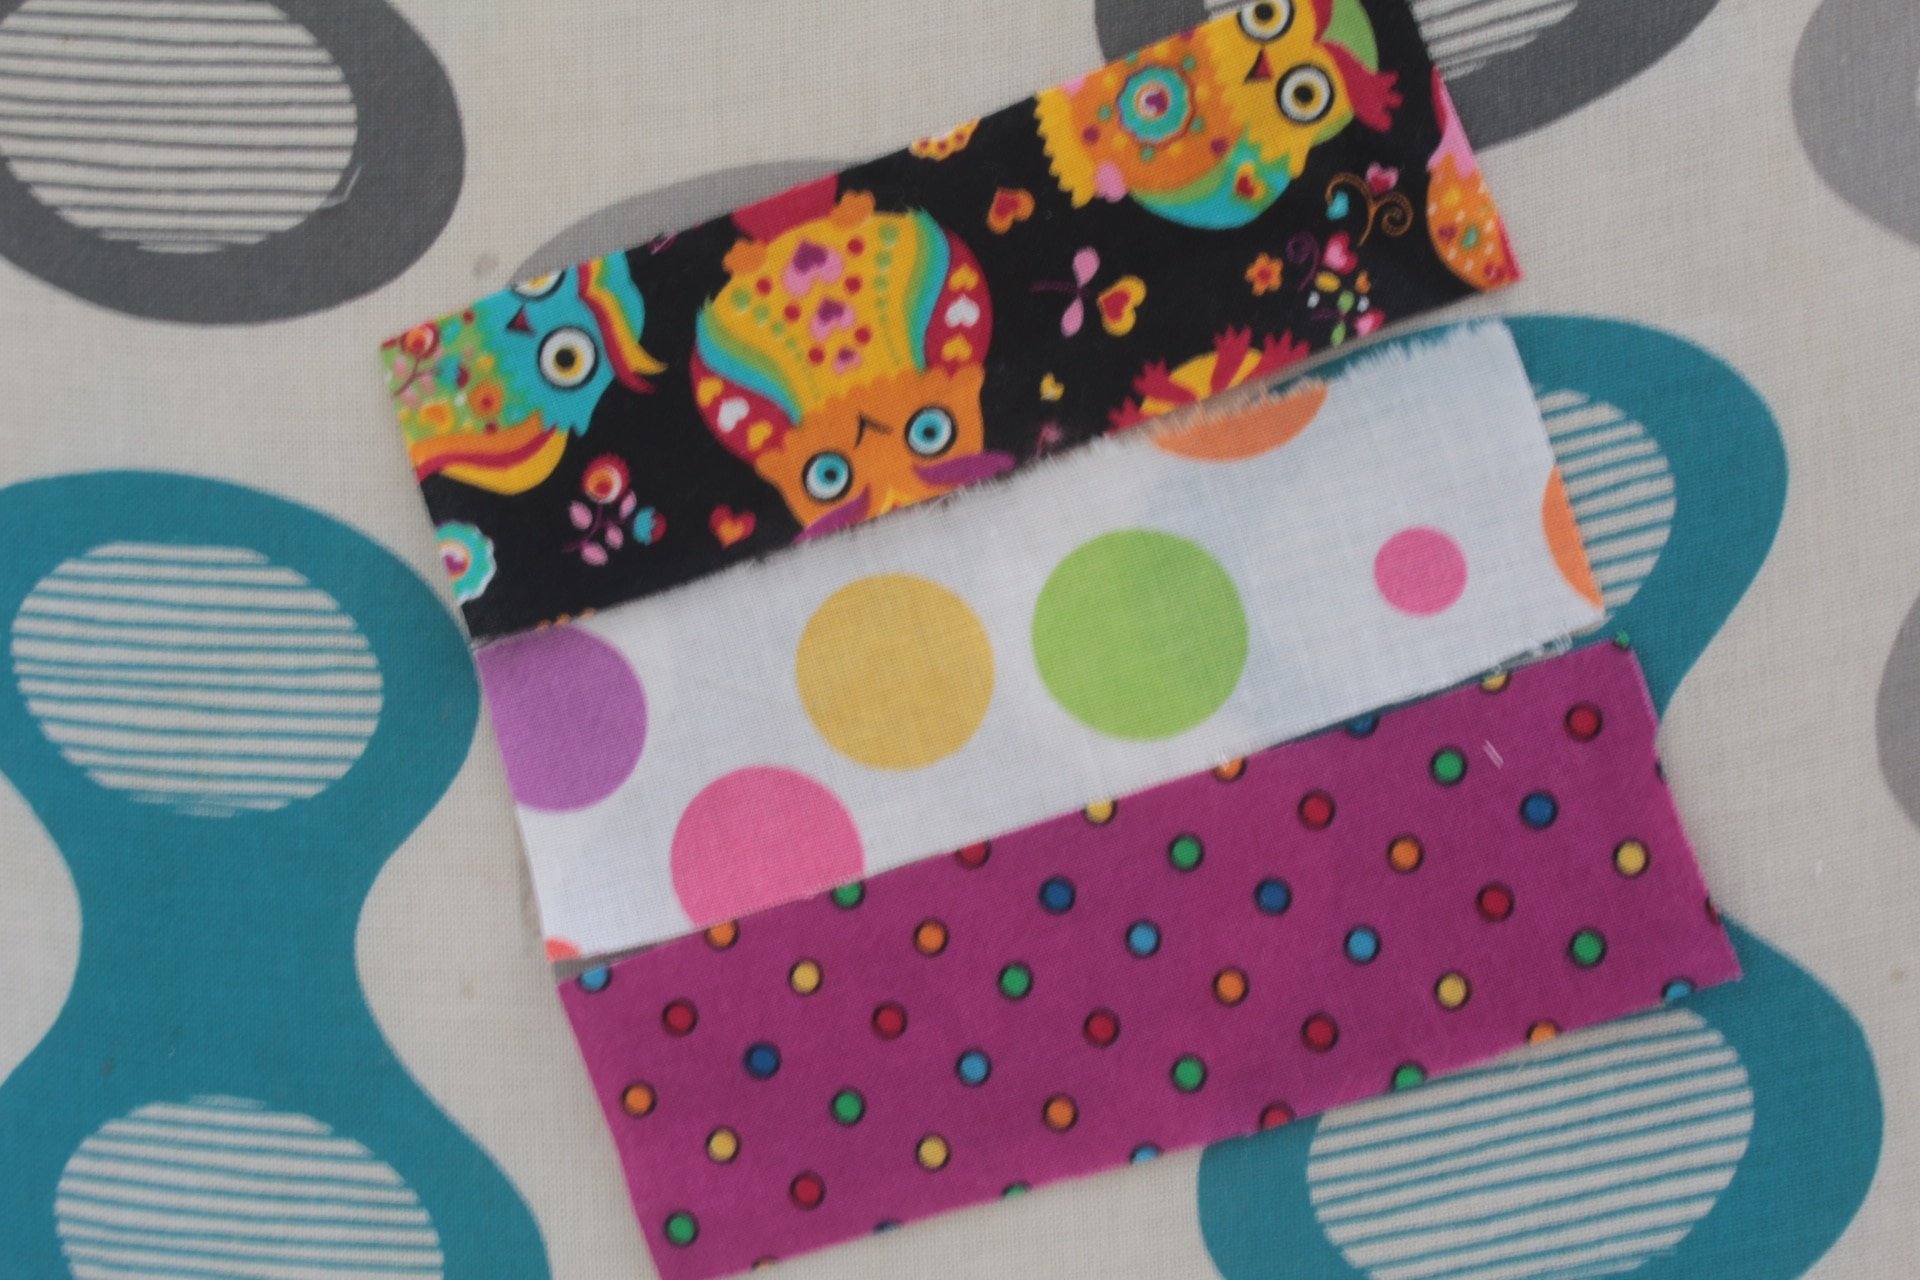
- Sew three strips at a time, side to side, using a 1/8″ allowance.
- When done with all groups of three strips, press all seams to one side.
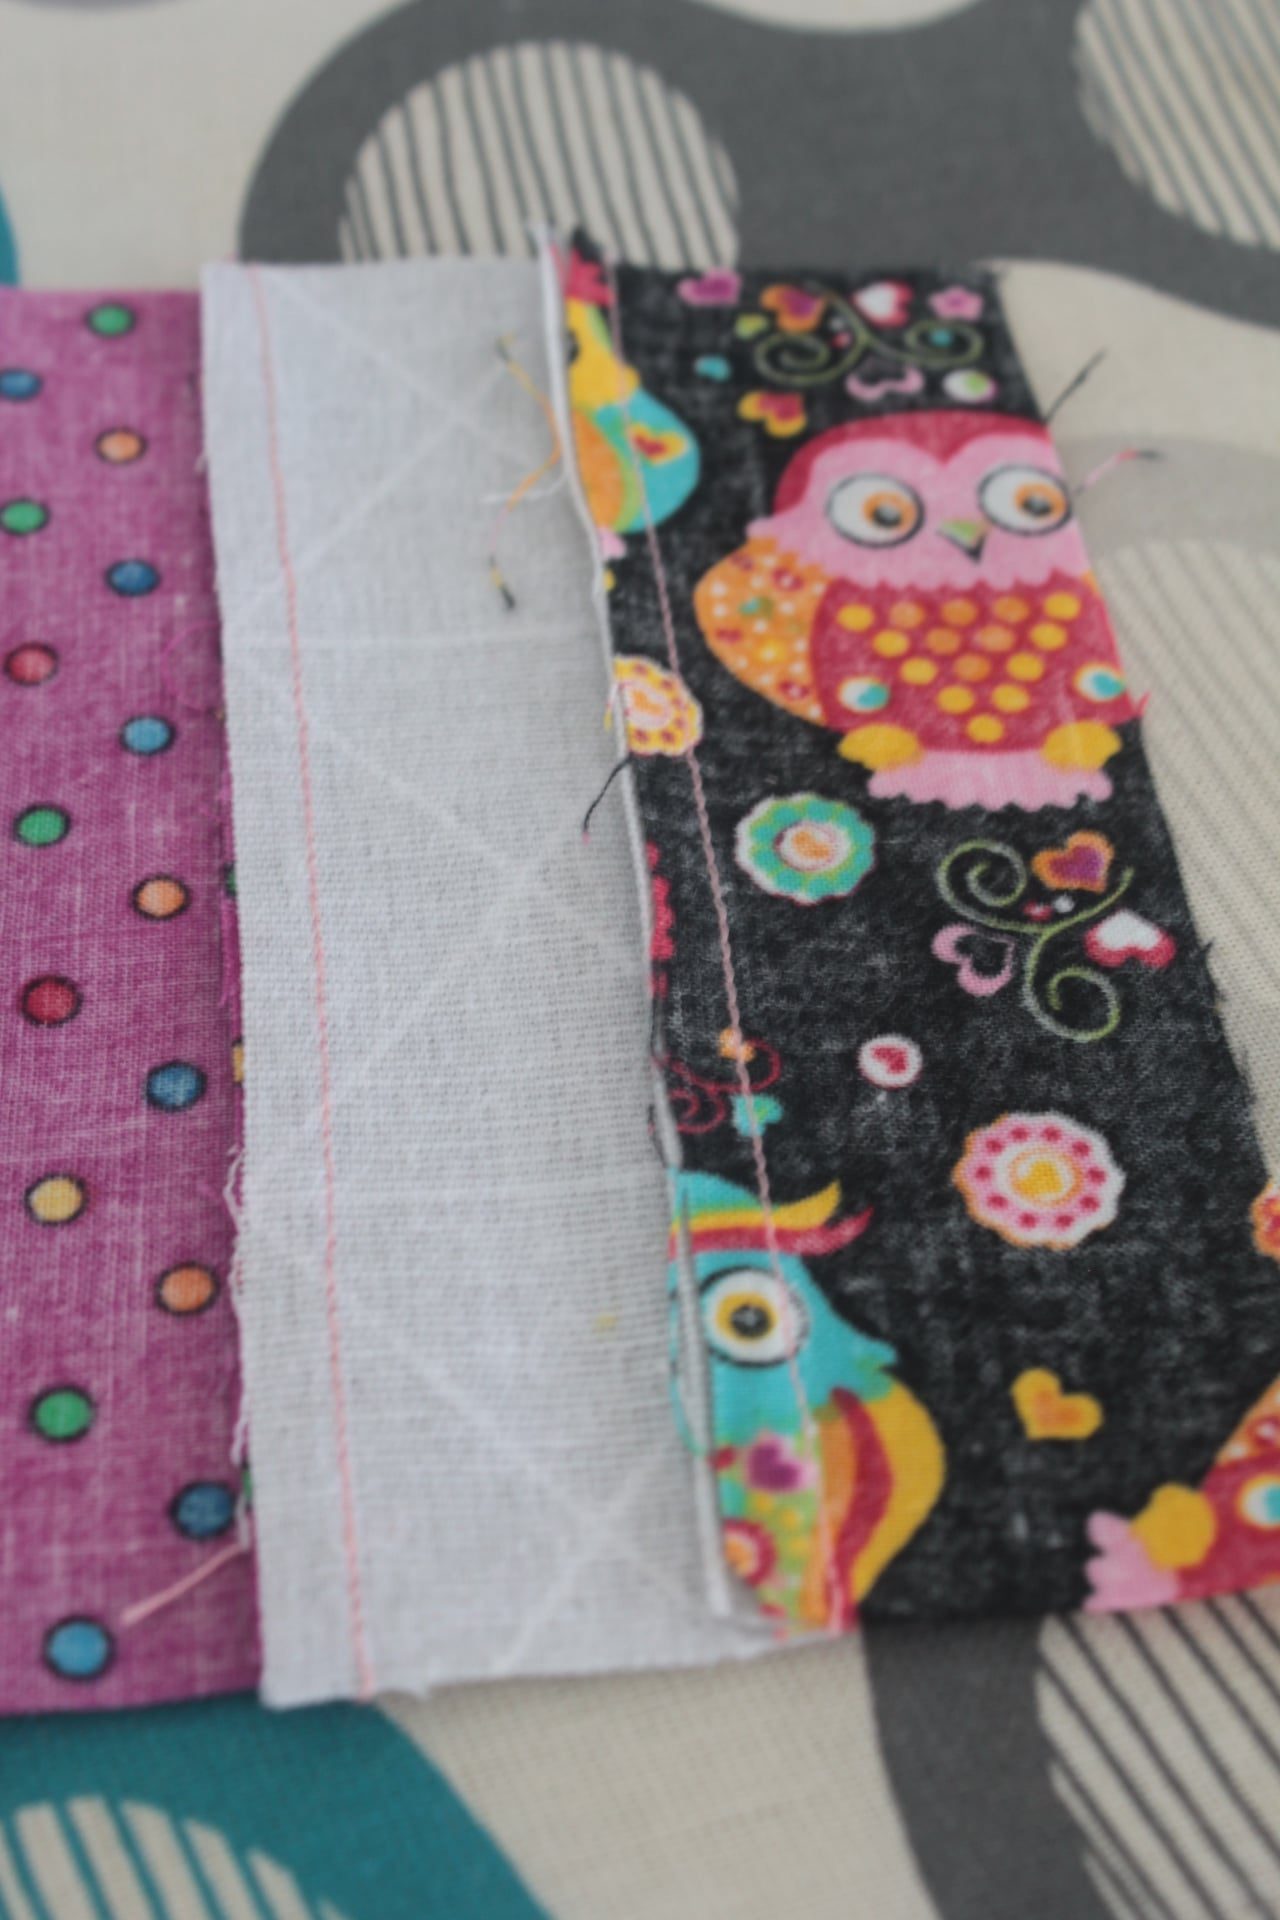
- Trim each group to create square blocks of 3 1/2″. I trimmed all sides to ensure the blocks are exactly square.
- To work a little faster (of course if you have fabric scraps that are long enough to accommodate this method), join longer strips side to side then trim into square blocks.
Making the outer panels
- To form rows, sew the blocks side to side.
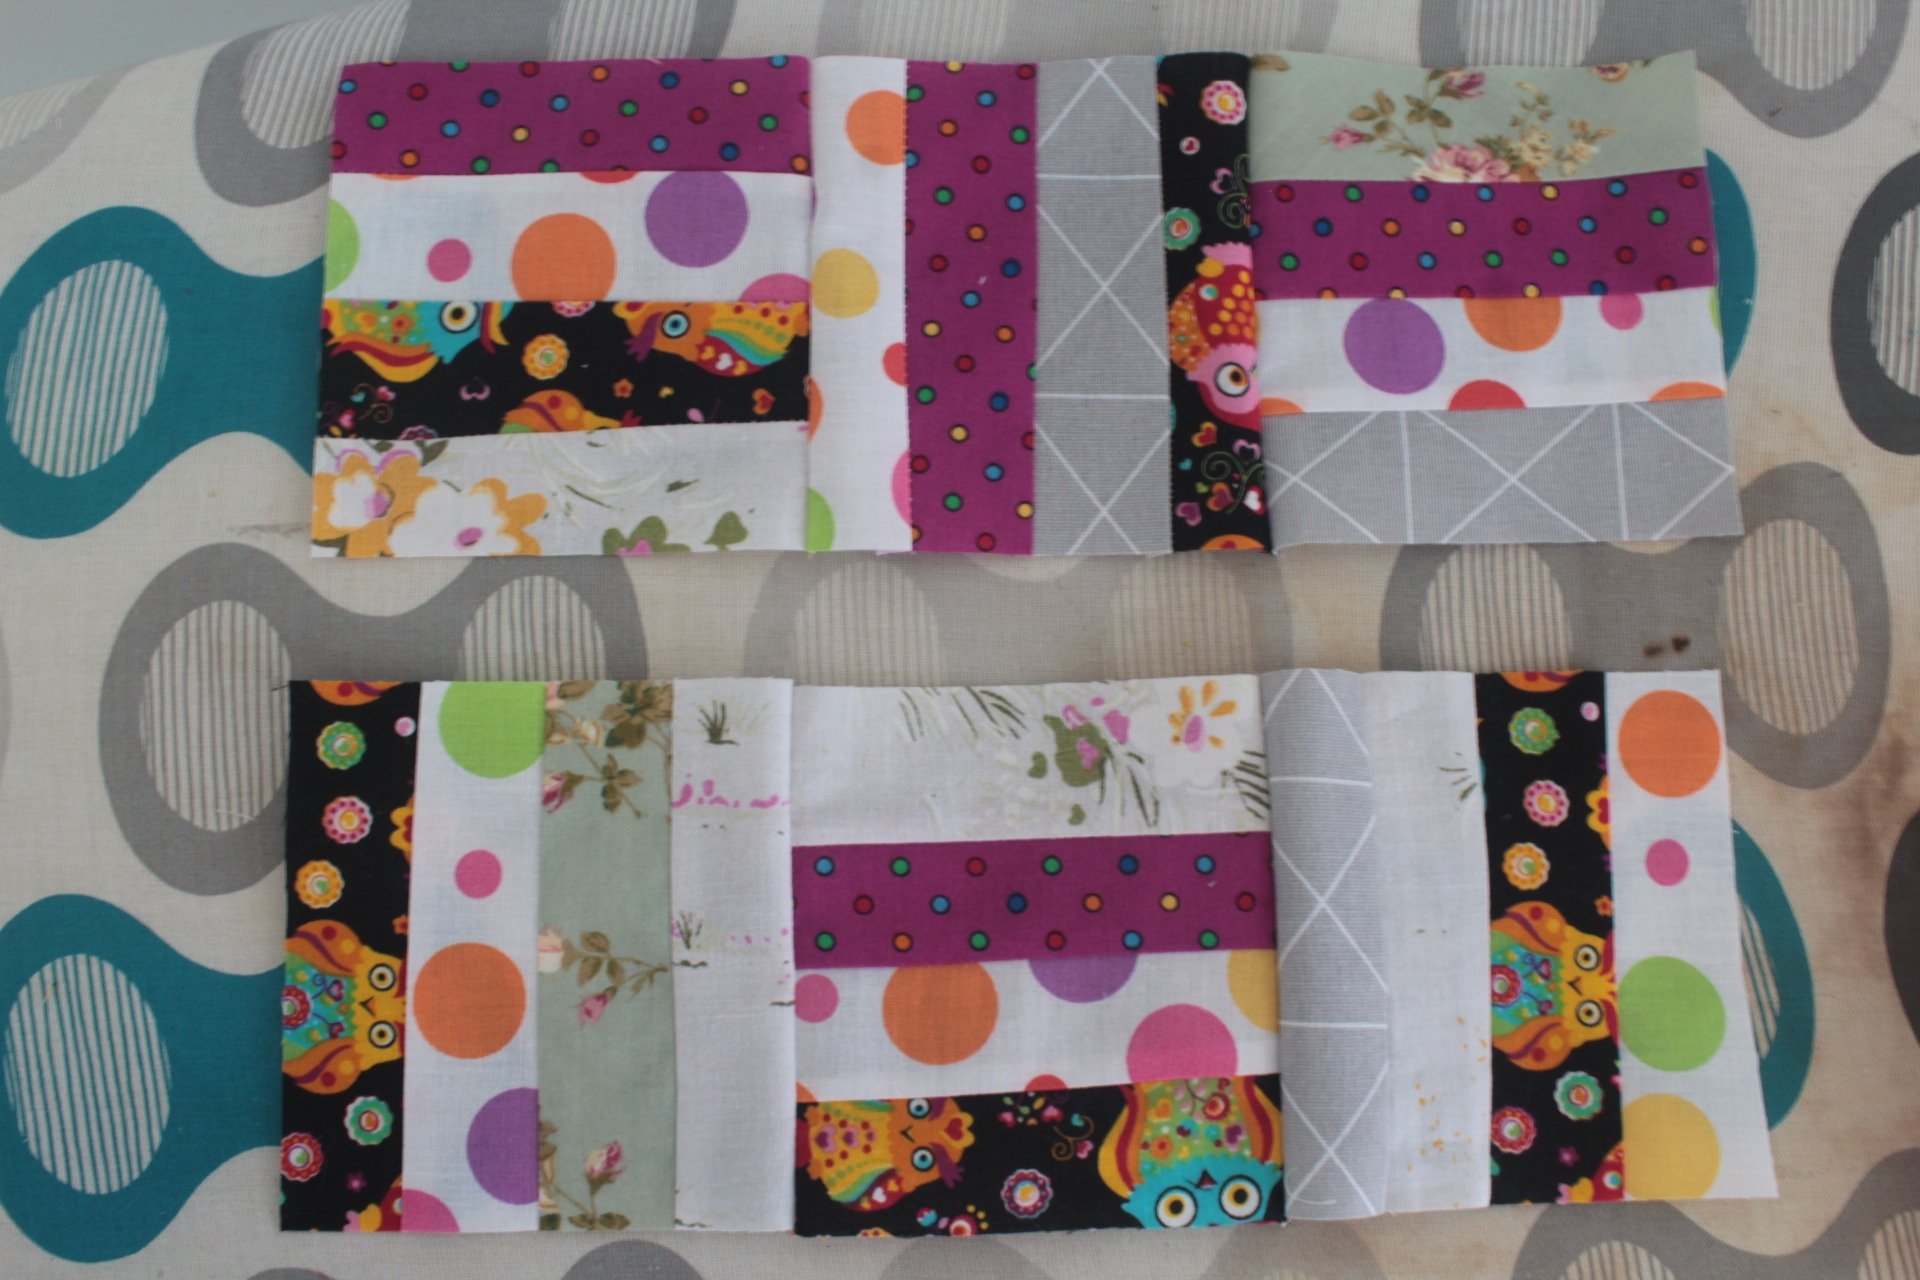
- Place one block with the strips in vertical position, right side up. Top with one block with the strips in horizontal position, wrong side up and sew one side using a 1/8″ allowance.
- Open the blocks and top the last block with another block with vertical strips. Sew one side.
- Continue in this manner until you’re done with one row of blocks.
- Because I wanted a small pouch, each of my rows has three blocks and I only used two rows.
- Once all rows are done, press the seams to one side.
- Sew them together, side to side to form a panel of fabric for the front of the pouch.
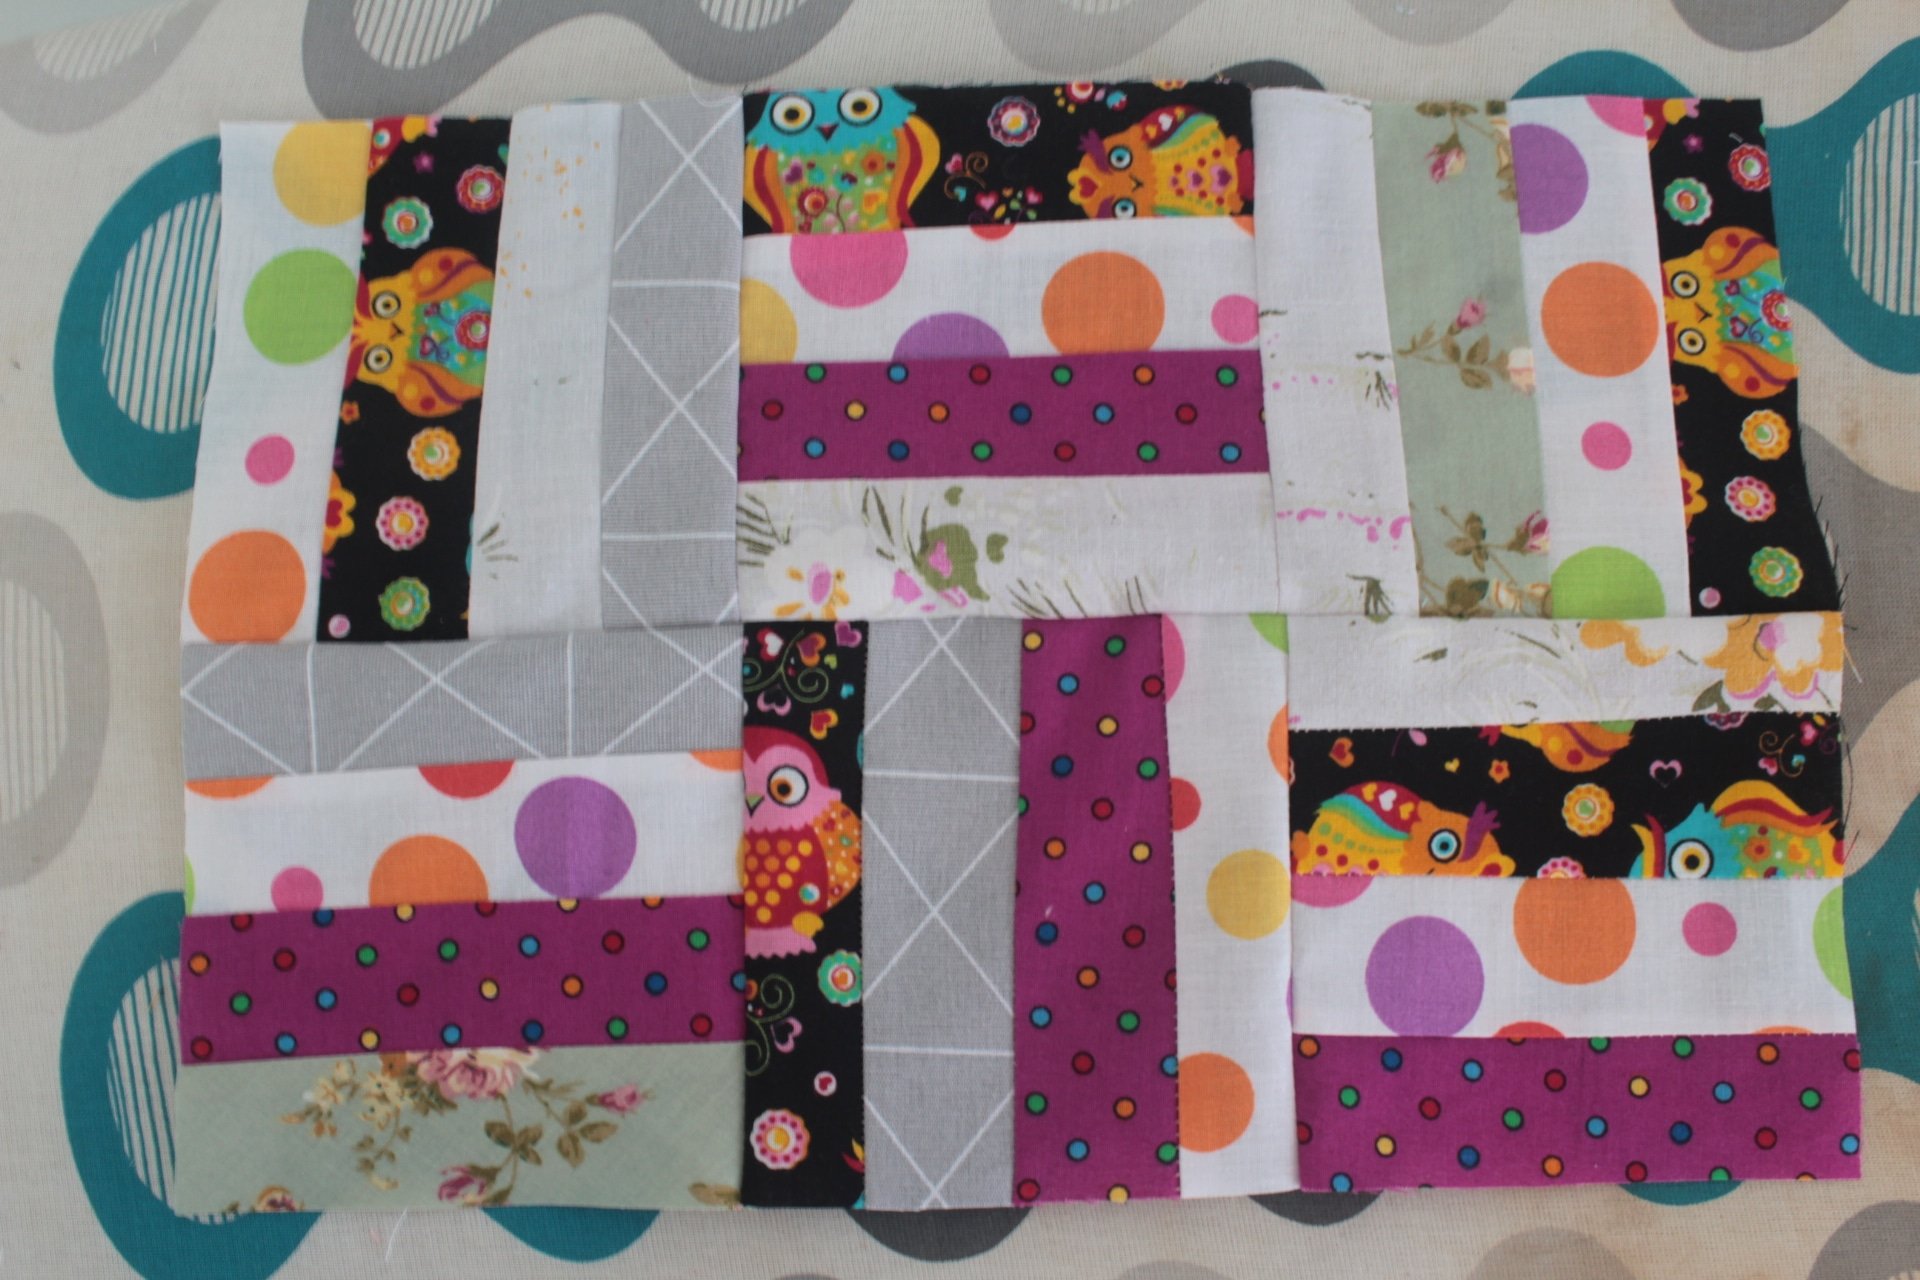
- Press the seam to one side.
- Repeat for the second panel, for the back of the pouch.
Quilting the panels
- The process is similar to this quilted sewing mat with thread catcher.
- Cut two strips of backing fabric and two strips of batting or fleece in the same size as the main fabric panels.
- Place one strip of backing fabric wrong side up then add one strip of batting and then top with one fabric panel.
- Pin though all layers and sew along all seams, left and right, with 1/16″ allowance.
- Repeat for the back of the pouch.
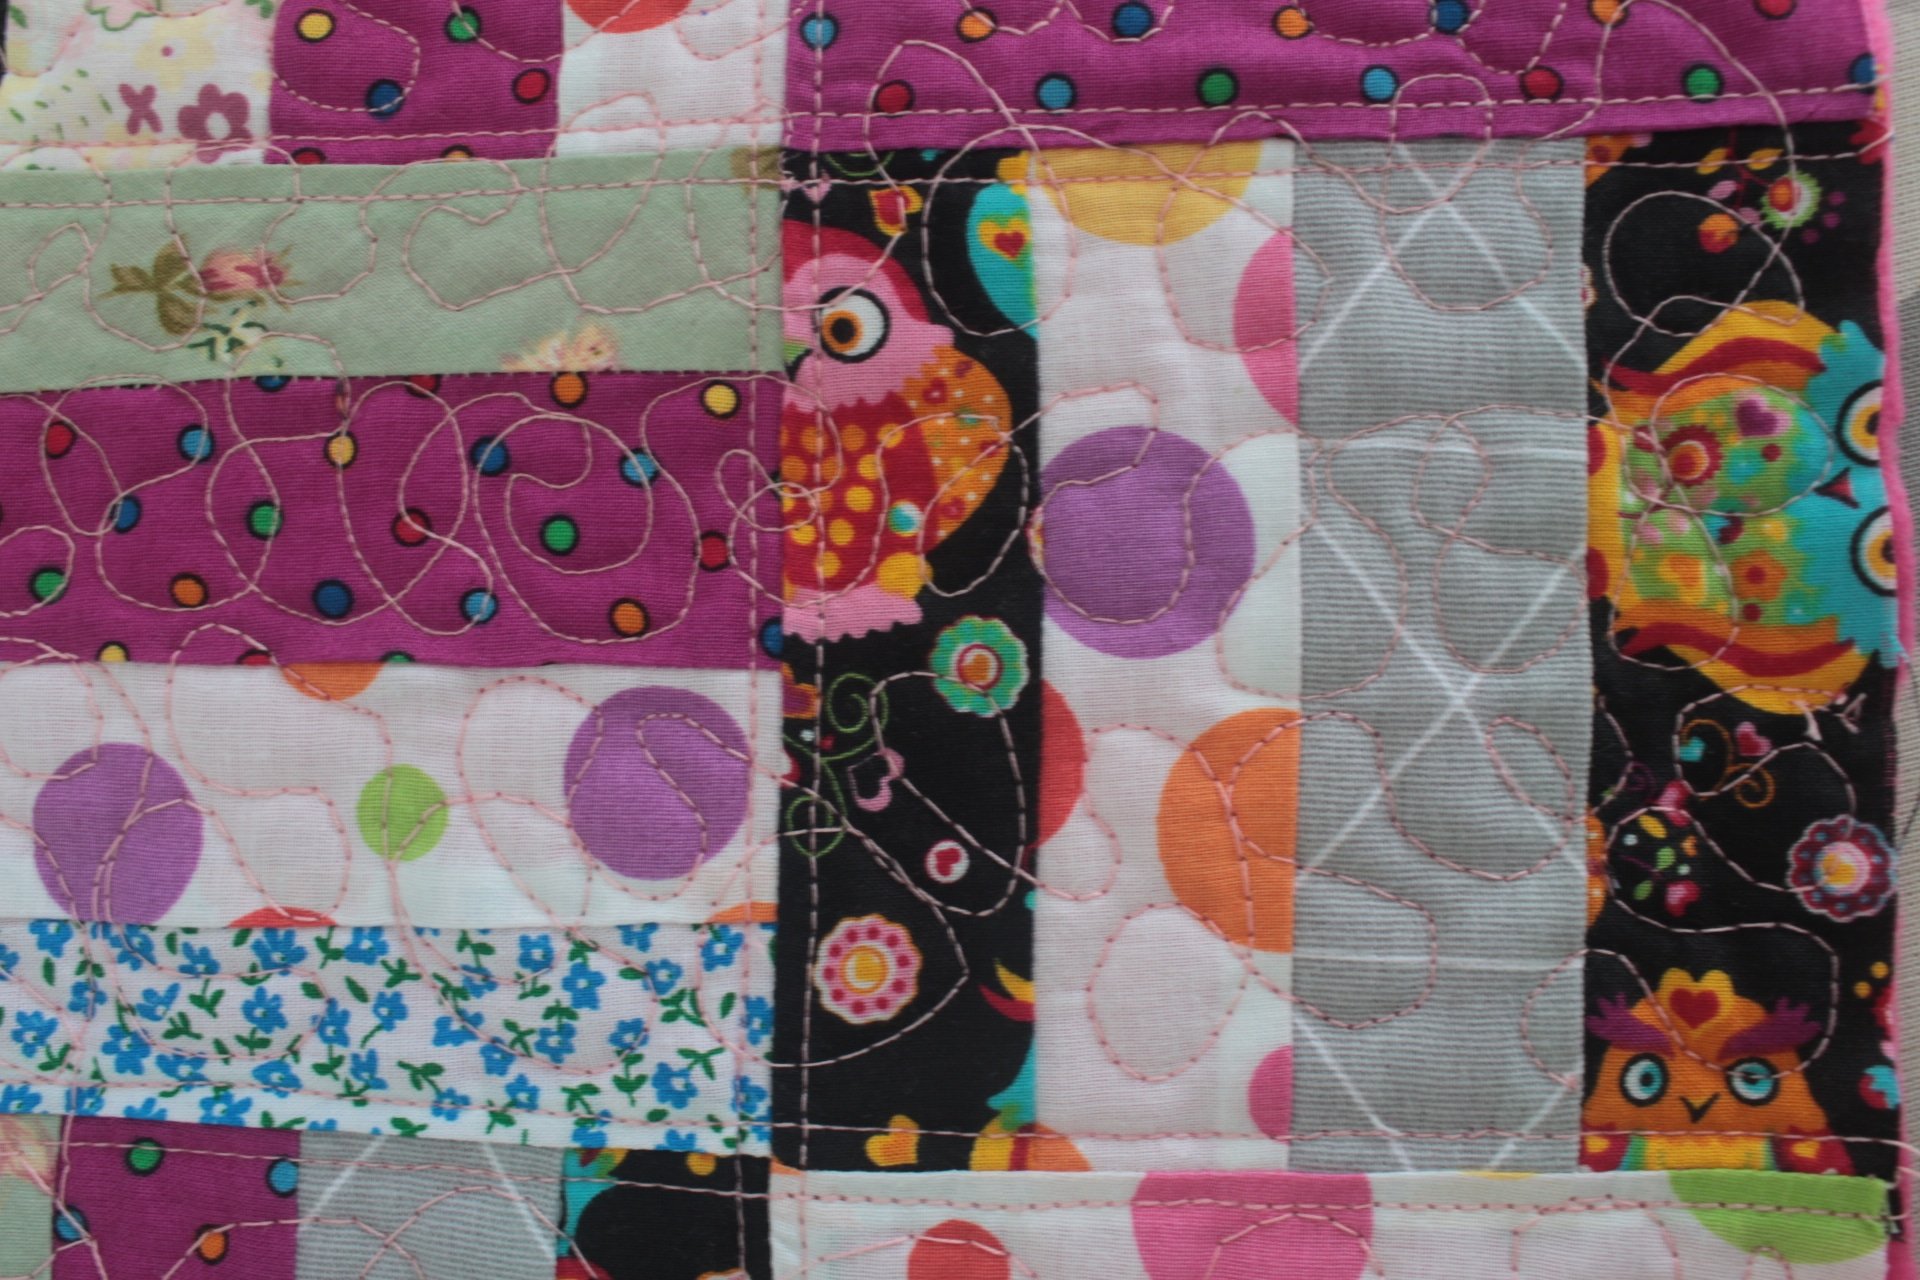
- If you want to give your quilted panels extra oomph, do a little free motion quilting. It was my first time experimenting with free motion quilting and my sewing doesn’t look quite perfect but I’m pretty happy for the moment. More practice is needed but I really love free motion quilting so there’ll be more opportunities in the future, for sure!
- Cut two fabric strips for the lining, in the same size as the quilted panels.
- Measure and cut 1 1/2″ squares in all bottom corners of the quilted panels and the lining.
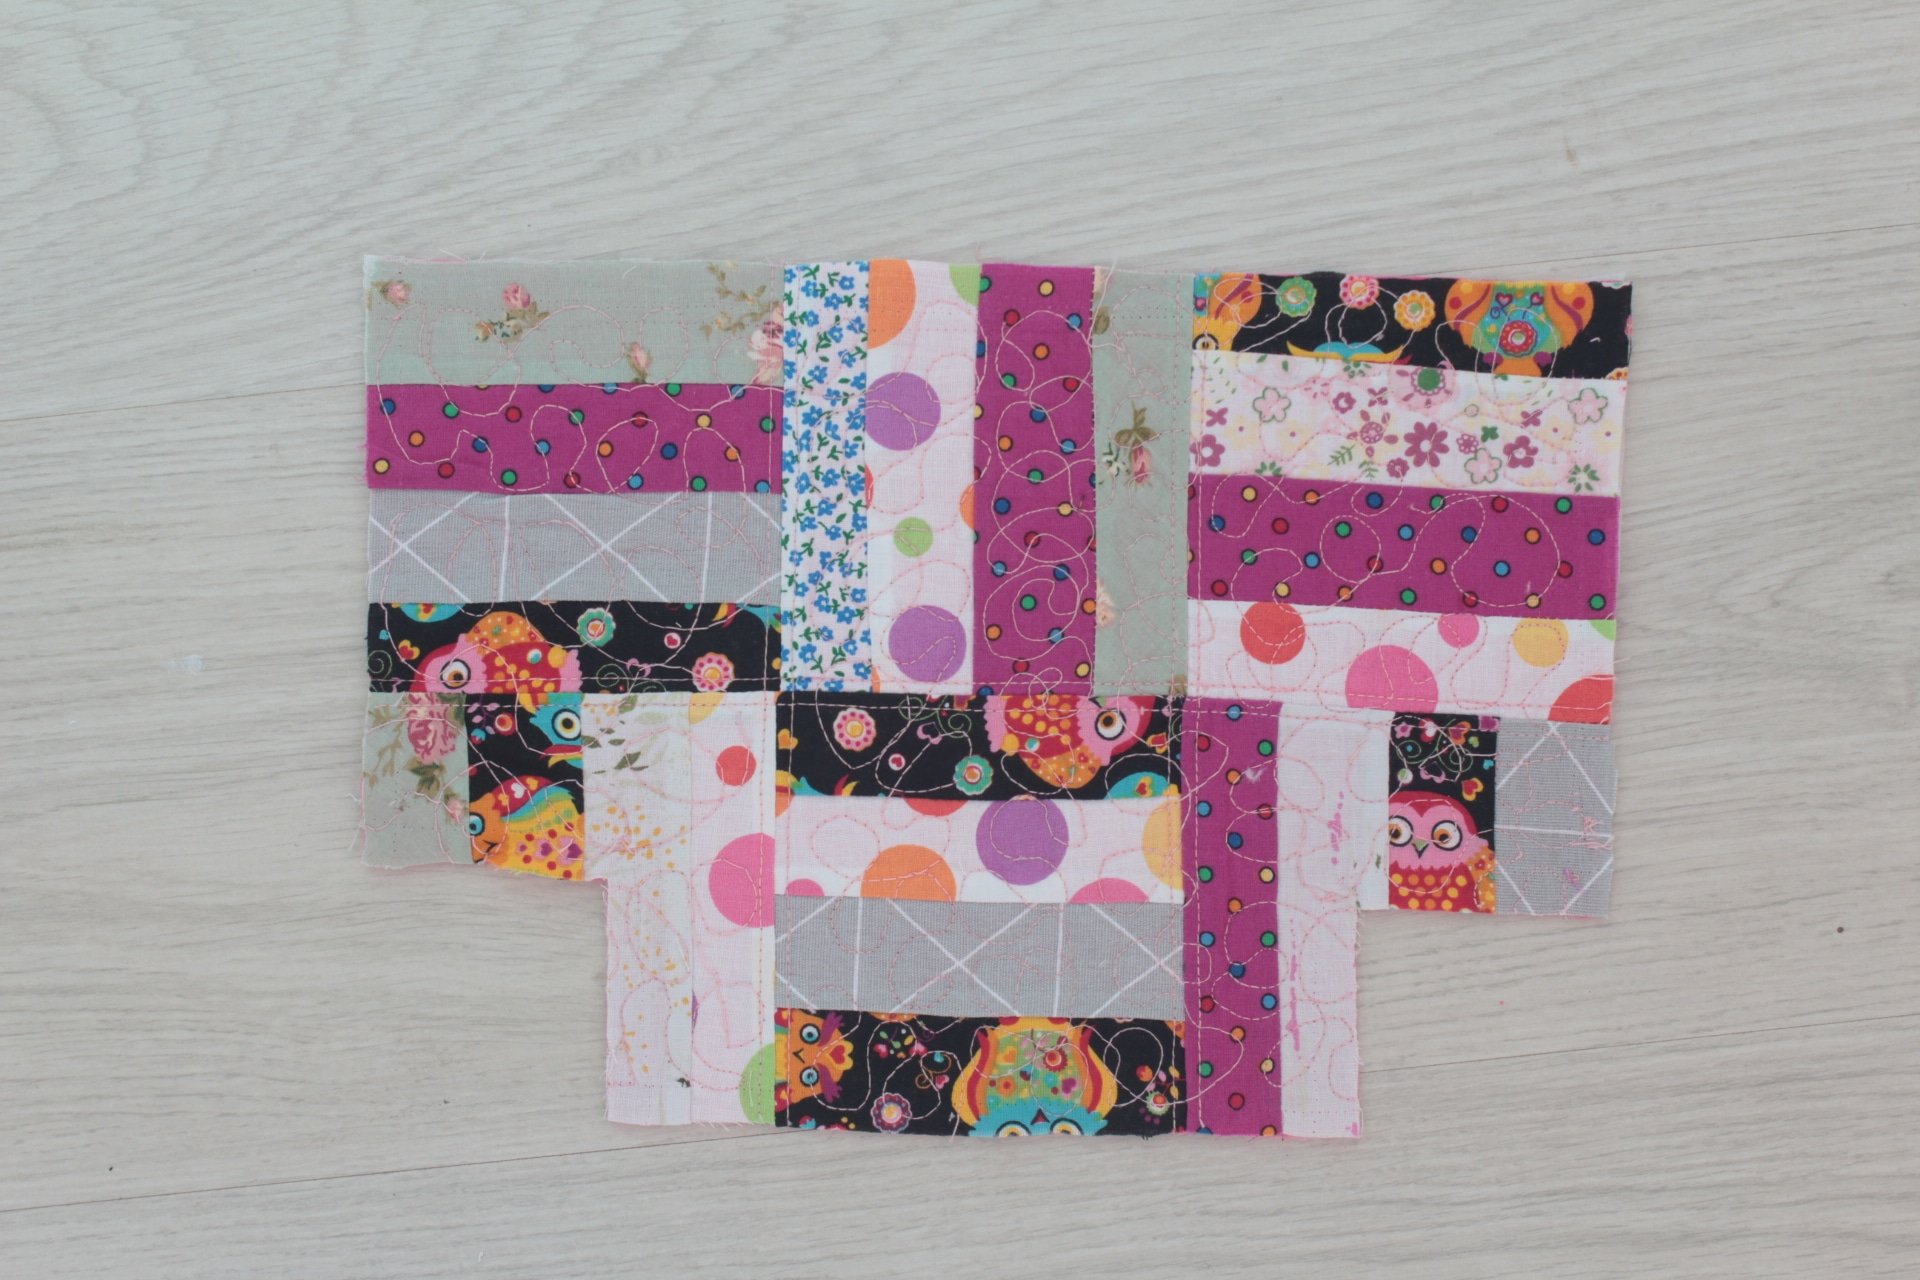
- Place all these aside and do the snappy cuff.
Making the quilted cuff
- I made the cuff of the pouch in a similar manner as above but I would advise you to use regular fabric instead of a quilted cuff. Because the cuff was too thick, the snap closure wasn’t 100% effective or at least not as I expected it. Using just a strip of regular fabric, folded in half lengthwise would help the top of the pouch close much better than in my case. But if you like a quilted cuff, here’s what I did.
- Cut four strips of fabric and two strips of batting, of about 2 1/2″ wide and with the width 1/2″ smaller than the width of the pouch, each.
- Place one strip of fabric wrong side up, top with the batting then add another strip of fabric, right side up.
- Pin through all layers then sew rhombus shapes.
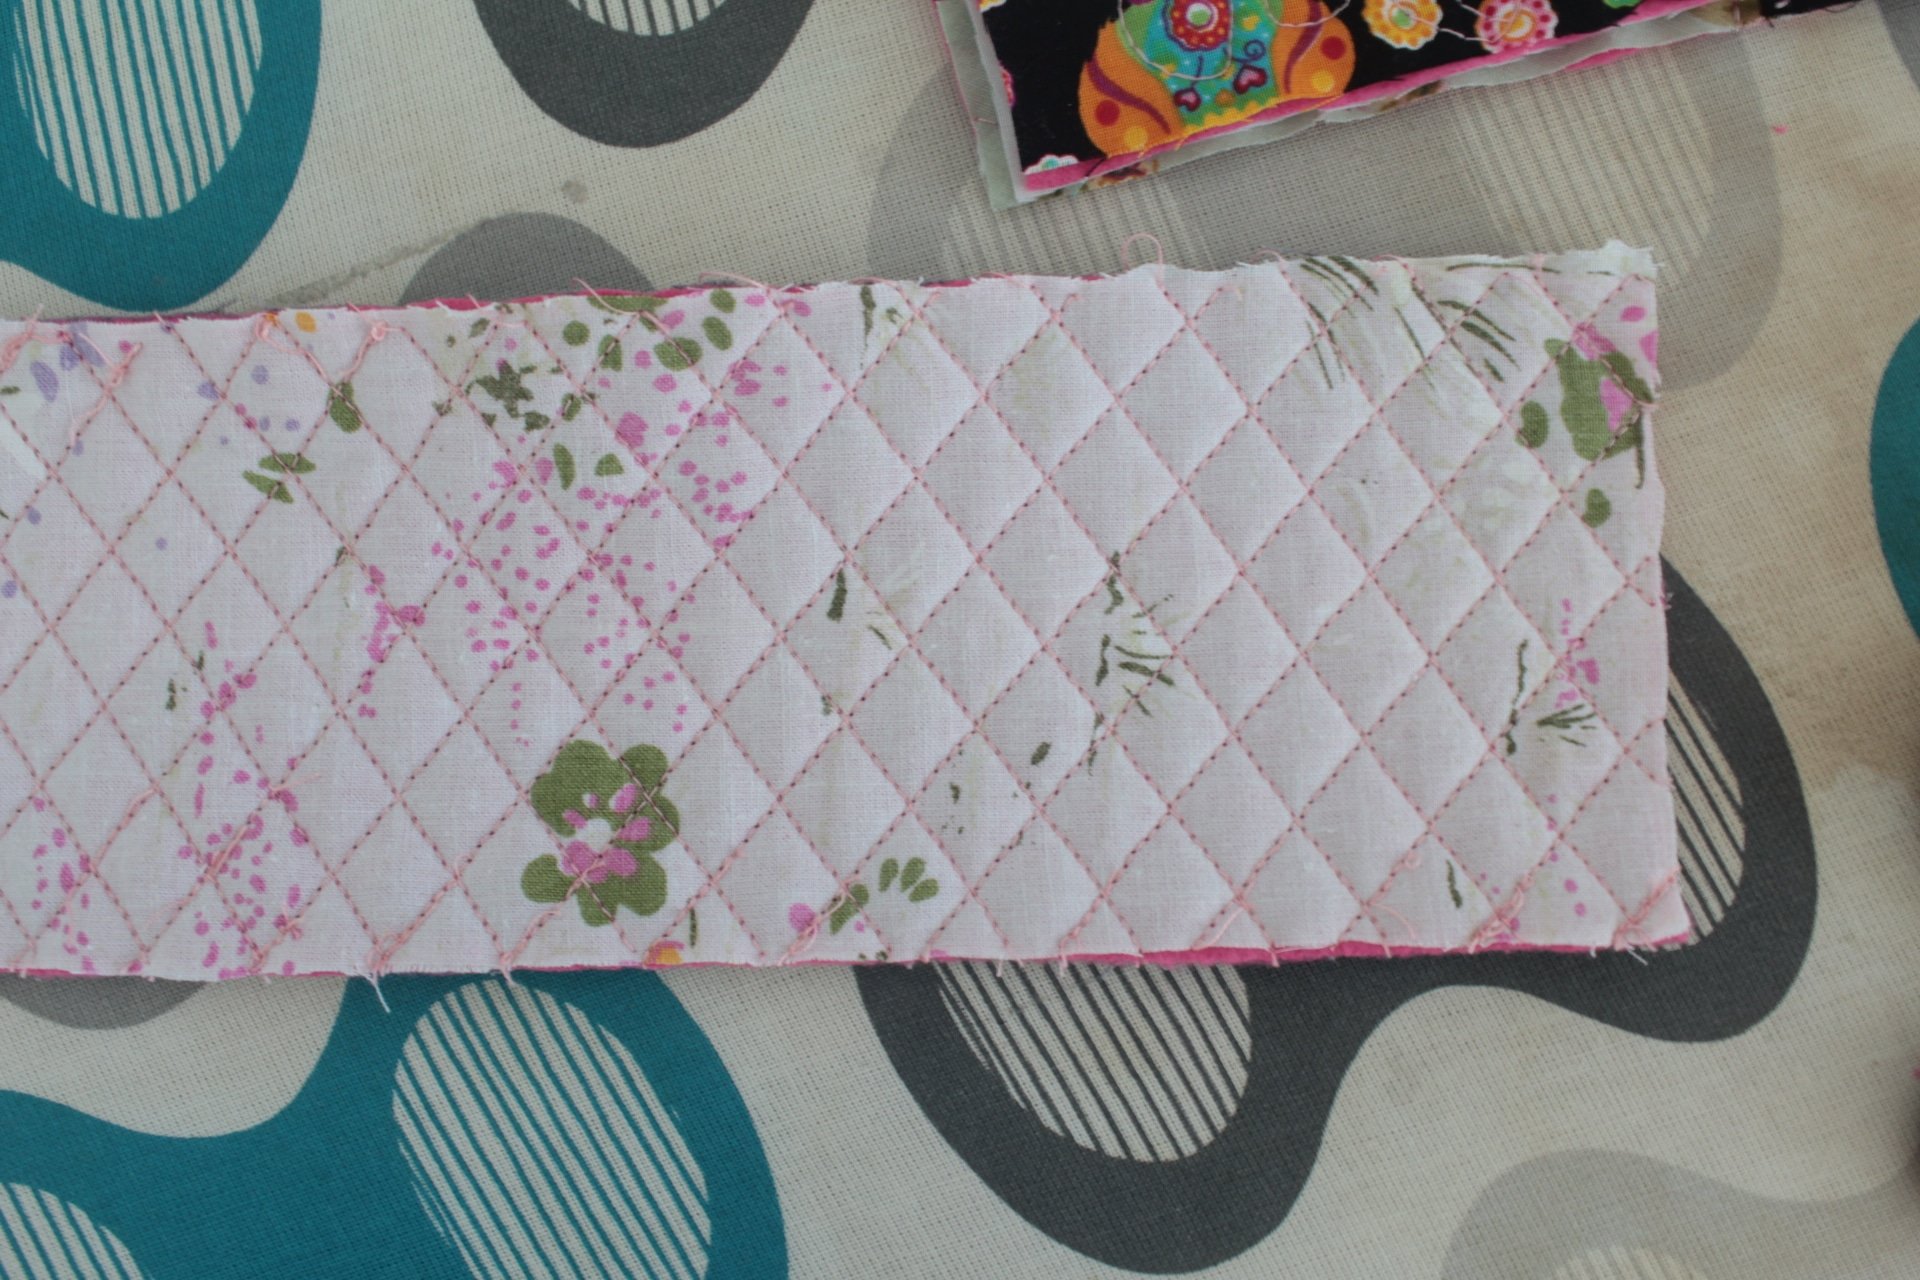
- Fold the quilted cuff in half and press well with your pressing iron.
- Cut some metal measuring tape, 1″ smaller than the length of the strip.
- Press the tape a little with your fingers, to give it a deeper curve.
- Cover the ends in electrical tape to avoid tearing the fabric and help the curve maintain the shape.
- Fold the ends of the quilted cuff in, about 1/4″ and sew. Please note there’s no photo for this step and the photo below doesn’t entirely reflect the correct steps as I realized the ends should be folded inside a little too late. I used my seam ripper to open the cuff and did the correct steps but forgot to take a photo of this particular step.
- Place the tape on the fold of the cuff, close the cuff and clip the fold with quilting clips. These will keep the tape in place while you complete the next step.
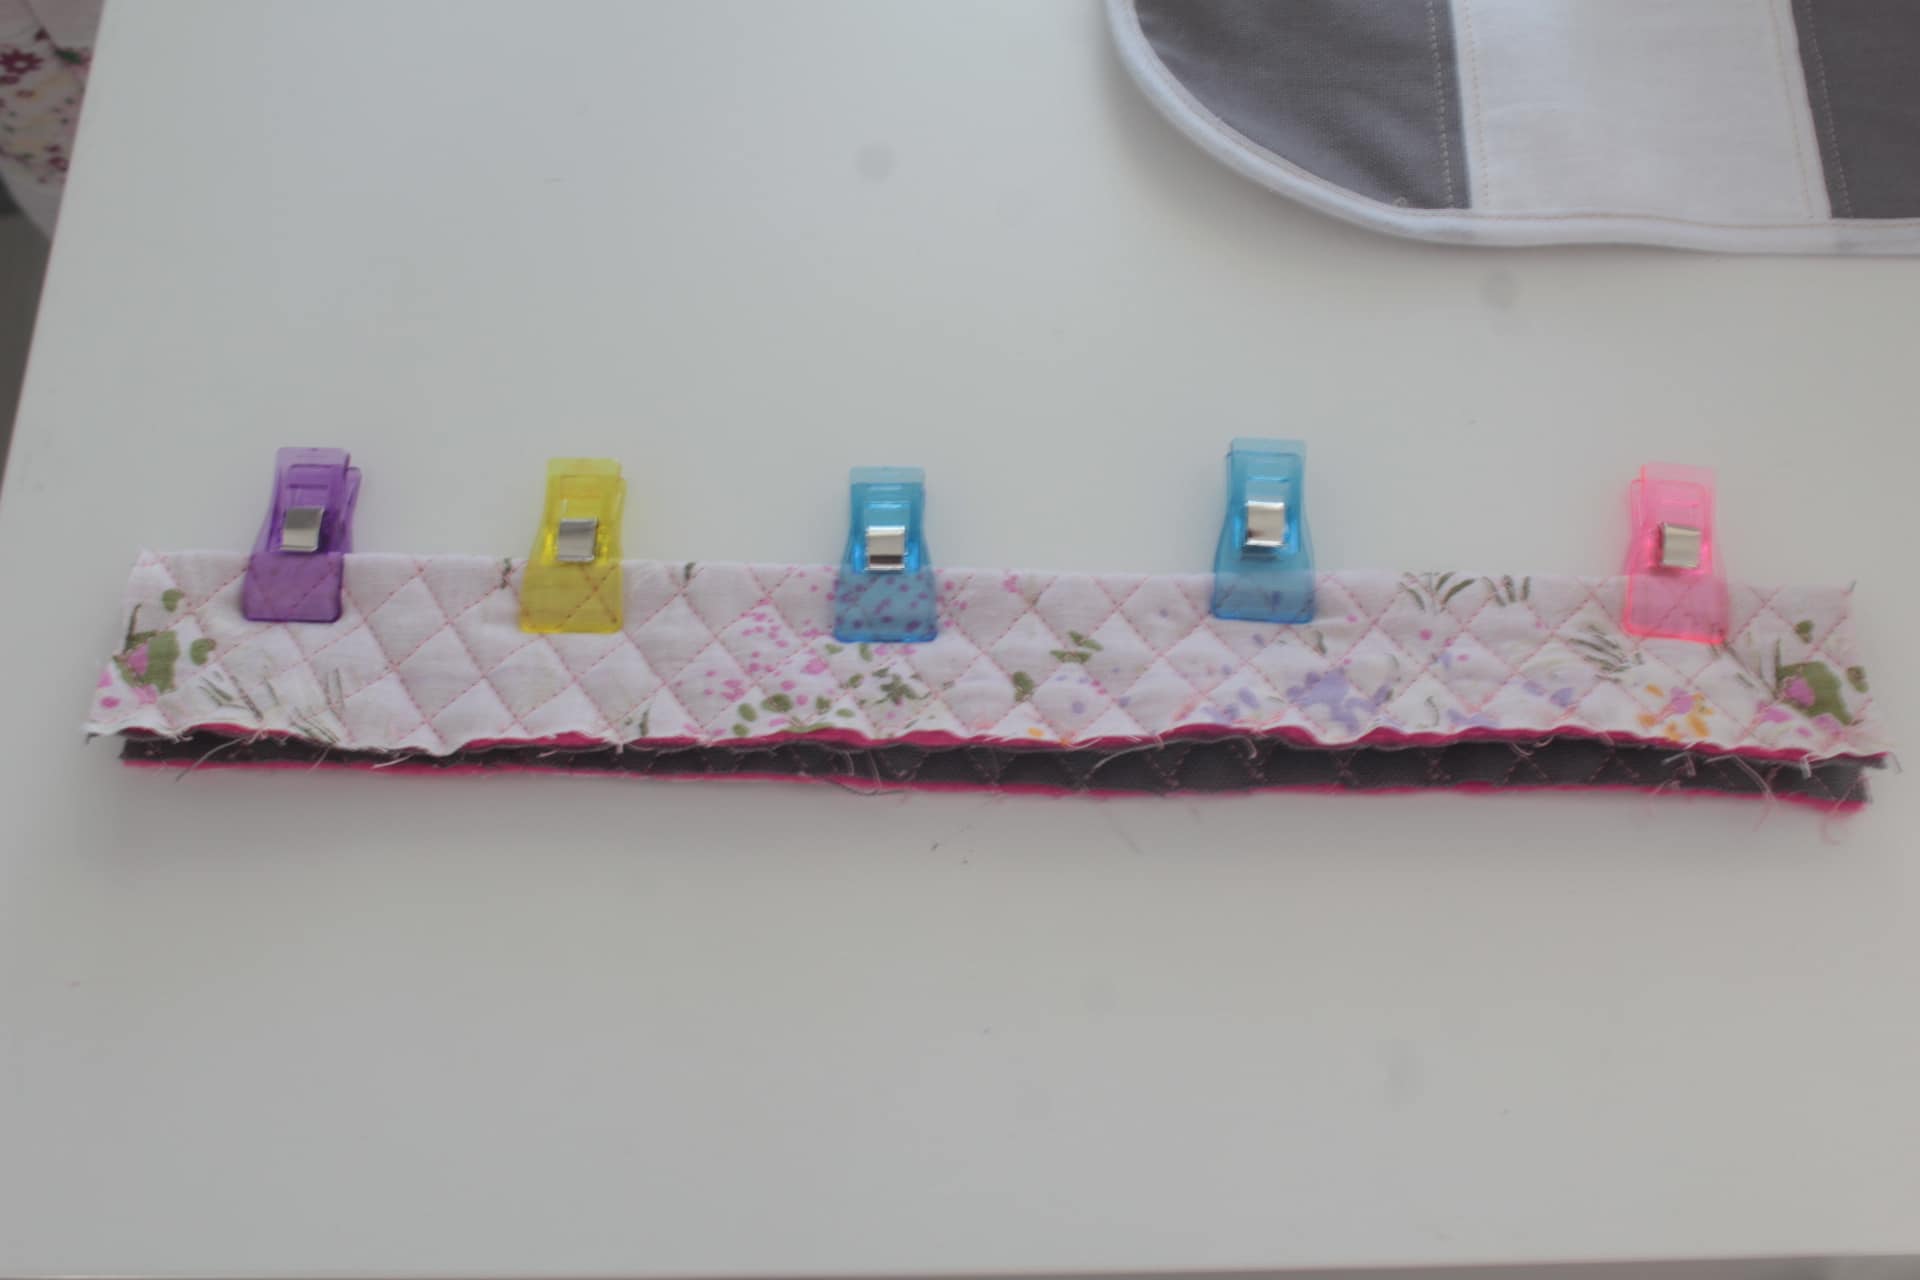
- Sew to enclose the metal tape, about 1/8″ outside the measuring tape. If you’re feeling more comfortable with this, you can first measure and mark with a fabric pen.
- Repeat the steps to make the second cuff, for the back of the pouch
Sewing the pieces together
- Place one quilted panel right side up, the cut out squares at the bottom.
- Top with one cuff raw edges up and with the curved side of the metal tape facing up (when the pouch is closed the curves in the tape should be towards the inside).
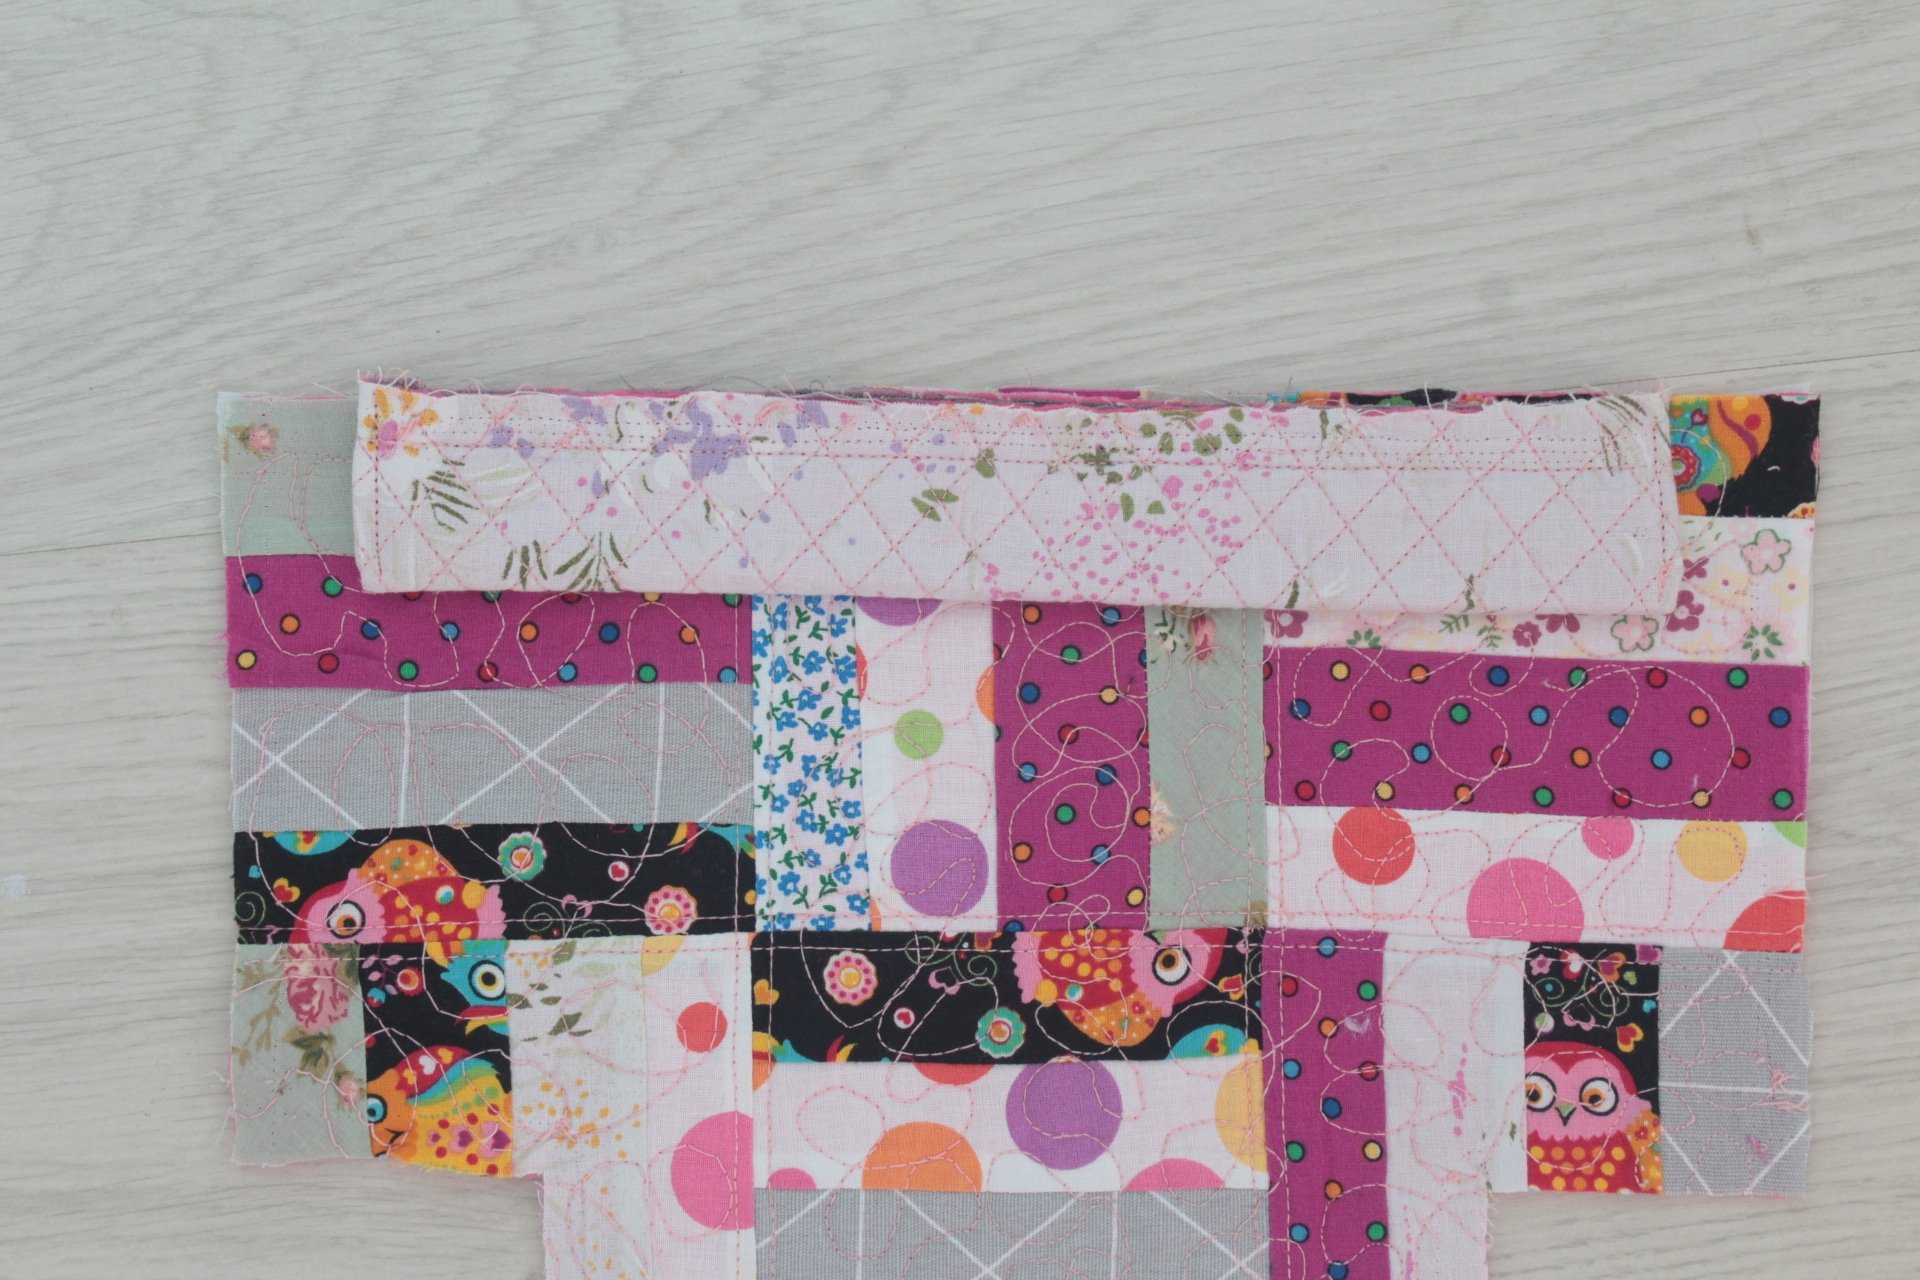
- Add the lining wrong side up, cut out squares on the bottom.
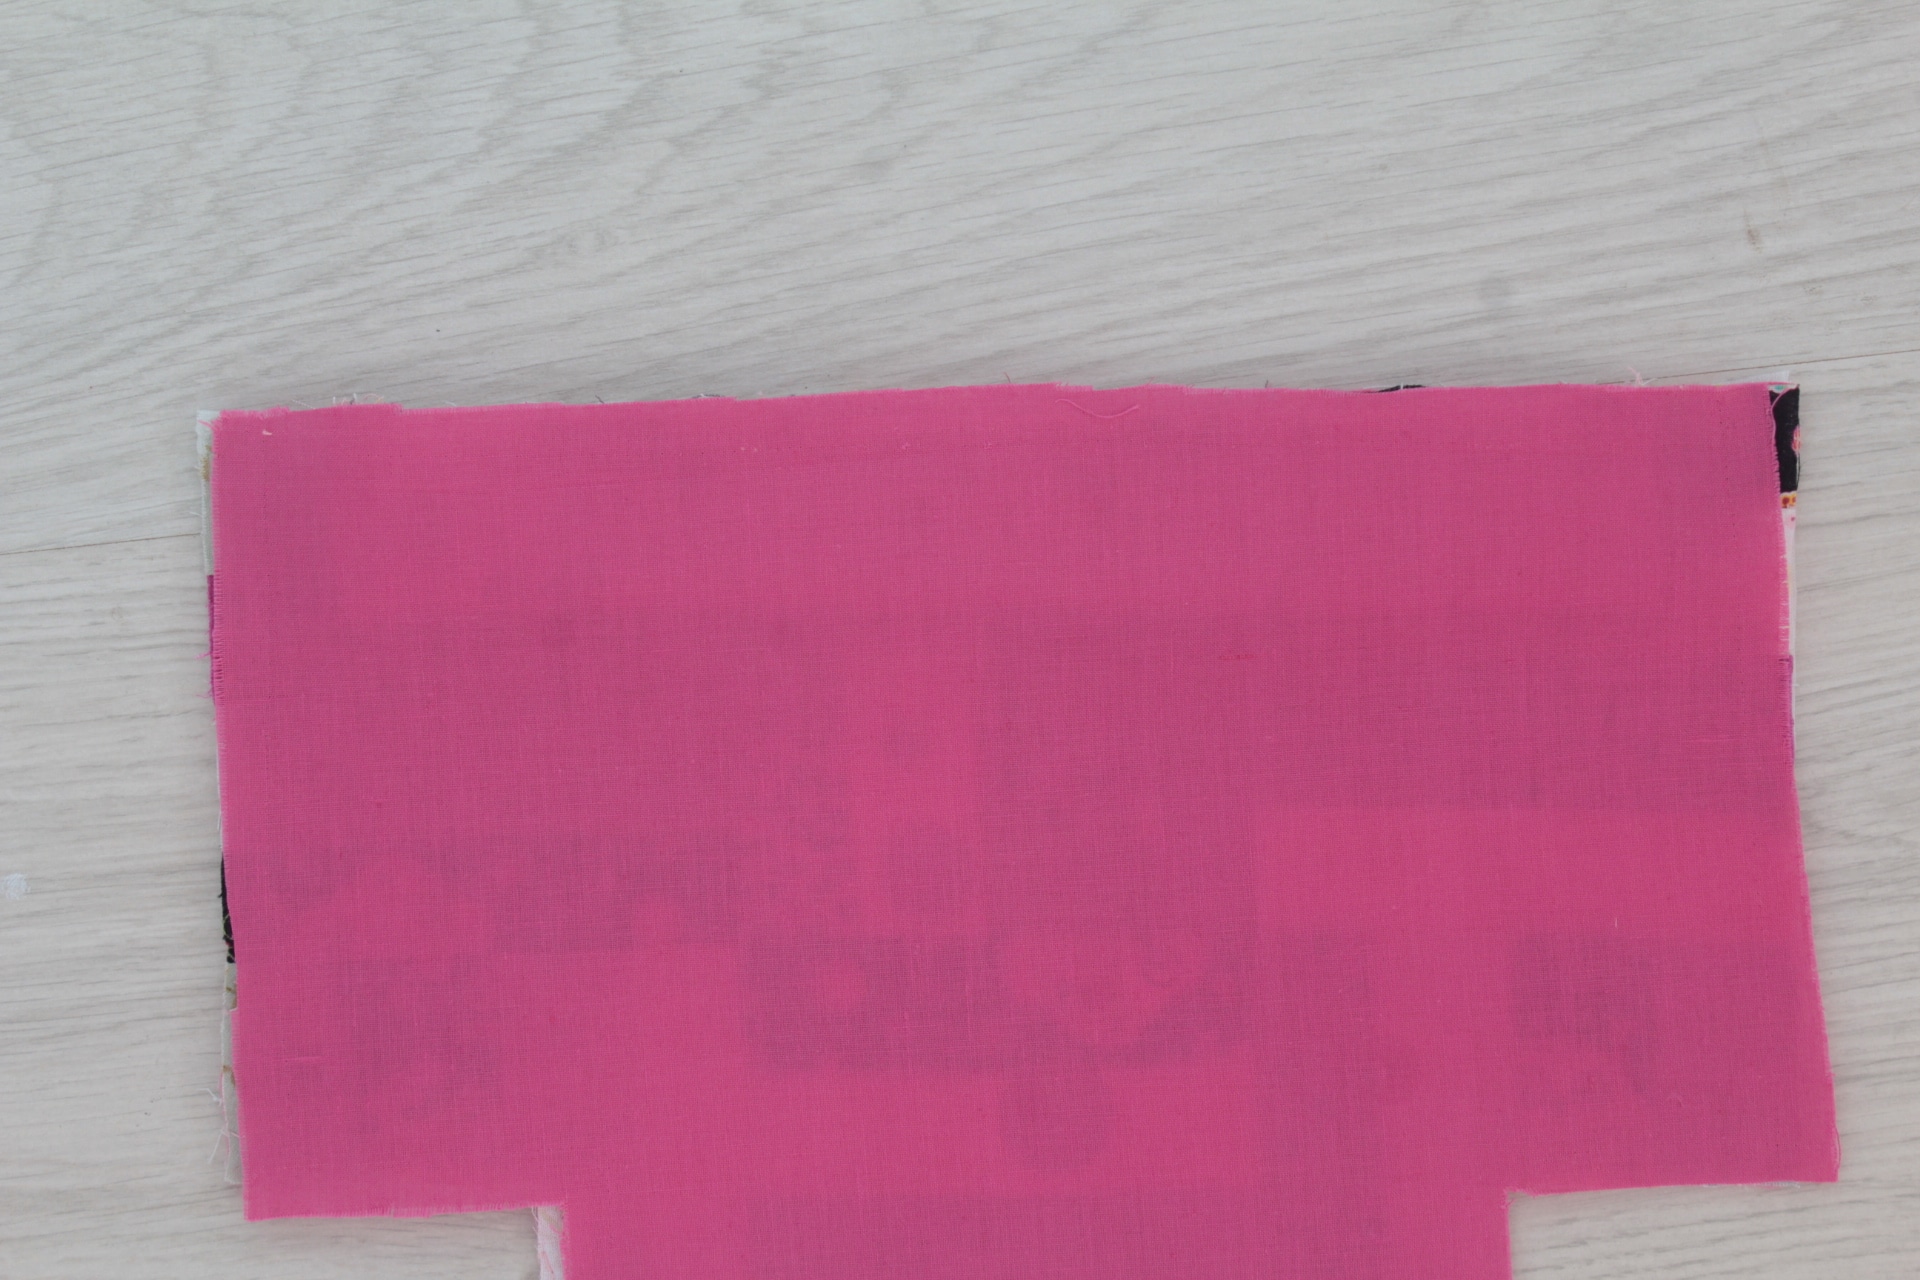
- Clip all layers at the top then sew with 1/4″ allowance (this is where I screwed up a bit and my seams don’t look quite aligned but I’ll give myself a tap on the shoulder anyway; for a first timer, this turned out quite nice)
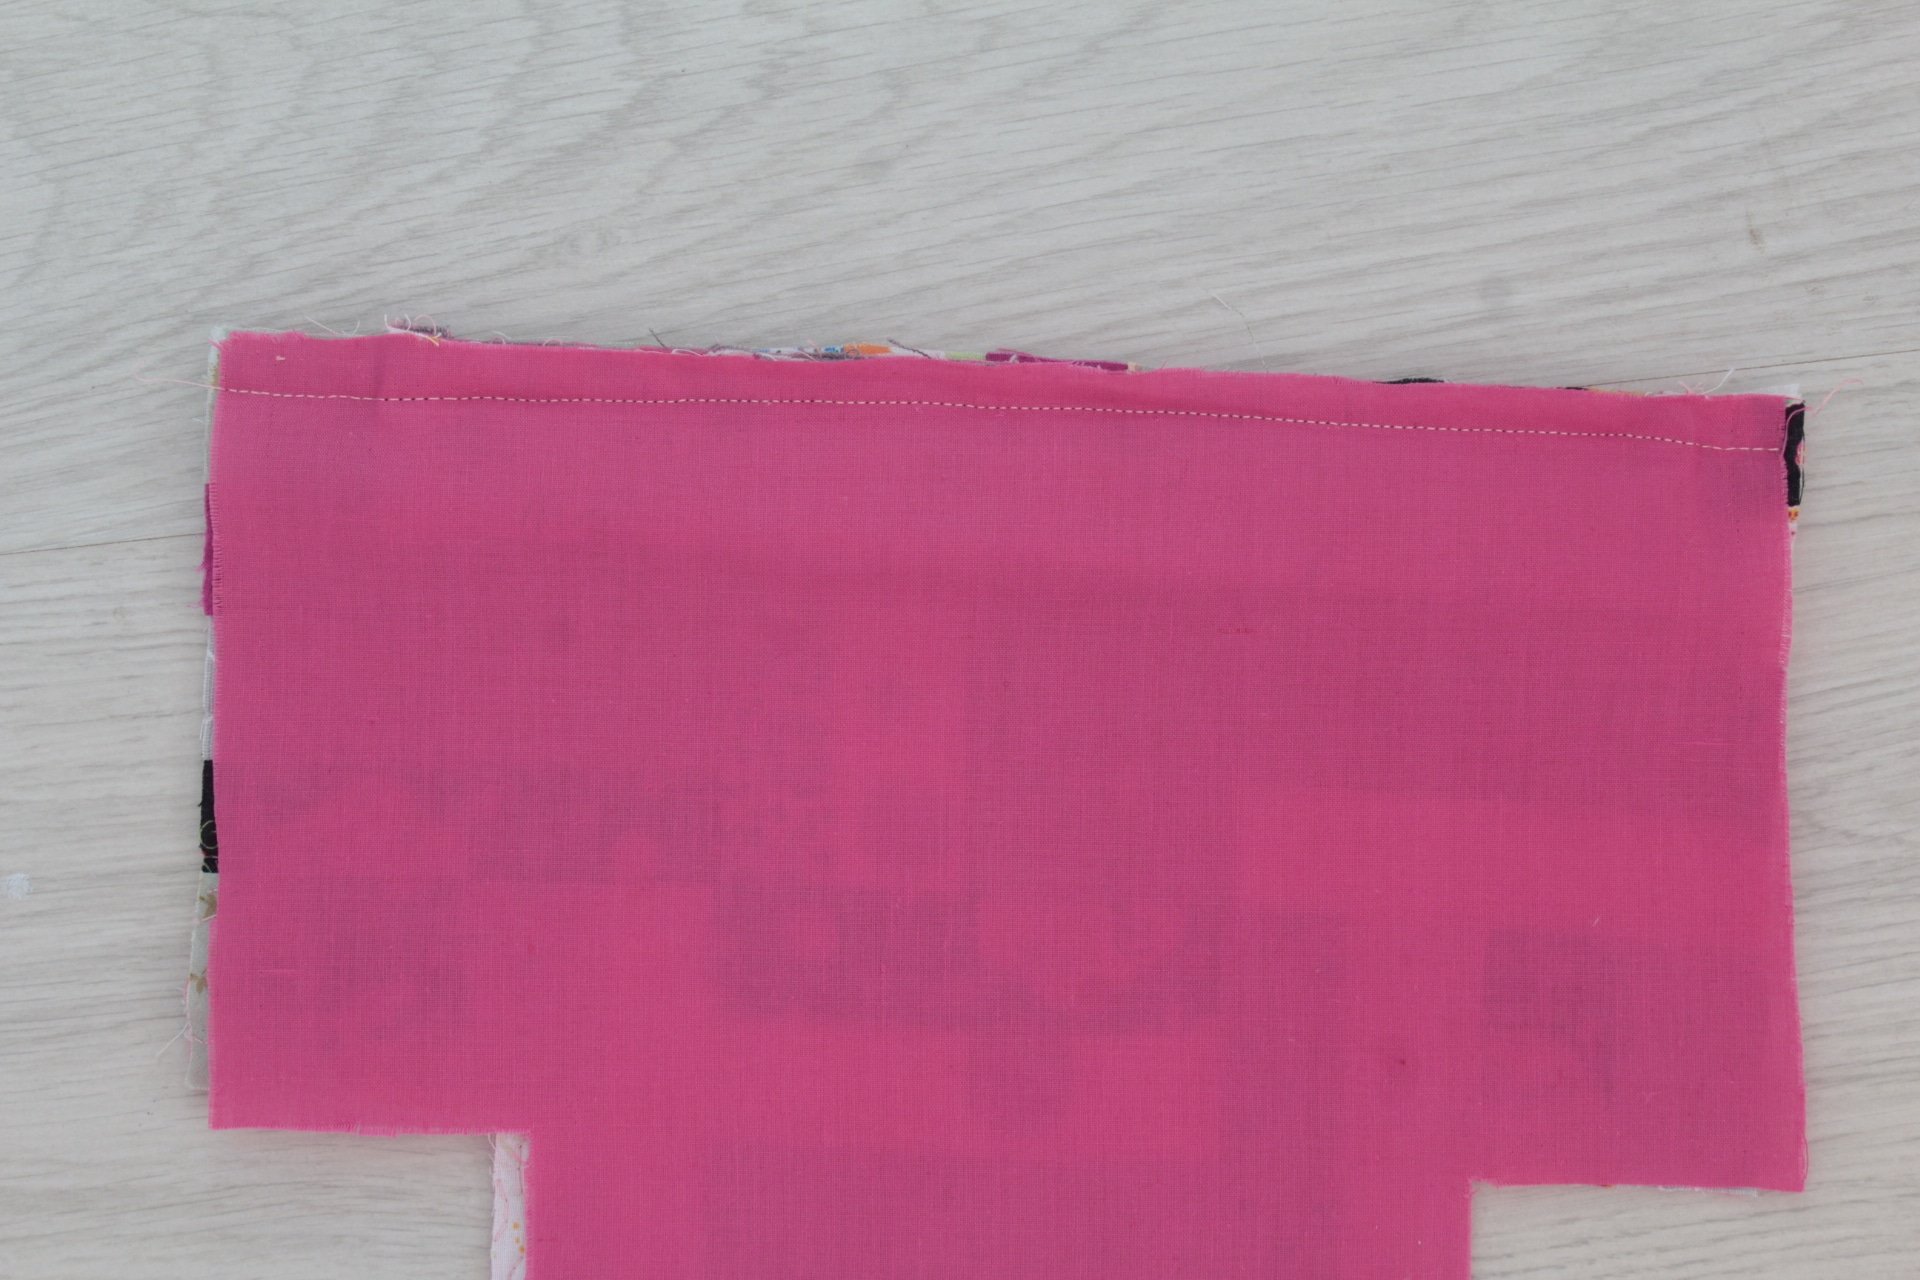
- Push the lining and the cuff up and sew just outside the last seam, with 1/16″ allowance
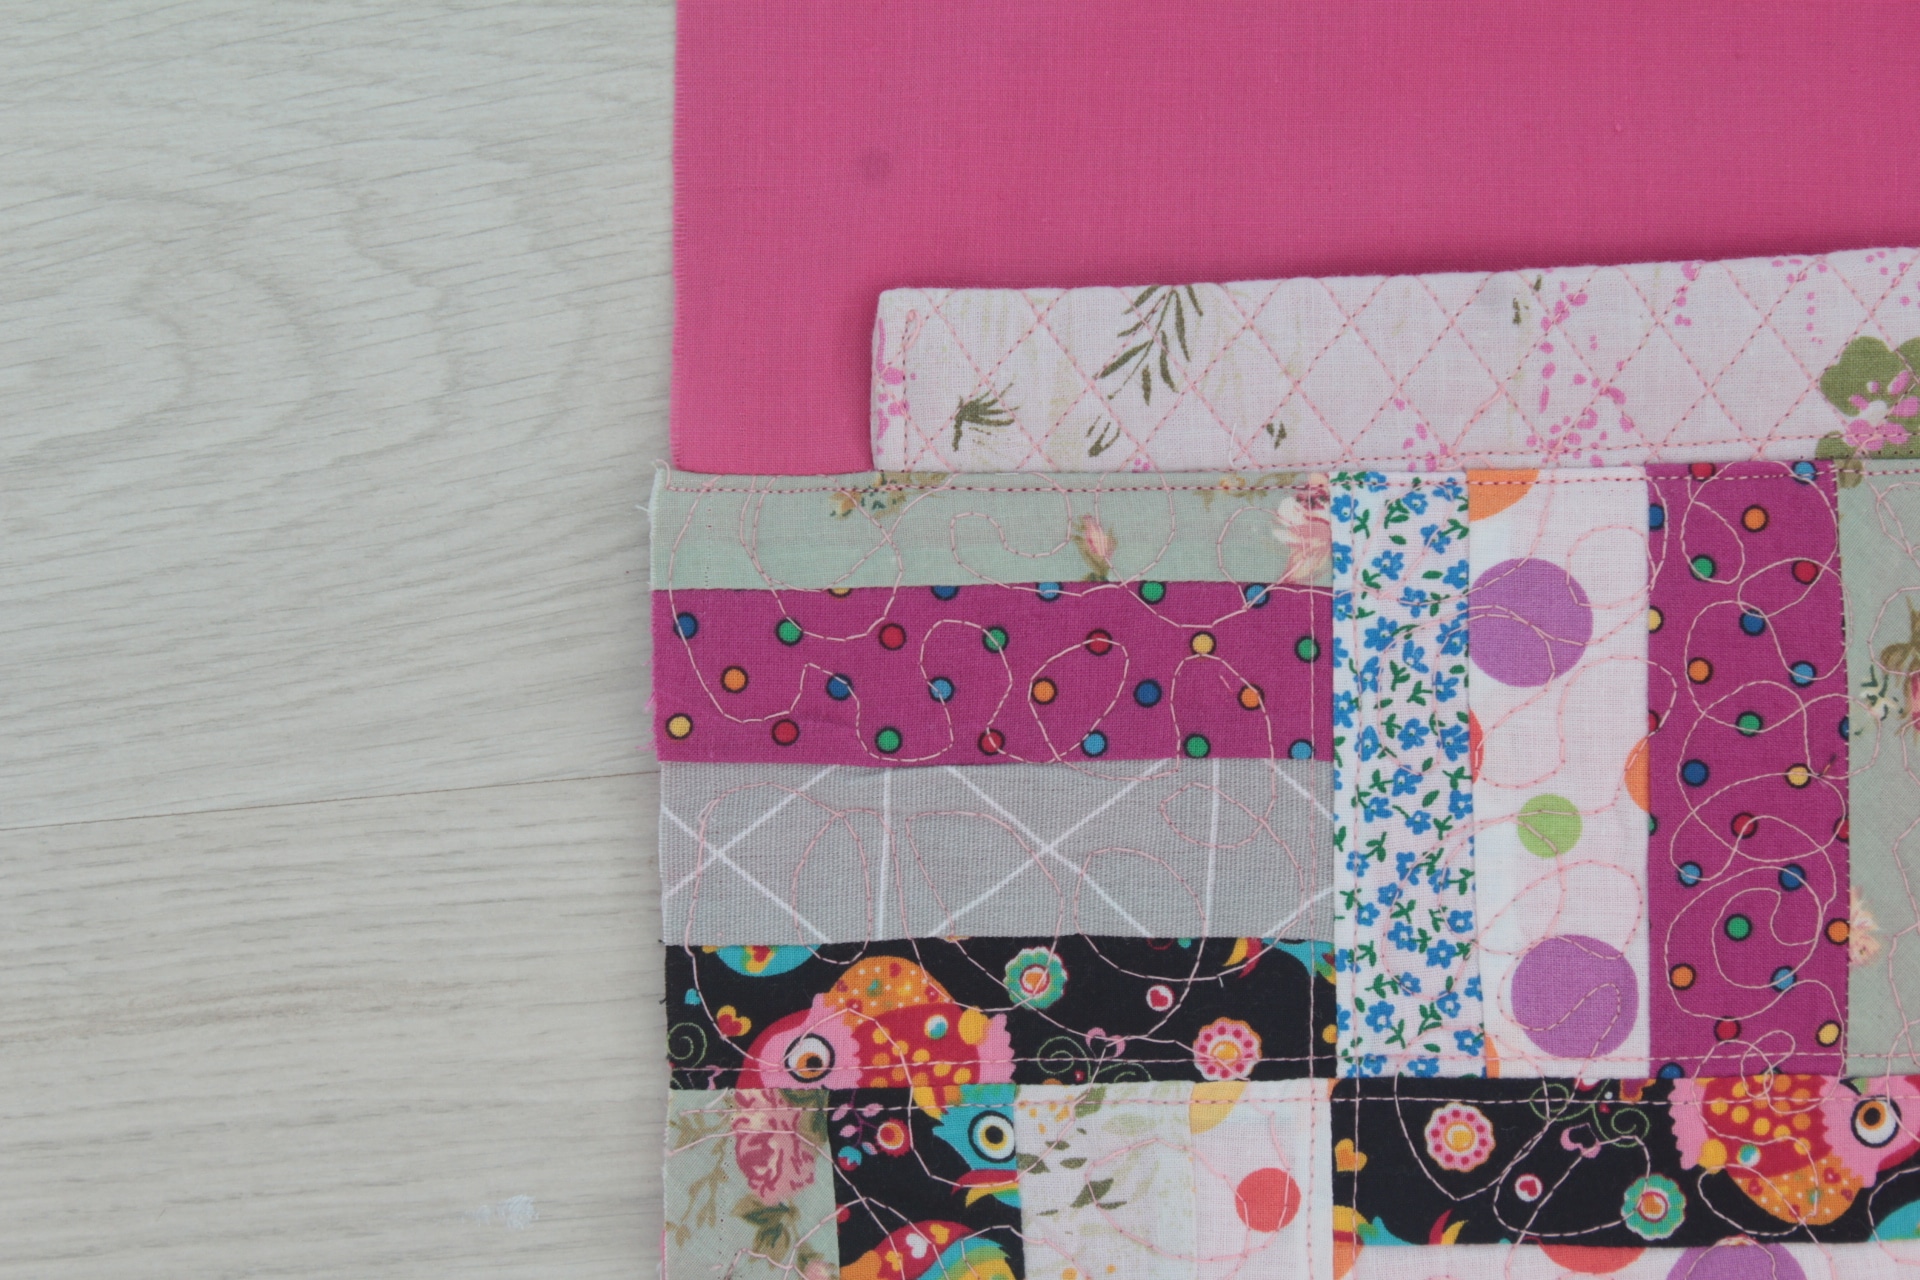
- Repeat for the second set of quilted panel, lining and cuff.
Finishing the bag
- Place one finished set right side up and top with the other finished set wrong side up.
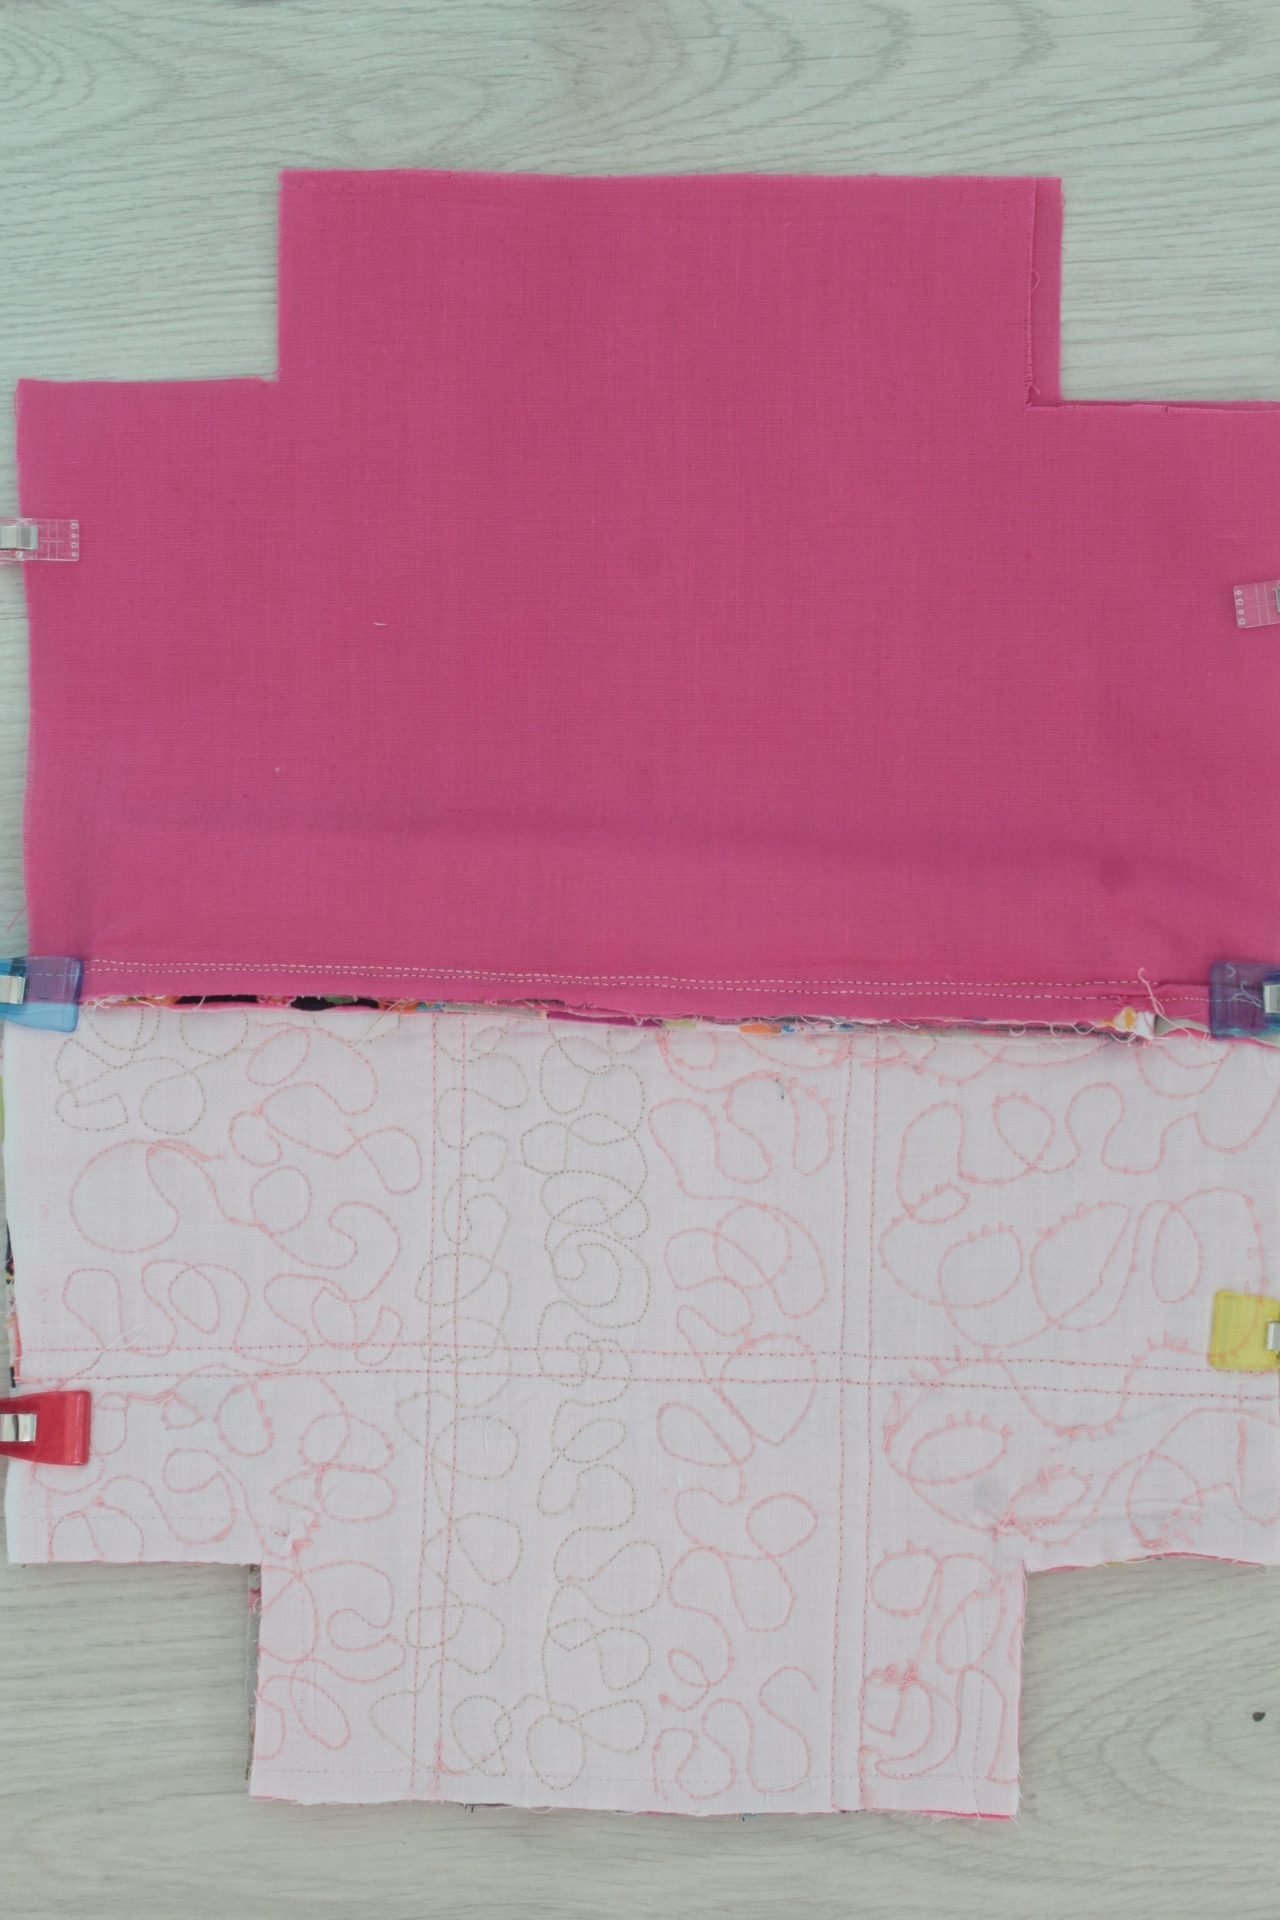
- Clip the sides and sew just outside the cuff. You will notice the cuff is smaller in length than the quilted panel and the lining and the fabric in that area is quite thick. So you’ll need a zipper foot to be able to sew right outside that thick area.
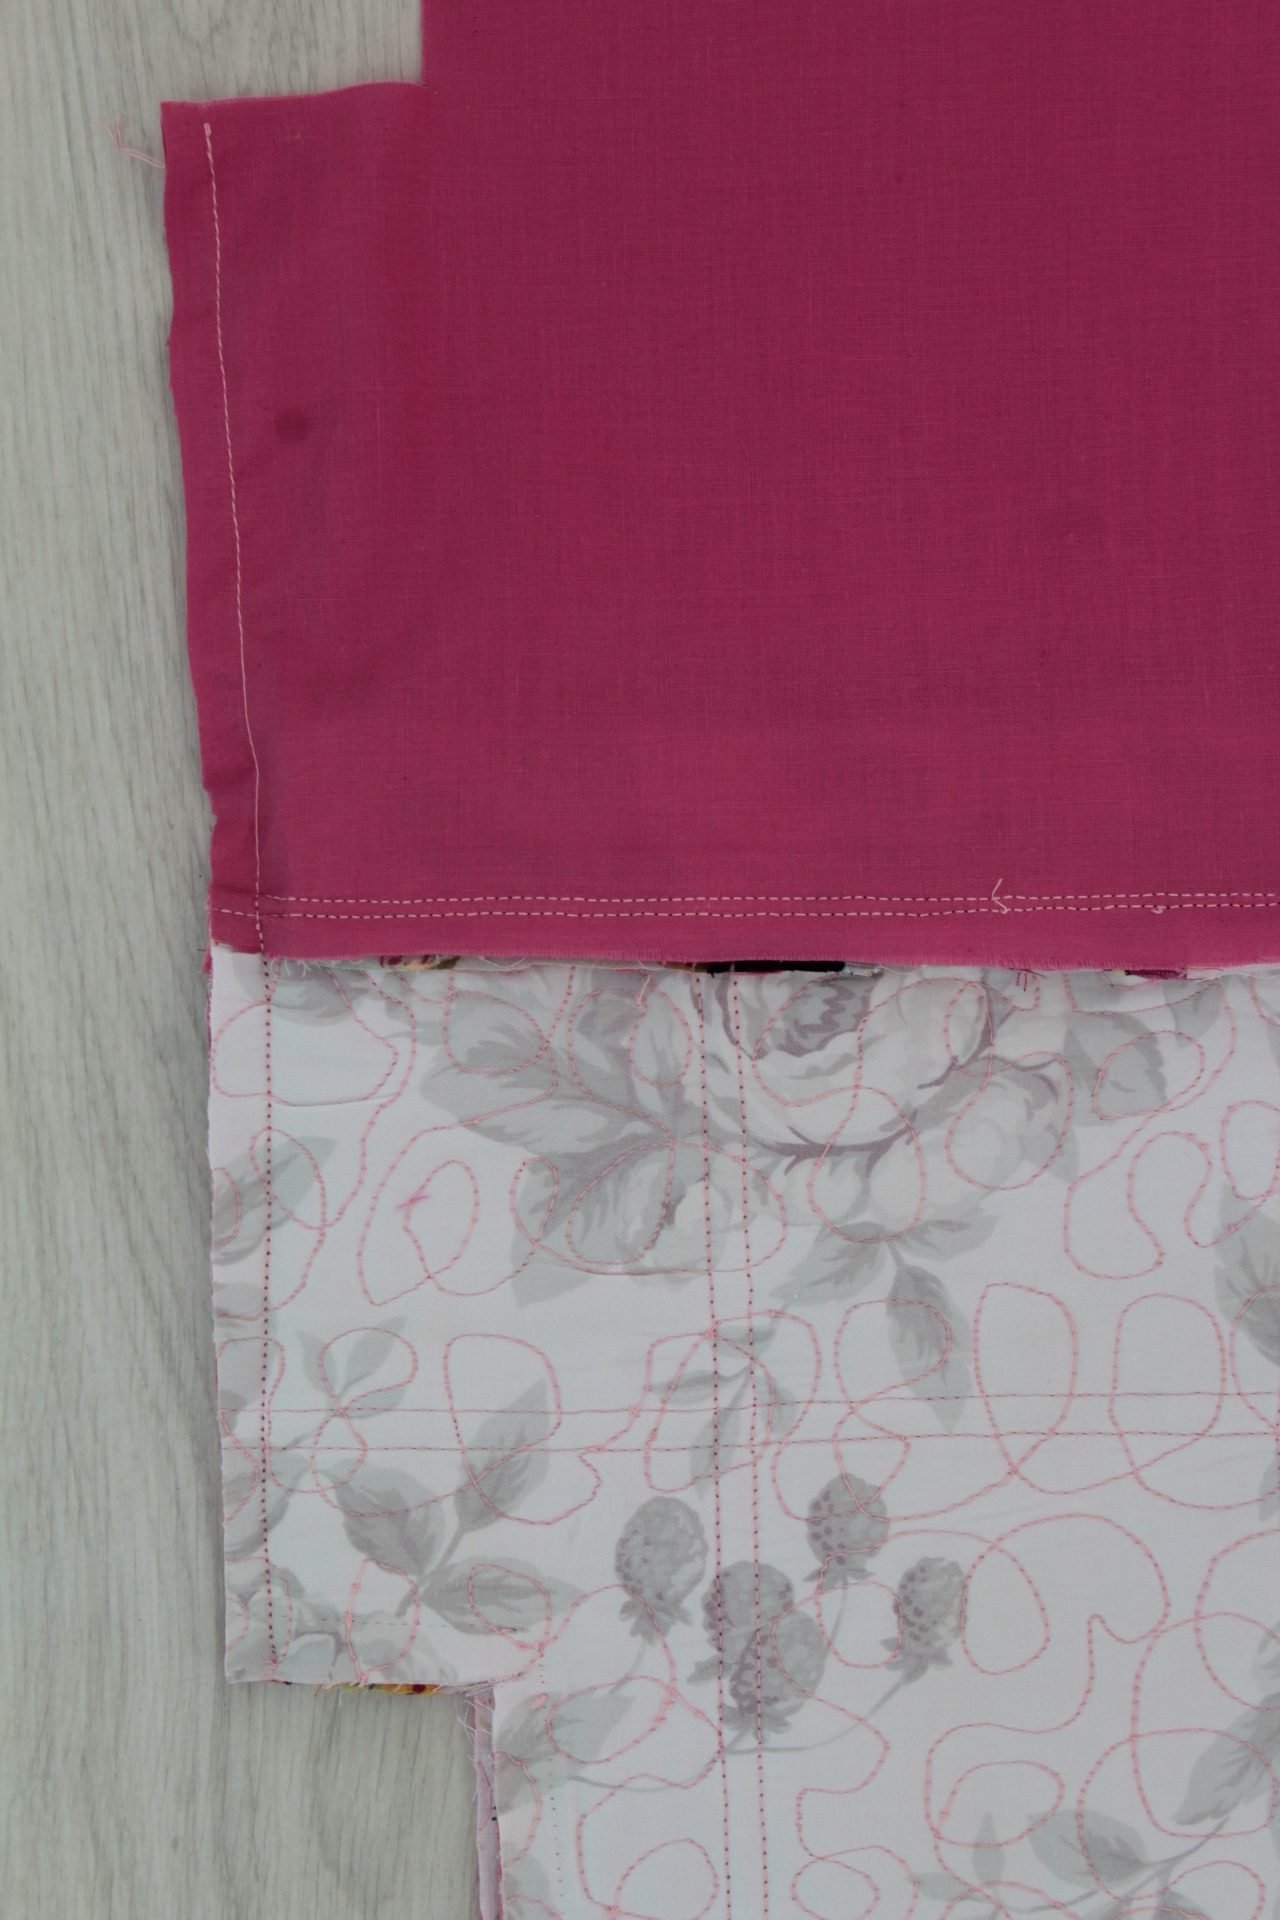
- Sew the bottom of the bag and box the corners. Use method #1 or #2 in this tutorial to box the corners in this pouch.
- Sew just about 1/4″ on both sides of the bottom of the lining and box the corners.
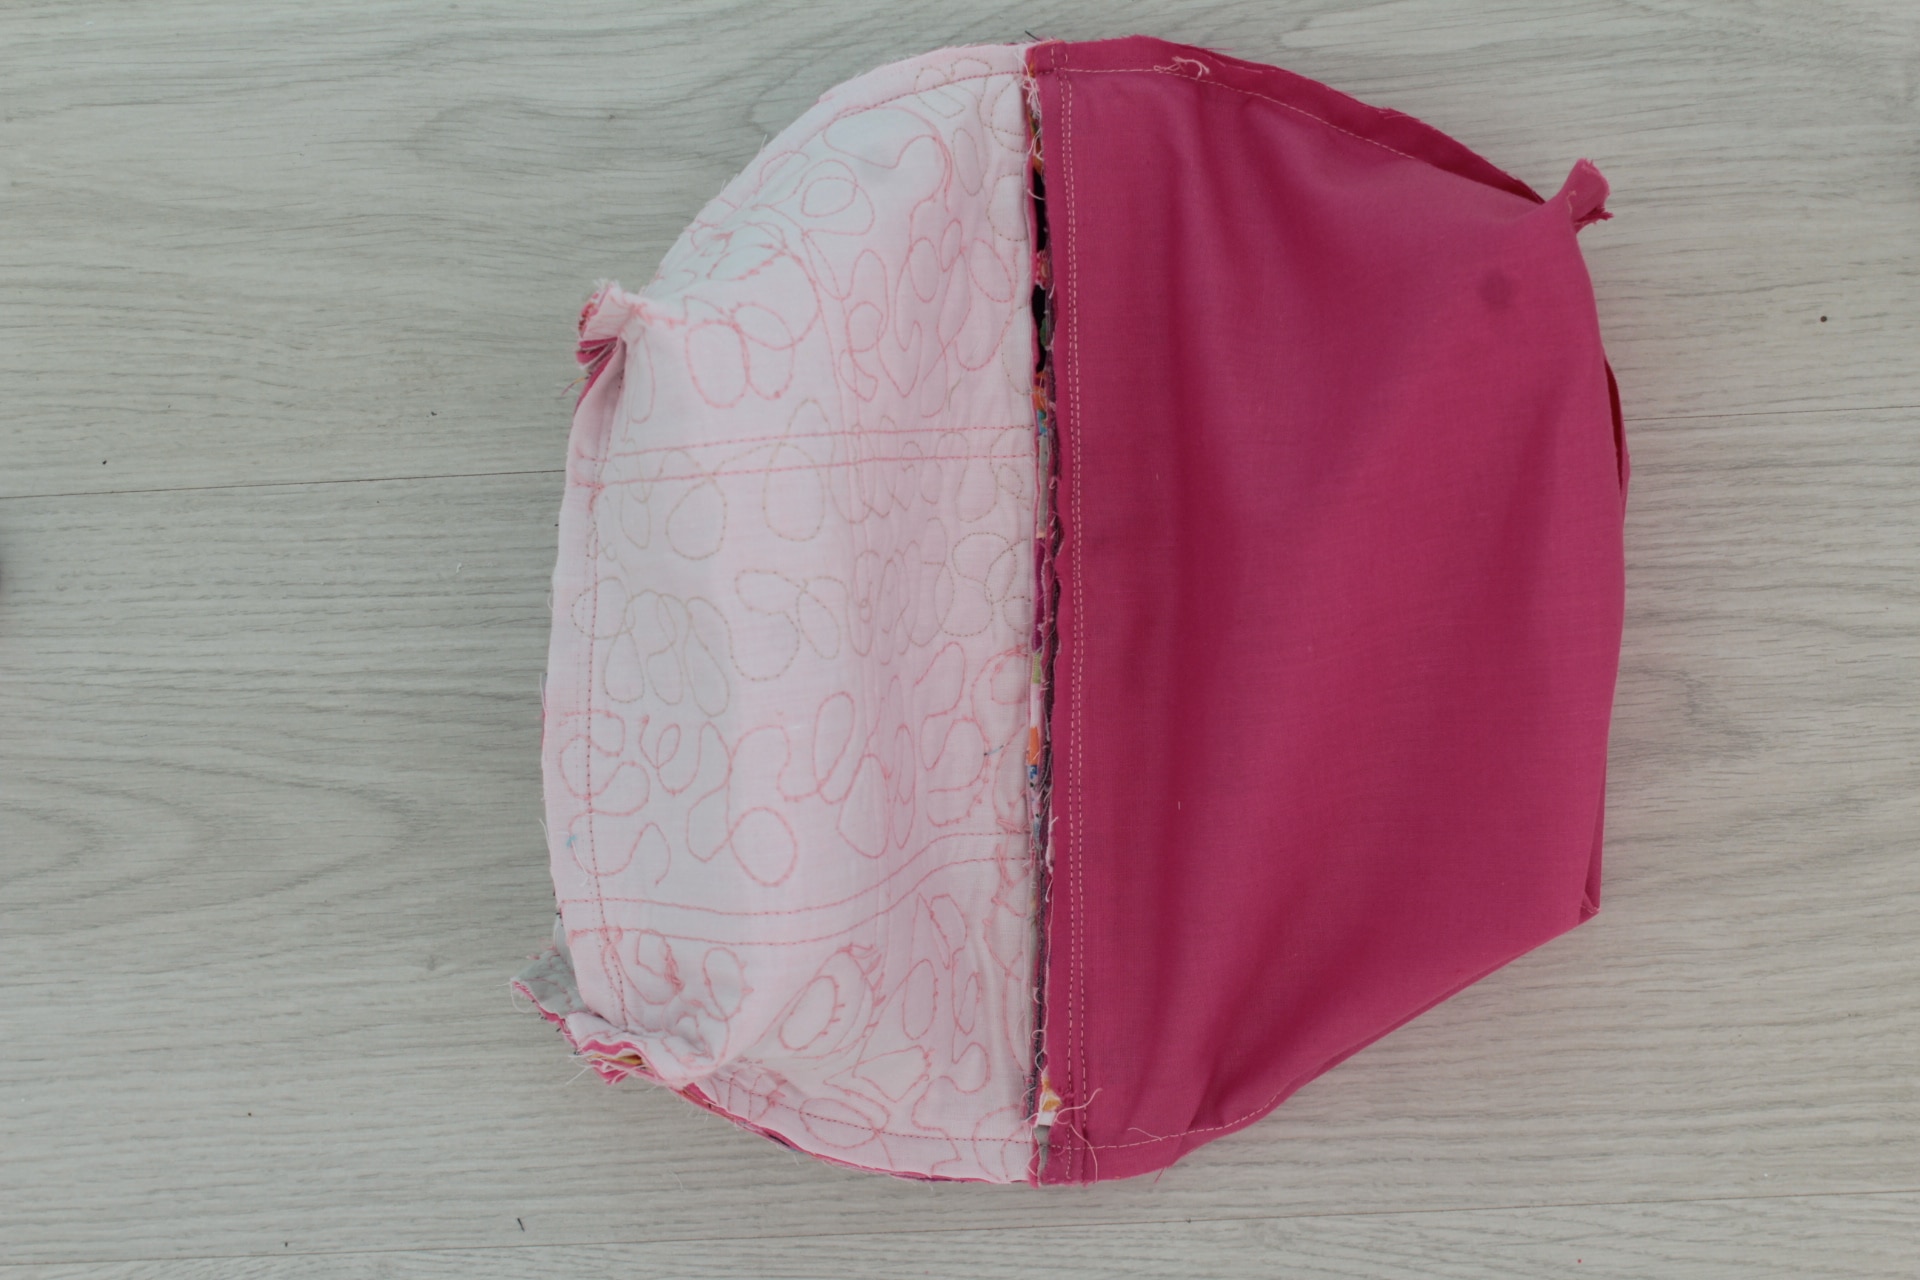
- Turn the whole bag right side out, through the gap in the lining. Don’t be afraid to fold the snappy tape a couple of times in order to be able to get the cuff out, the tape won’t break.
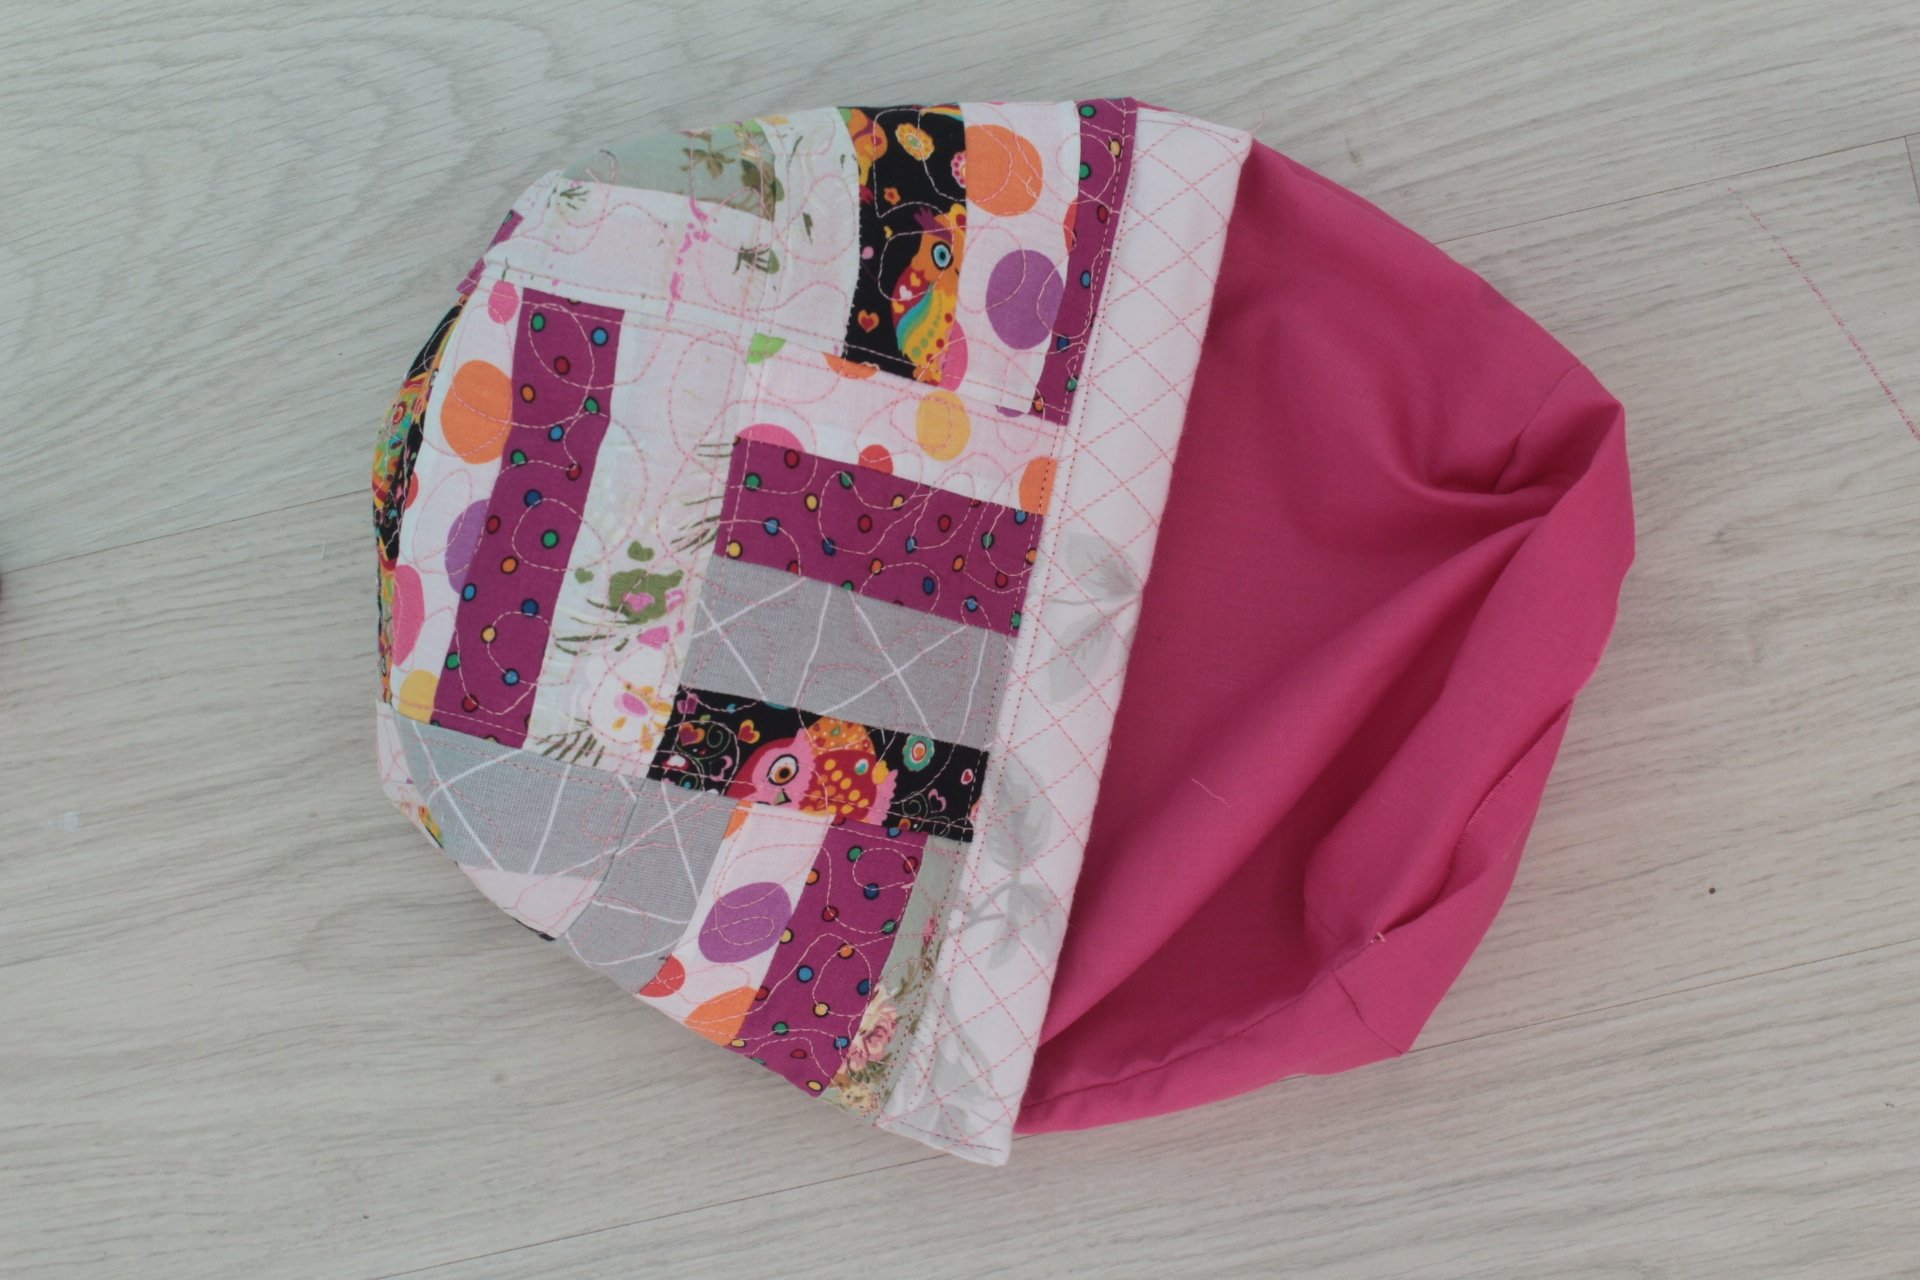
- Once the bag is turned right side out, fold the bottom of the lining inside, about 1/4″, press and sew.
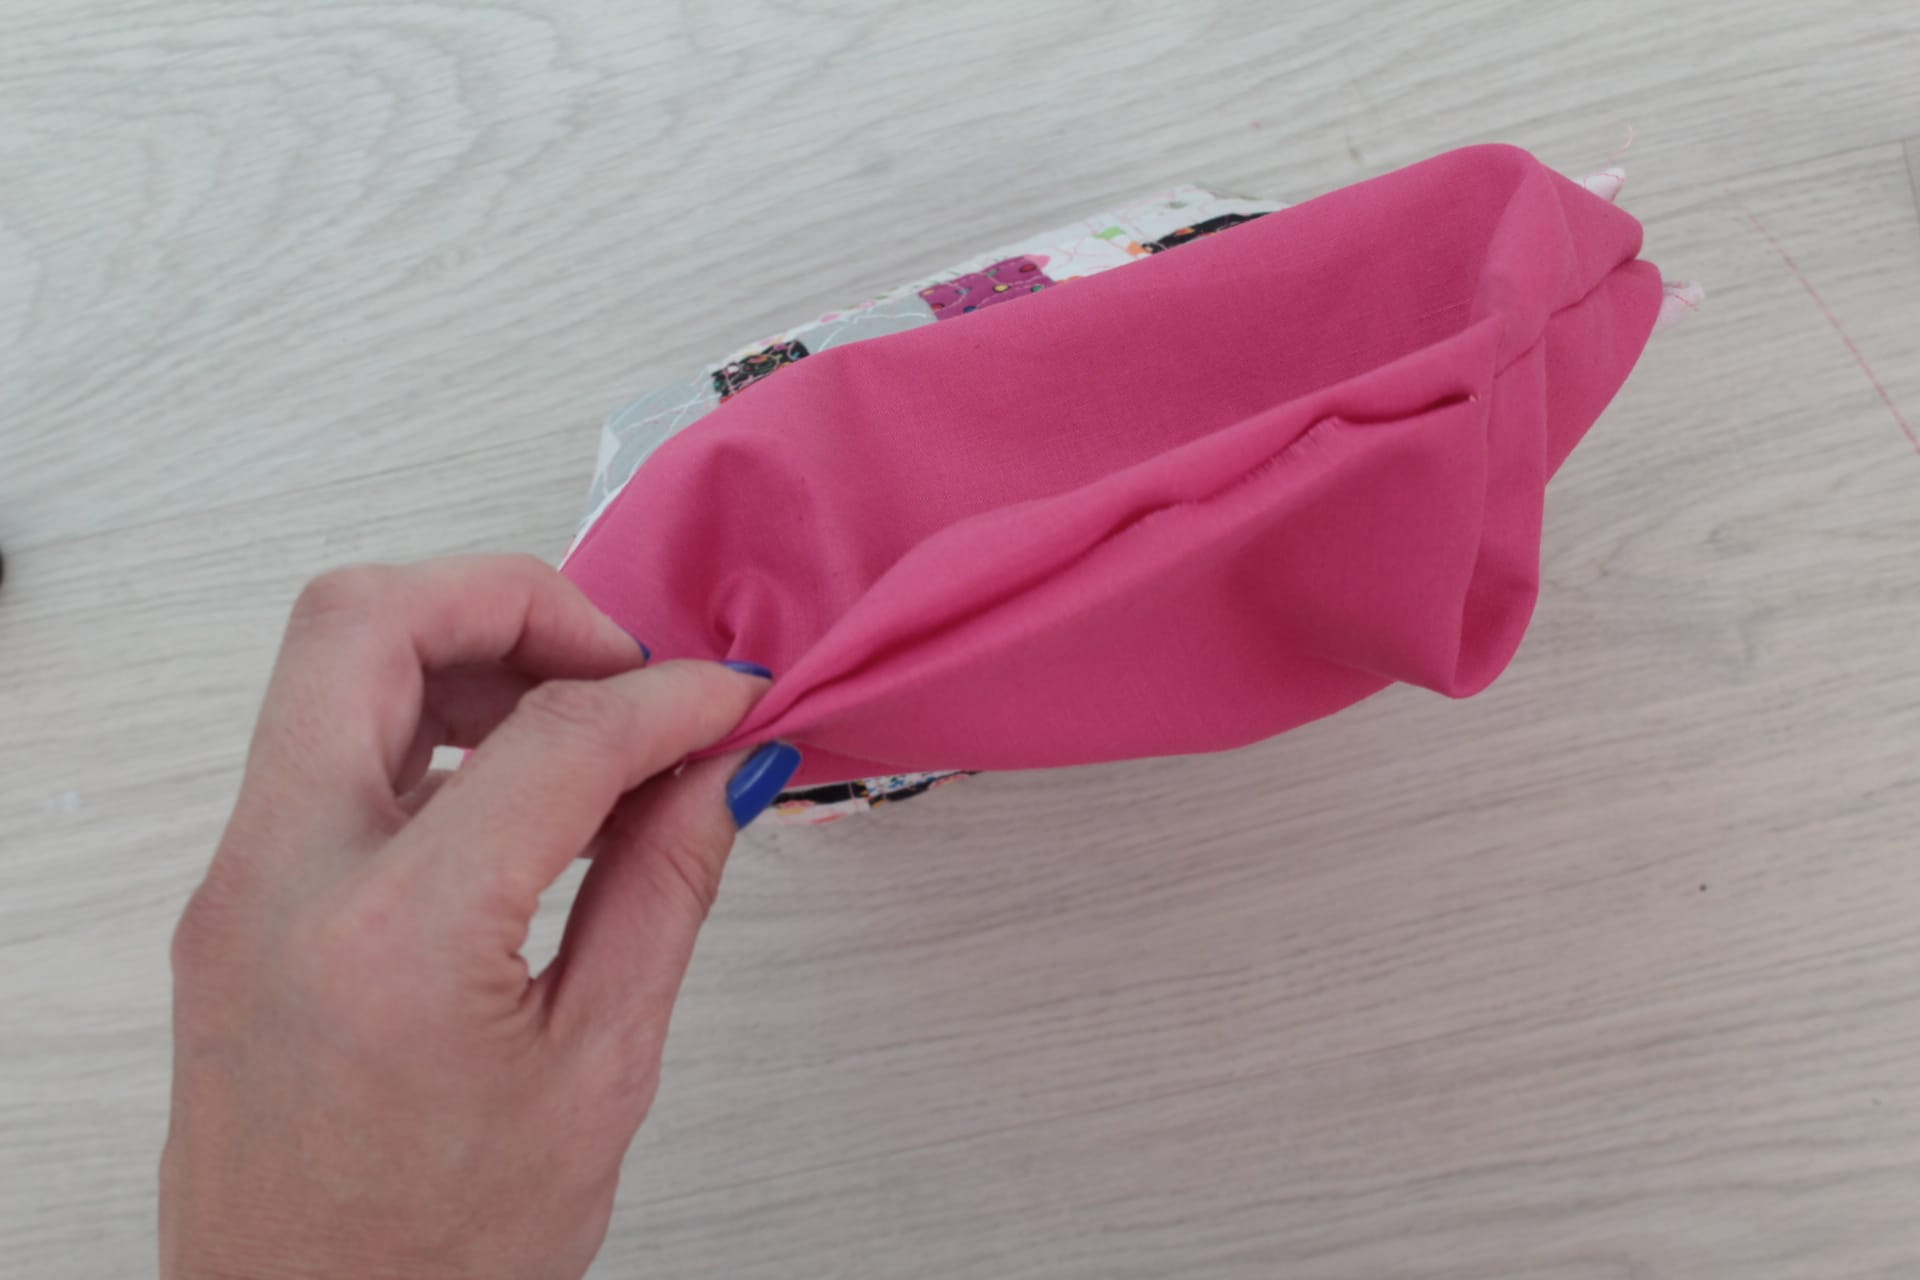
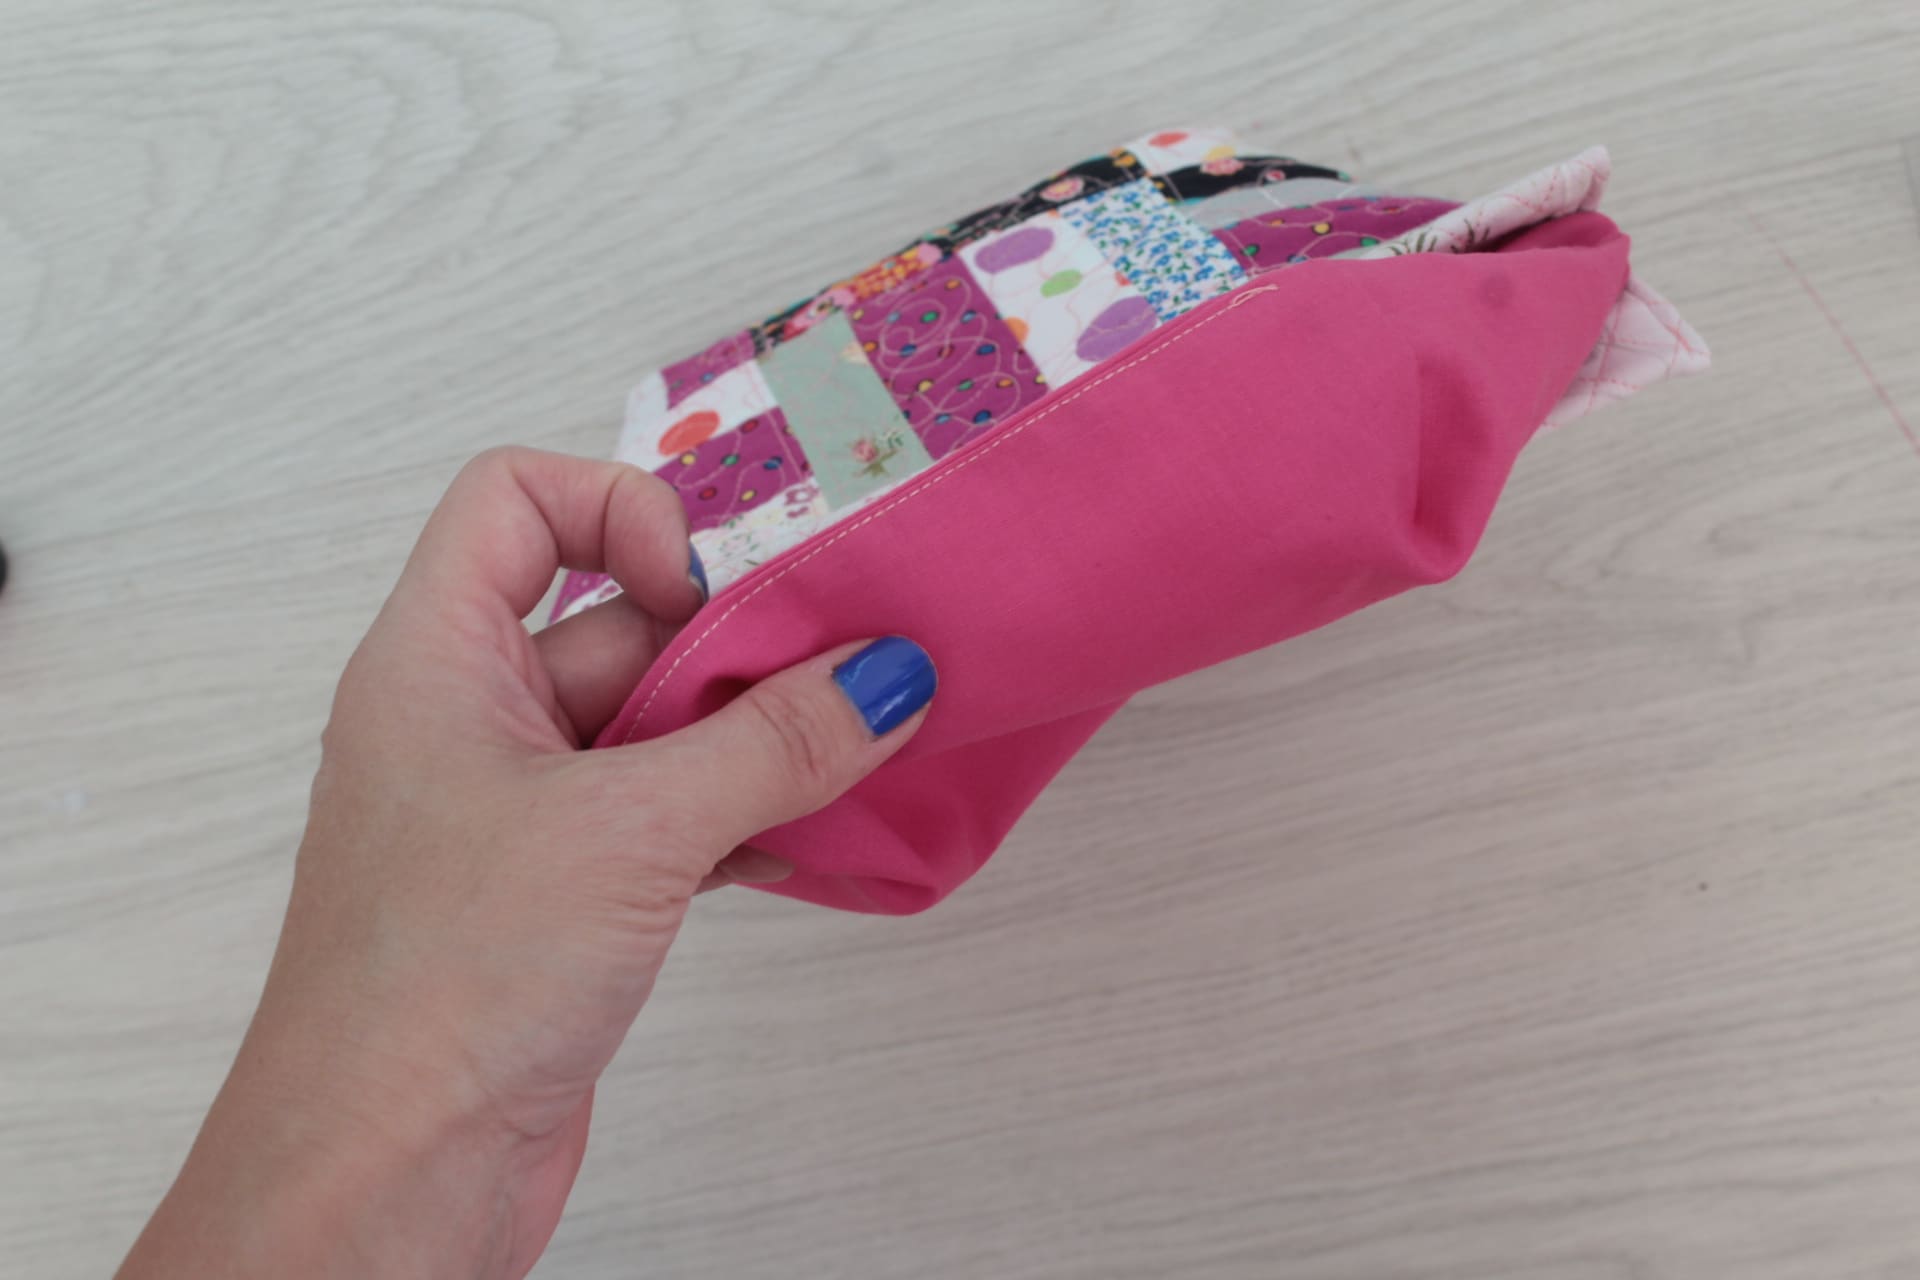
- Push the lining inside the bag and you’re done! Enjoy your beautiful snap bag!
If you liked this tutorial, please let me know in the comments below and don’t forget to rate it! Thanks!
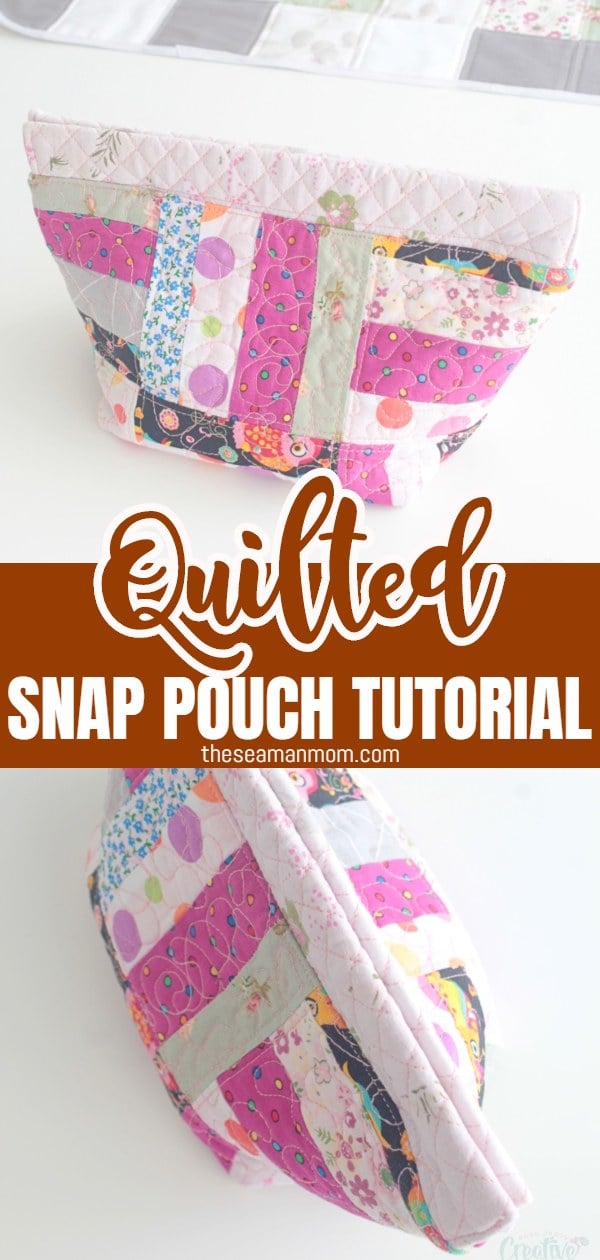
Pin to save for later
Most popular sewing projects:
Article may contain Amazon & affiliate links. As an Amazon Associate I earn from qualifying purchases at no additional cost to you.


I just read through your tutorial on how to make this bag with a metal tape measure. I didn’t read how long to cut the tape measure and I think you need to put it in a way to make sure it snaps. I haven’t made one yet, but I do have everything to make it. I love the idea of using the tape measure that you can buy local.
When did you insert the tape I can’t see that bit please
Hi, Jane! You’ll find it in the cuff section, in the written tutorial.
Love this pattern!! I need to make mine without using strips and a solid piece instead. What are the dimensions so that I can cut single pieces??
i surely wish to make muttiple of this and i certainly have the fabric for it
thank you
Cute twist to the snap bags I have been making last several years. I have used contrasting fabrics for snap too and some have outside pockets but have always used one fabric for the bag body and another for lining. Love your strips.
Thanks, Trisha! xoxo
Amazing and thanks! I was wondering if you would do a video showing all this(if you haven’t already, I might have missed it…)? I think I understand, but want to make sure!