DIY pen organizer with paper tubes
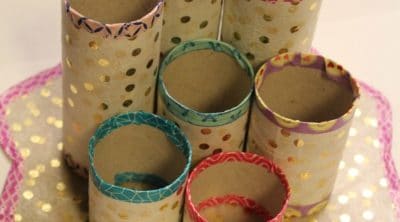
This DIY pen organizer is a fantastic project to create using recycled toilet paper tubes. If you often struggle to keep your pens, markers, and pencils in order, this straightforward and eco-friendly craft could be the perfect solution for you. Not only does it help declutter your workspace, but it also adds creativity and sustainability to your daily routine. Give it a try and enjoy the process of upcycling while organizing your stationery supplies!
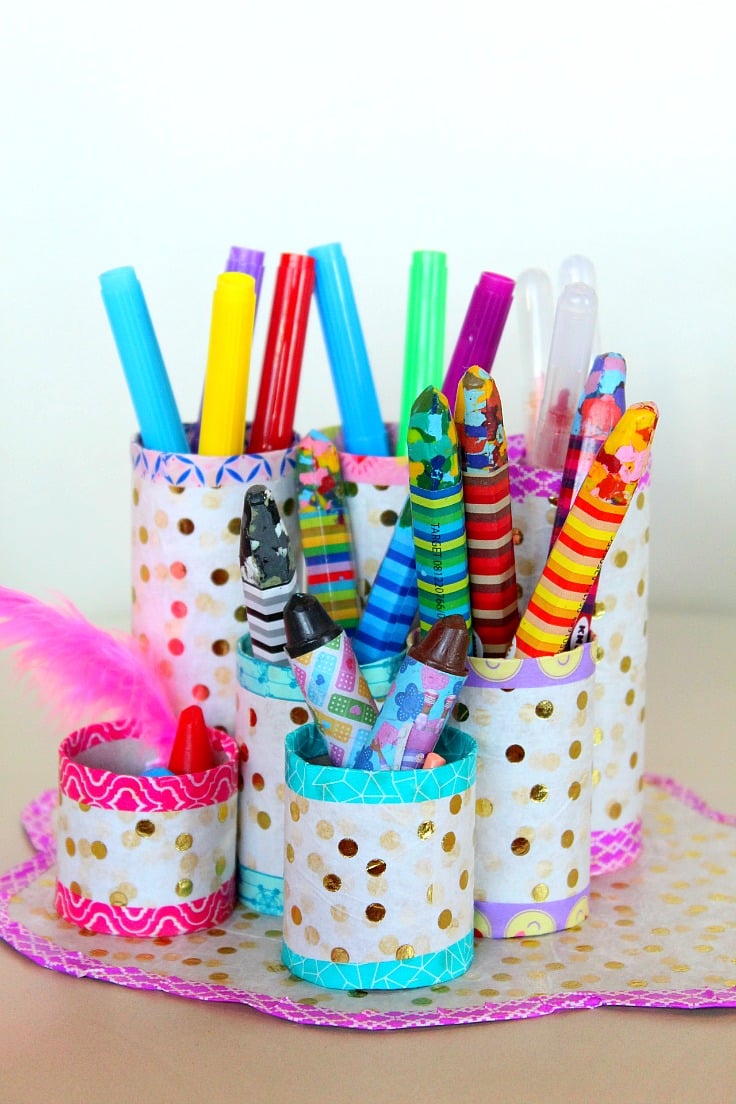
Curious about creating your own DIY pen organizer out of paper tubes? Here you’ll discover how to, with this simple and enjoyable project! Making yourself a DIY pencil holder is a great way to reuse materials and reduce waste. Plus, it’s a great opportunity to get creative and add a personal touch to your space.
And before you say “Eww, toilet paper tubes? Really?” just think about it for a minute. How often do you actually touch those tubes with dirty, poopy hands? Umm, like…never? That’s right, this pencil holder craft is as safe as it gets! But if you’re a real big germophobic you can always use the tubes from your kitchen paper towels instead. Problem solved, now go make yourself a pretty pen organizer!
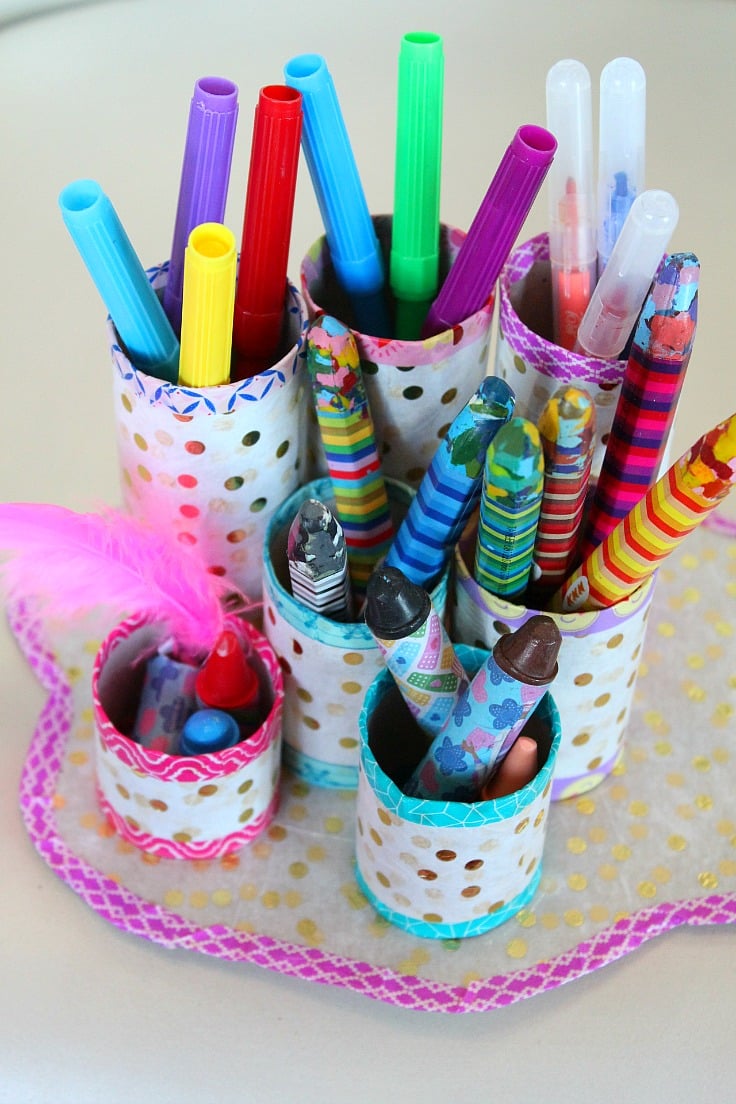
How to make a DIY pen organizer
Materials
- Toilet paper tubes: These are the main component of this DIY pen organizer. You can collect empty toilet paper rolls from your own home or ask friends and family to save them for you. Make sure to clean them from paper residues before starting the project.
- Cereal box: The cereal box will serve as the base of your DIY pen organizer. It’s a great way to reuse this common household item and give it a new purpose.
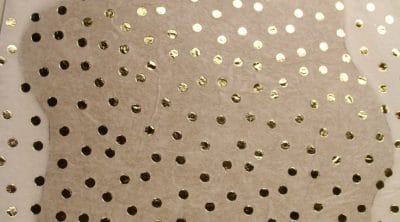
- Tissue paper: This will be used to cover the pen organizer and add some color and personality to it. You can use any type of tissue paper or even scrapbook paper for a more decorative touch.
Substitutes
- Kitchen paper towel tubes: As mentioned before, you can use kitchen paper towel tubes instead of toilet paper tubes if you prefer.
- Cardboard box: Instead of a cereal box, you can use any cardboard box that is sturdy enough to hold the weight of your stationery.
Tools
- Craft scissors: These are a must-have for any crafting project. They have sharp, precise blades that make cutting paper and other materials easier.
- Matte Mod Podge: This is an all-in-one glue, sealer, and finisher that is perfect for decoupage projects like this DIY pen organizer.
- Foam brush: You’ll need this to apply the Mod Podge evenly and smoothly onto the tissue paper.
- Super glue: This is used to secure the toilet paper tubes onto the cardboard base.
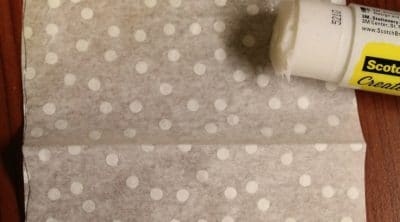
- Scotch glue stick: This will be used to attach the tissue paper onto the cardboard base.
- Scotch Washi Tape: This decorative tape is optional but adds a nice touch to your DIY pen organizer. You can use it to cover the edges of the tissue paper or create patterns on the outside of the organizer.
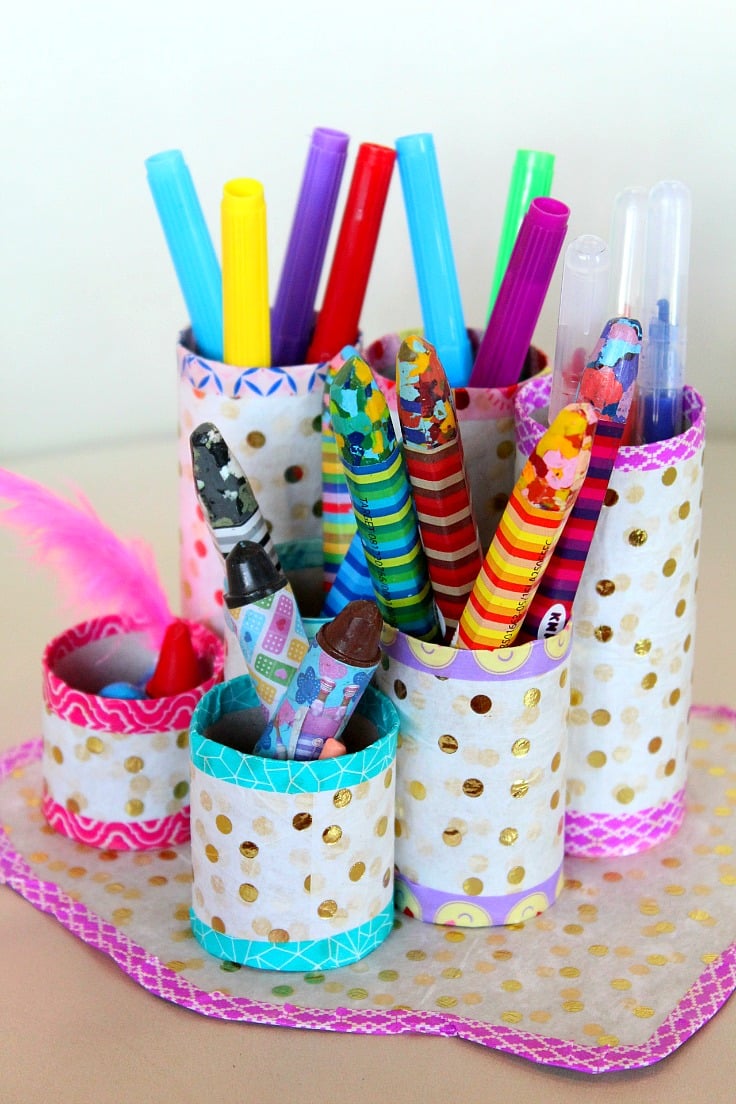
Instructions to make the pen holder
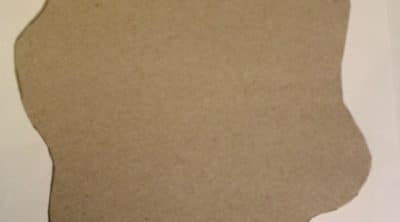
- Take your cereal box and cut one side out. Draw a stand on it, in the shape you like. I made an island because it looks cute but it’s very hard to finish the edges off with washi tape so if you don’t want to deal with the hustle, draw a rectangular shape.
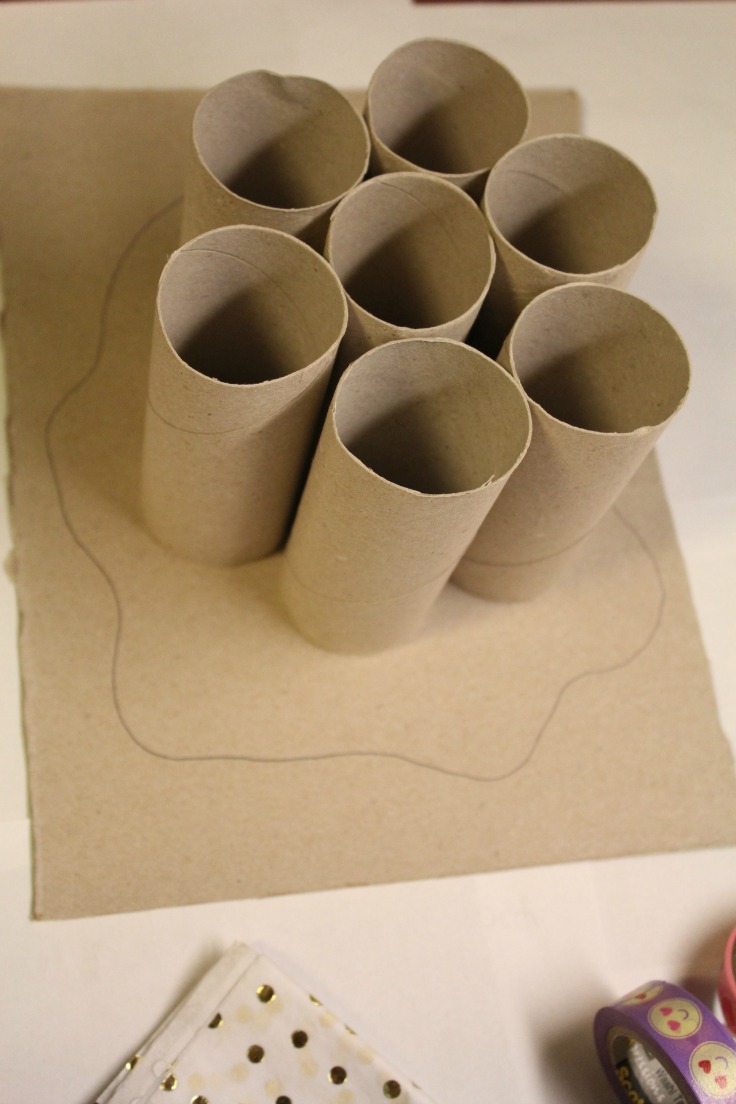
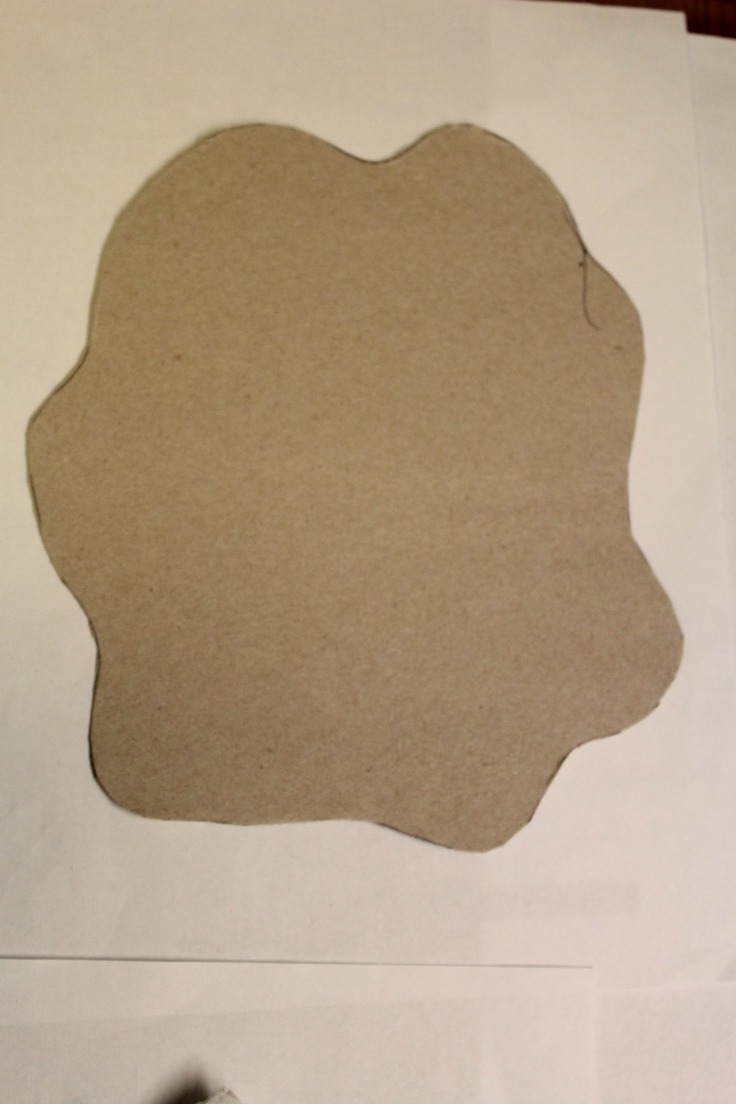
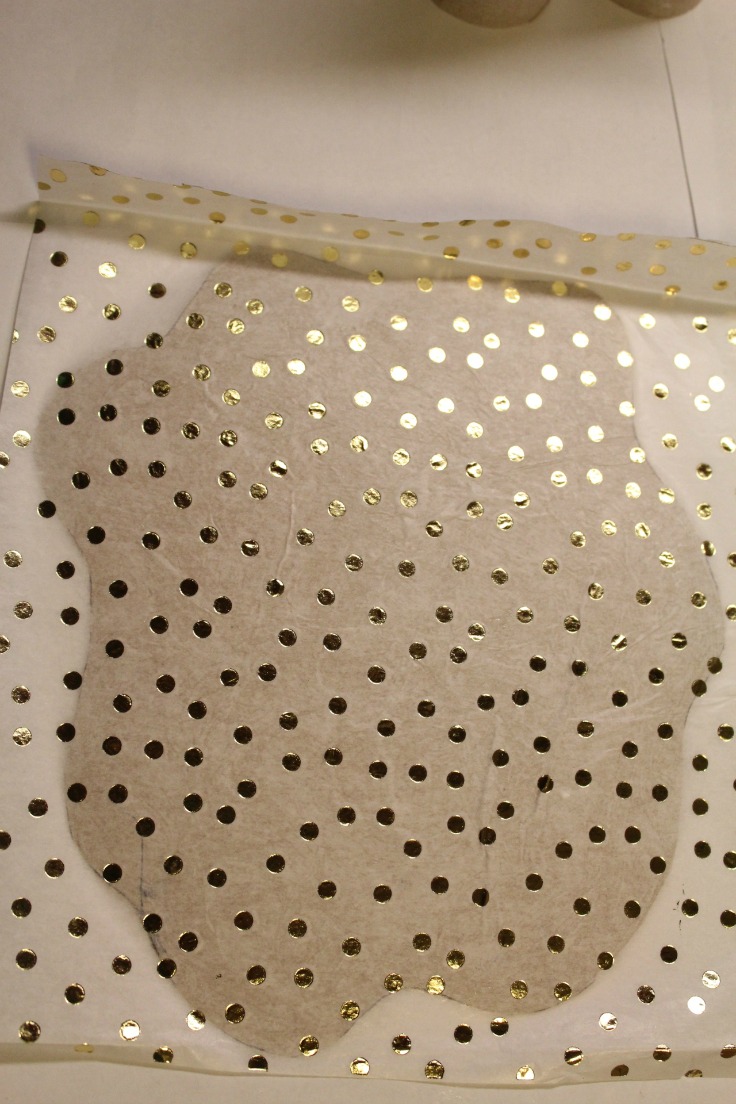
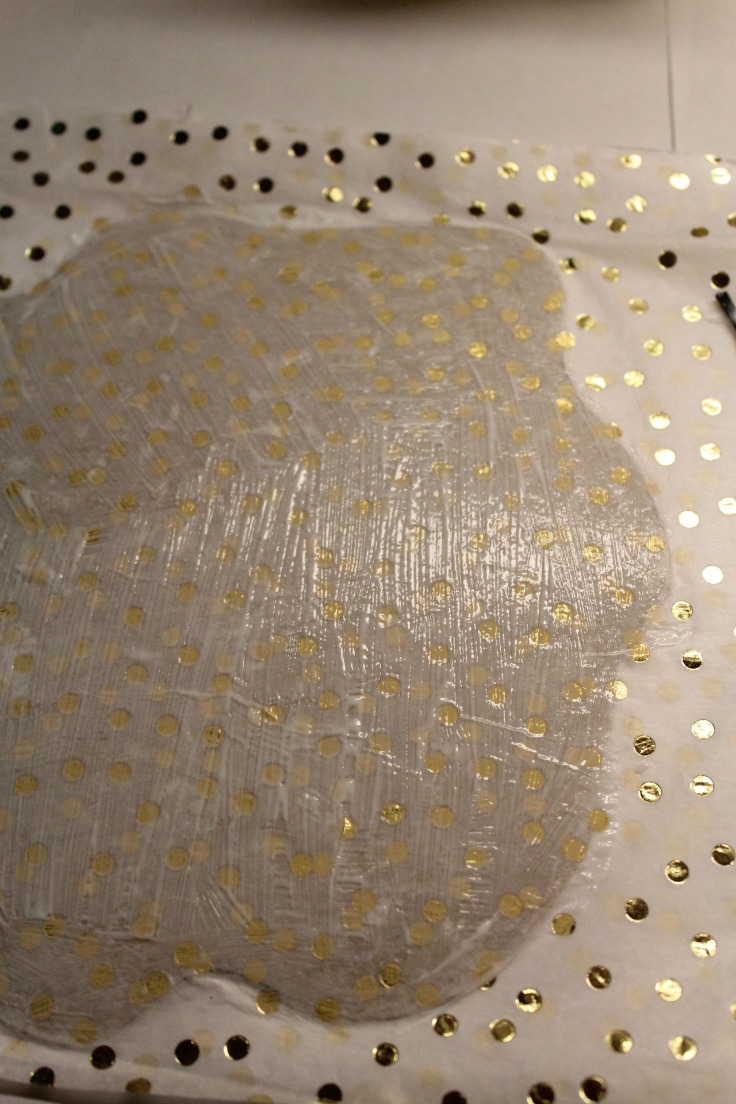
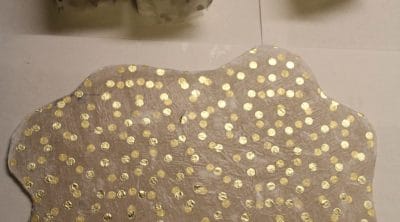
- Measure tissue paper to cover the island and glue down to the blank side of the island, using a glue stick. You may need a couple of layers of tissue paper. Apply a thin layer of Mod Podge and leave to dry.
- Cut your toilet paper tubes the length you want them to be (I cut various sizes) then cut strips of toilet paper a little wider than the tubes and long enough to cover the tubes 3-4 times.
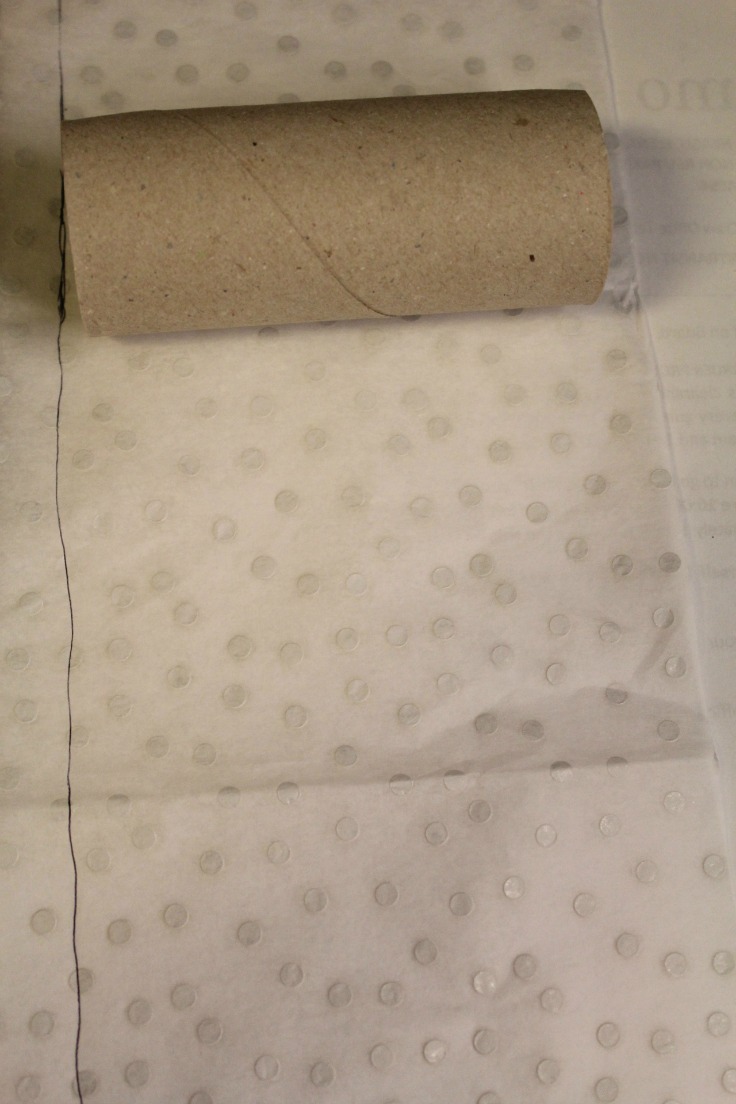
- Apply glue to the tissue paper using a glue stick and attach to the tubes, applying more glue as you roll.
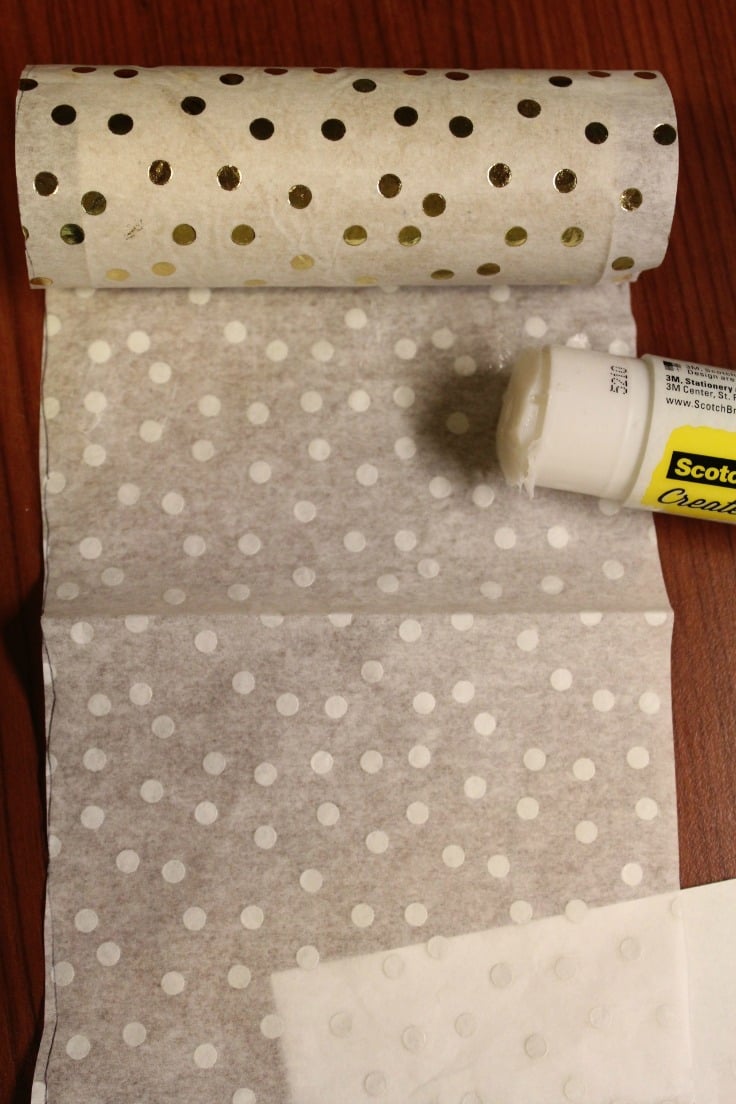
- Leave them all to dry, then trim the edges.
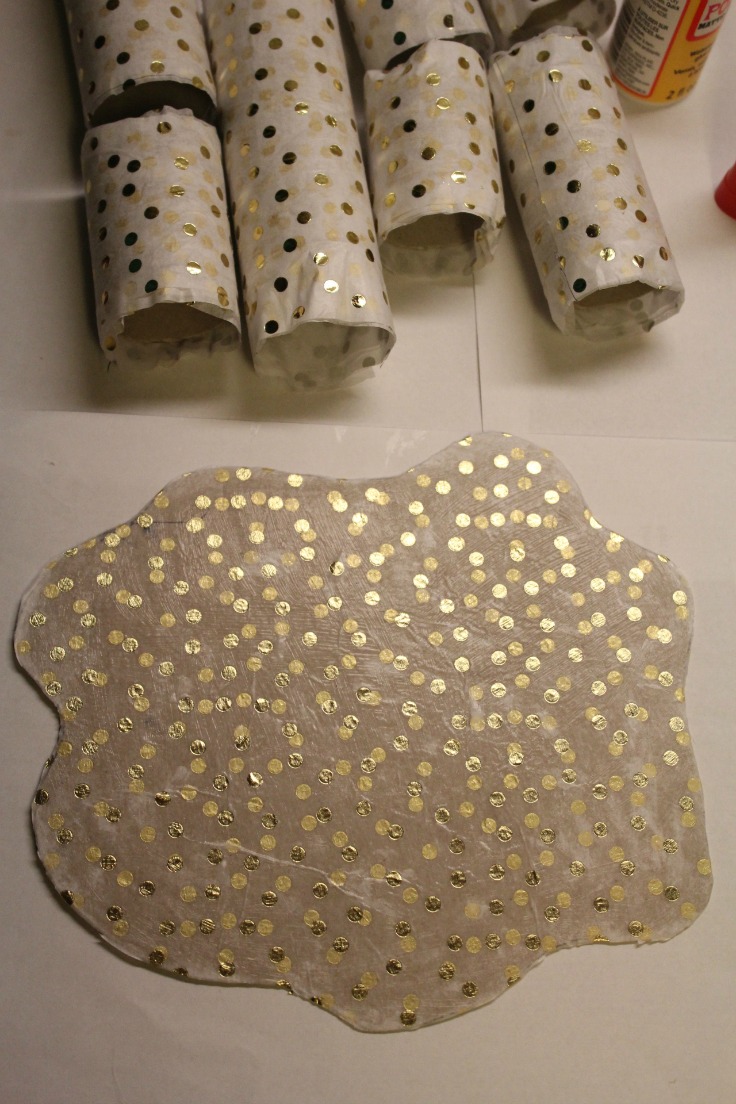
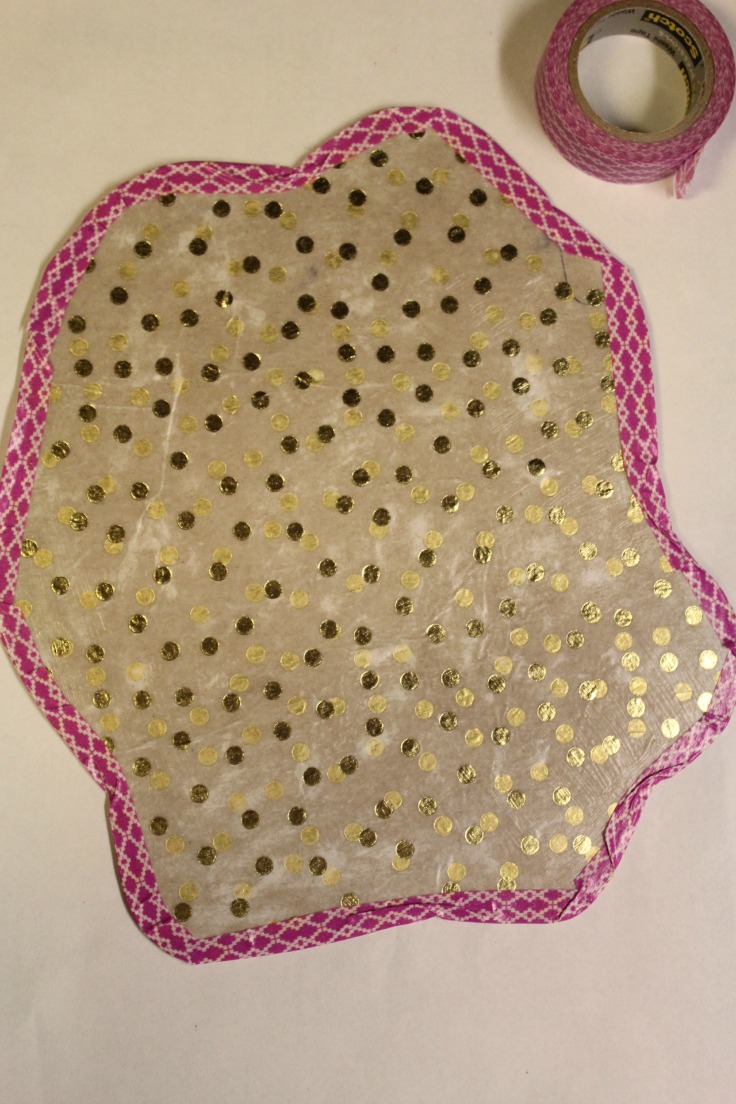
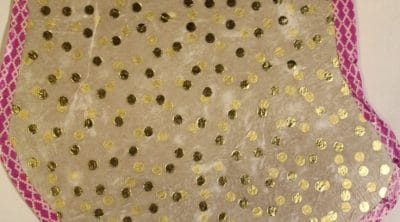
- Finish off the edges (on the island and the tubes) using washi tape.
- Place the tubes on the island and arrange as you like, then glue down with super glue, pressing for at least 10 seconds on each tube, until the super glue dries out.
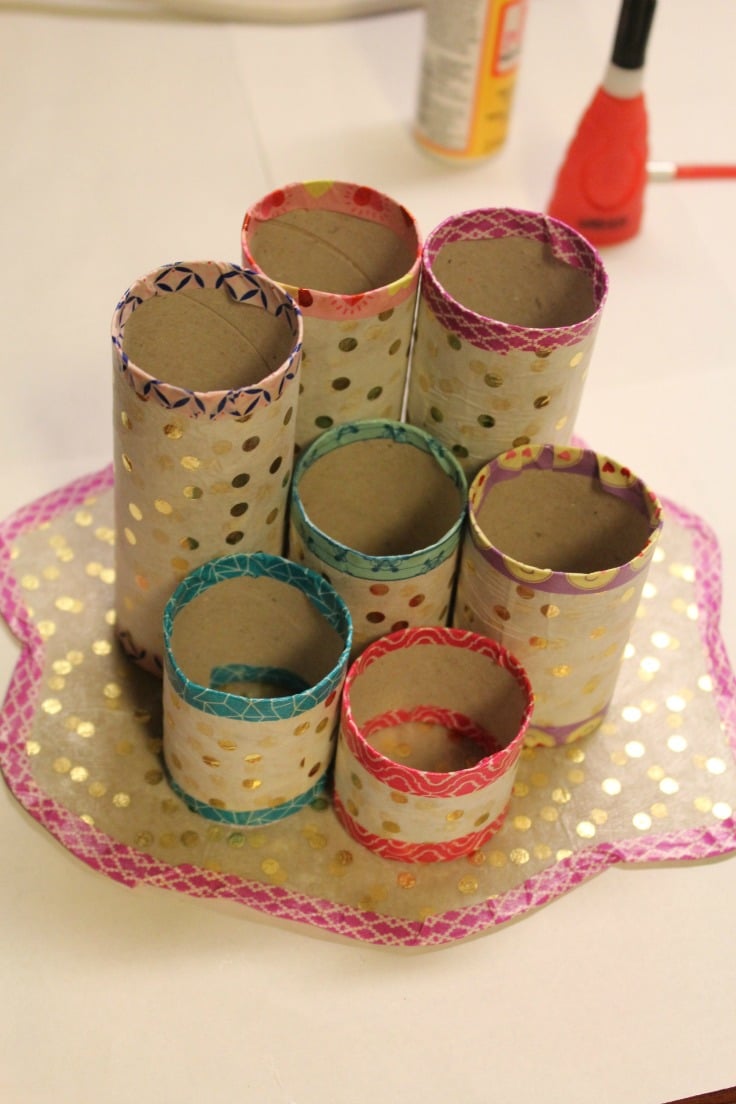
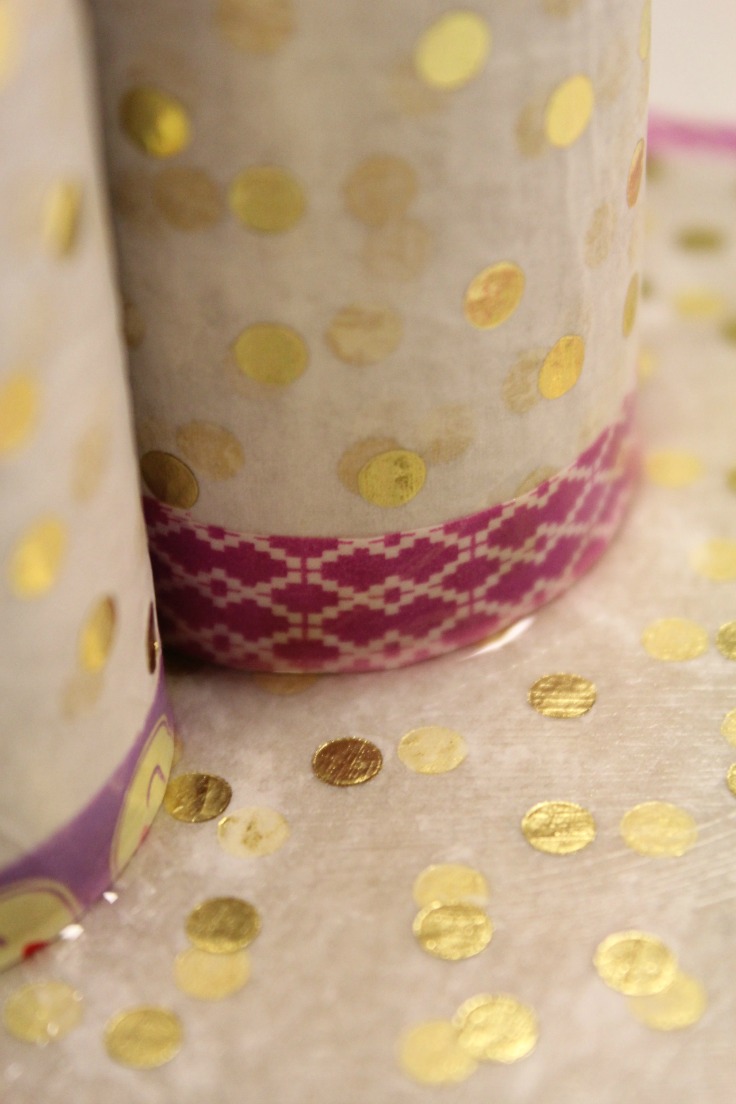
Your toilet paper roll organizer is done! Now go fill this handy dandy pen holder craft with pens, pencils or markers to decorate your desk and keep it organized and pretty!
Tips
- You can experiment with different patterns and colors of tissue paper to create a unique look for your DIY pen organizer.
- To make the organizer more stable, you can add additional layers of cardboard or use a stronger glue like hot glue to secure the toilet paper tubes onto the base.
- You can also decorate the outside of the organizer with stickers, markers, or any other decorative elements to add a personal touch.
- This DIY pen organizer can also be used to store other small items such as makeup brushes, paintbrushes, or even kitchen utensils. The possibilities are endless!
Craft variations
- Instead of using tissue paper, you can paint the toilet paper tubes and cardboard base with acrylic paint.
- If you want a more rustic look, you can cover the tubes and base with burlap or twine.
- Use different sizes of toilet paper tubes to create a tiered organizer for larger items such as scissors or rulers.
How to care for your DIY pen organizer
To protect your organizer and ensure its longevity, avoid getting it wet. If you need to clean your organizer, simply wipe it with a dry cloth. Avoid using harsh chemicals or soaking it in water.
Also make sure to keep the organizer away from direct sunlight and excessive moisture to prevent damage and discoloration.
If any of the tubes become misshapen, gently reshape them by pressing them back into shape with your hands. This may happen over time due to the weight of the items stored in the organizer.
Similar ideas you might like:
- DIY binoculars
- Duct tape organizer
- Mini gift boxes
- Paper flowers kids craft
- Homemade playdough
- Wine cork coasters
- Hot glue decorative bowl
- No sew pencil roll
- Teacher appreciation gift DIY crayon box
With just a few materials and simple steps, you can create a functional and stylish pen organizer. Give it a try and enjoy the satisfaction of both organizing and upcycling!
If you liked this idea please let me know in the comments section below and don’t forget to rate the craft card! Happy crafting!
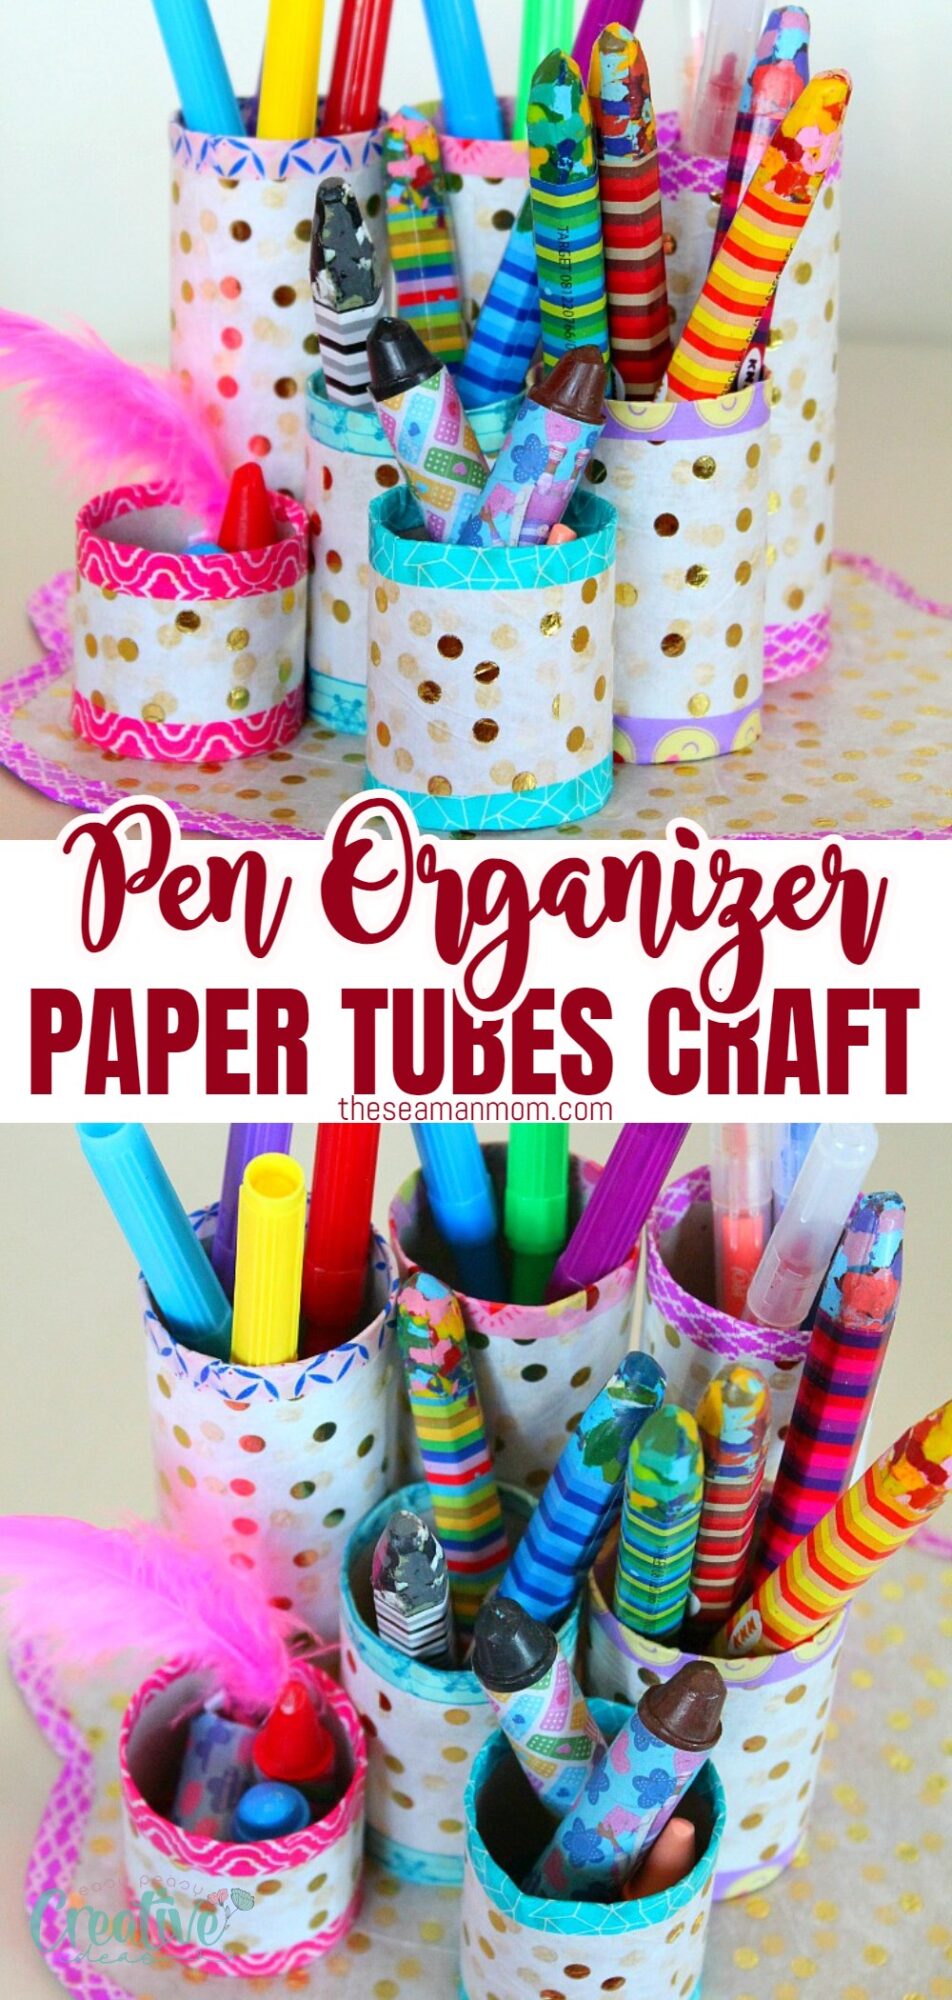
DIY pen organizer
Materials
- 7 rolls toilet paper tubes
- 1 piece Cereal box
- 3 sheets Tissue Paper
Instructions
- Cut one side of the cereal box. Draw a stand on it, in the shape you like.

- Glue down tissue paper to the blank side of the stand. Apply a thin layer of Mod Podge and leave to dry.

- Cut your toilet paper tubes the length you want them to be (I cut various sizes) then cut strips of toilet paper a little wider than the tubes and long enough to cover the tubes 3-4 times.

- Attach it to the tubes, applying more glue as you roll.

- Leave to dry, then trim the edges.

- Finish off the edges of the base and paper tubes using washi tape.

- Glue the paper tubes to the base with super glue

- Place the tubes on the stand and arrange as you like, then glue down with super glue

Video
More recycling ideas you will love:
Article may contain Amazon & affiliate links. As an Amazon Associate I earn from qualifying purchases at no additional cost to you.





I loved 🥰 this craft. It is beautiful. I can’t wait to make it for my granddaughters.
Thanks, Kathrine! You made my day :) Have fun with your little ones!
It so easy and fun. I have limited space, so adjusting the shape a little still gave me a great looking pen organizer. 💜🎨💜
What a fun project! I’d love it if you shared this on the brand new DIY party!
http://www.pleasuresofthenw.com/diy-party-1/